Traditional Moroccan Food: What to Eat in Morocco
Moroccan food was one of the great pleasures of our travels around Morocco. Mark and I loved discovering new dishes, from fragrant tagines and fluffy couscous to freshly grilled sardines, spicy soups and wonderfully sweet pastries. Some of our most memorable meals were enjoyed in family homes, small local restaurants and bustling street markets.
Moroccan cuisine reflects centuries of cultural influences, including Amazigh (Berber), Arab, Andalusian, Mediterranean and sub-Saharan African traditions. The result is a wonderful combination of spices, fresh ingredients, slow-cooked dishes and unexpected flavours.
During our journey, we were lucky enough to learn traditional cooking techniques from local people, including how to prepare couscous properly in Moulay Idriss and how to make a tagine during a cooking class in Marrakech.
In this guide, I'm sharing some of our favourite traditional Moroccan dishes, along with recipes and videos so that you can try making them at home. Whether you're planning a trip to Morocco or simply want to discover its wonderful cuisine, I hope this inspires you to try something new!
To jump to a particular section of this article, please use these links:
How to Prepare Couscous the Moroccan Way
Chicken with Preserved Lemons and Olives
Couscous
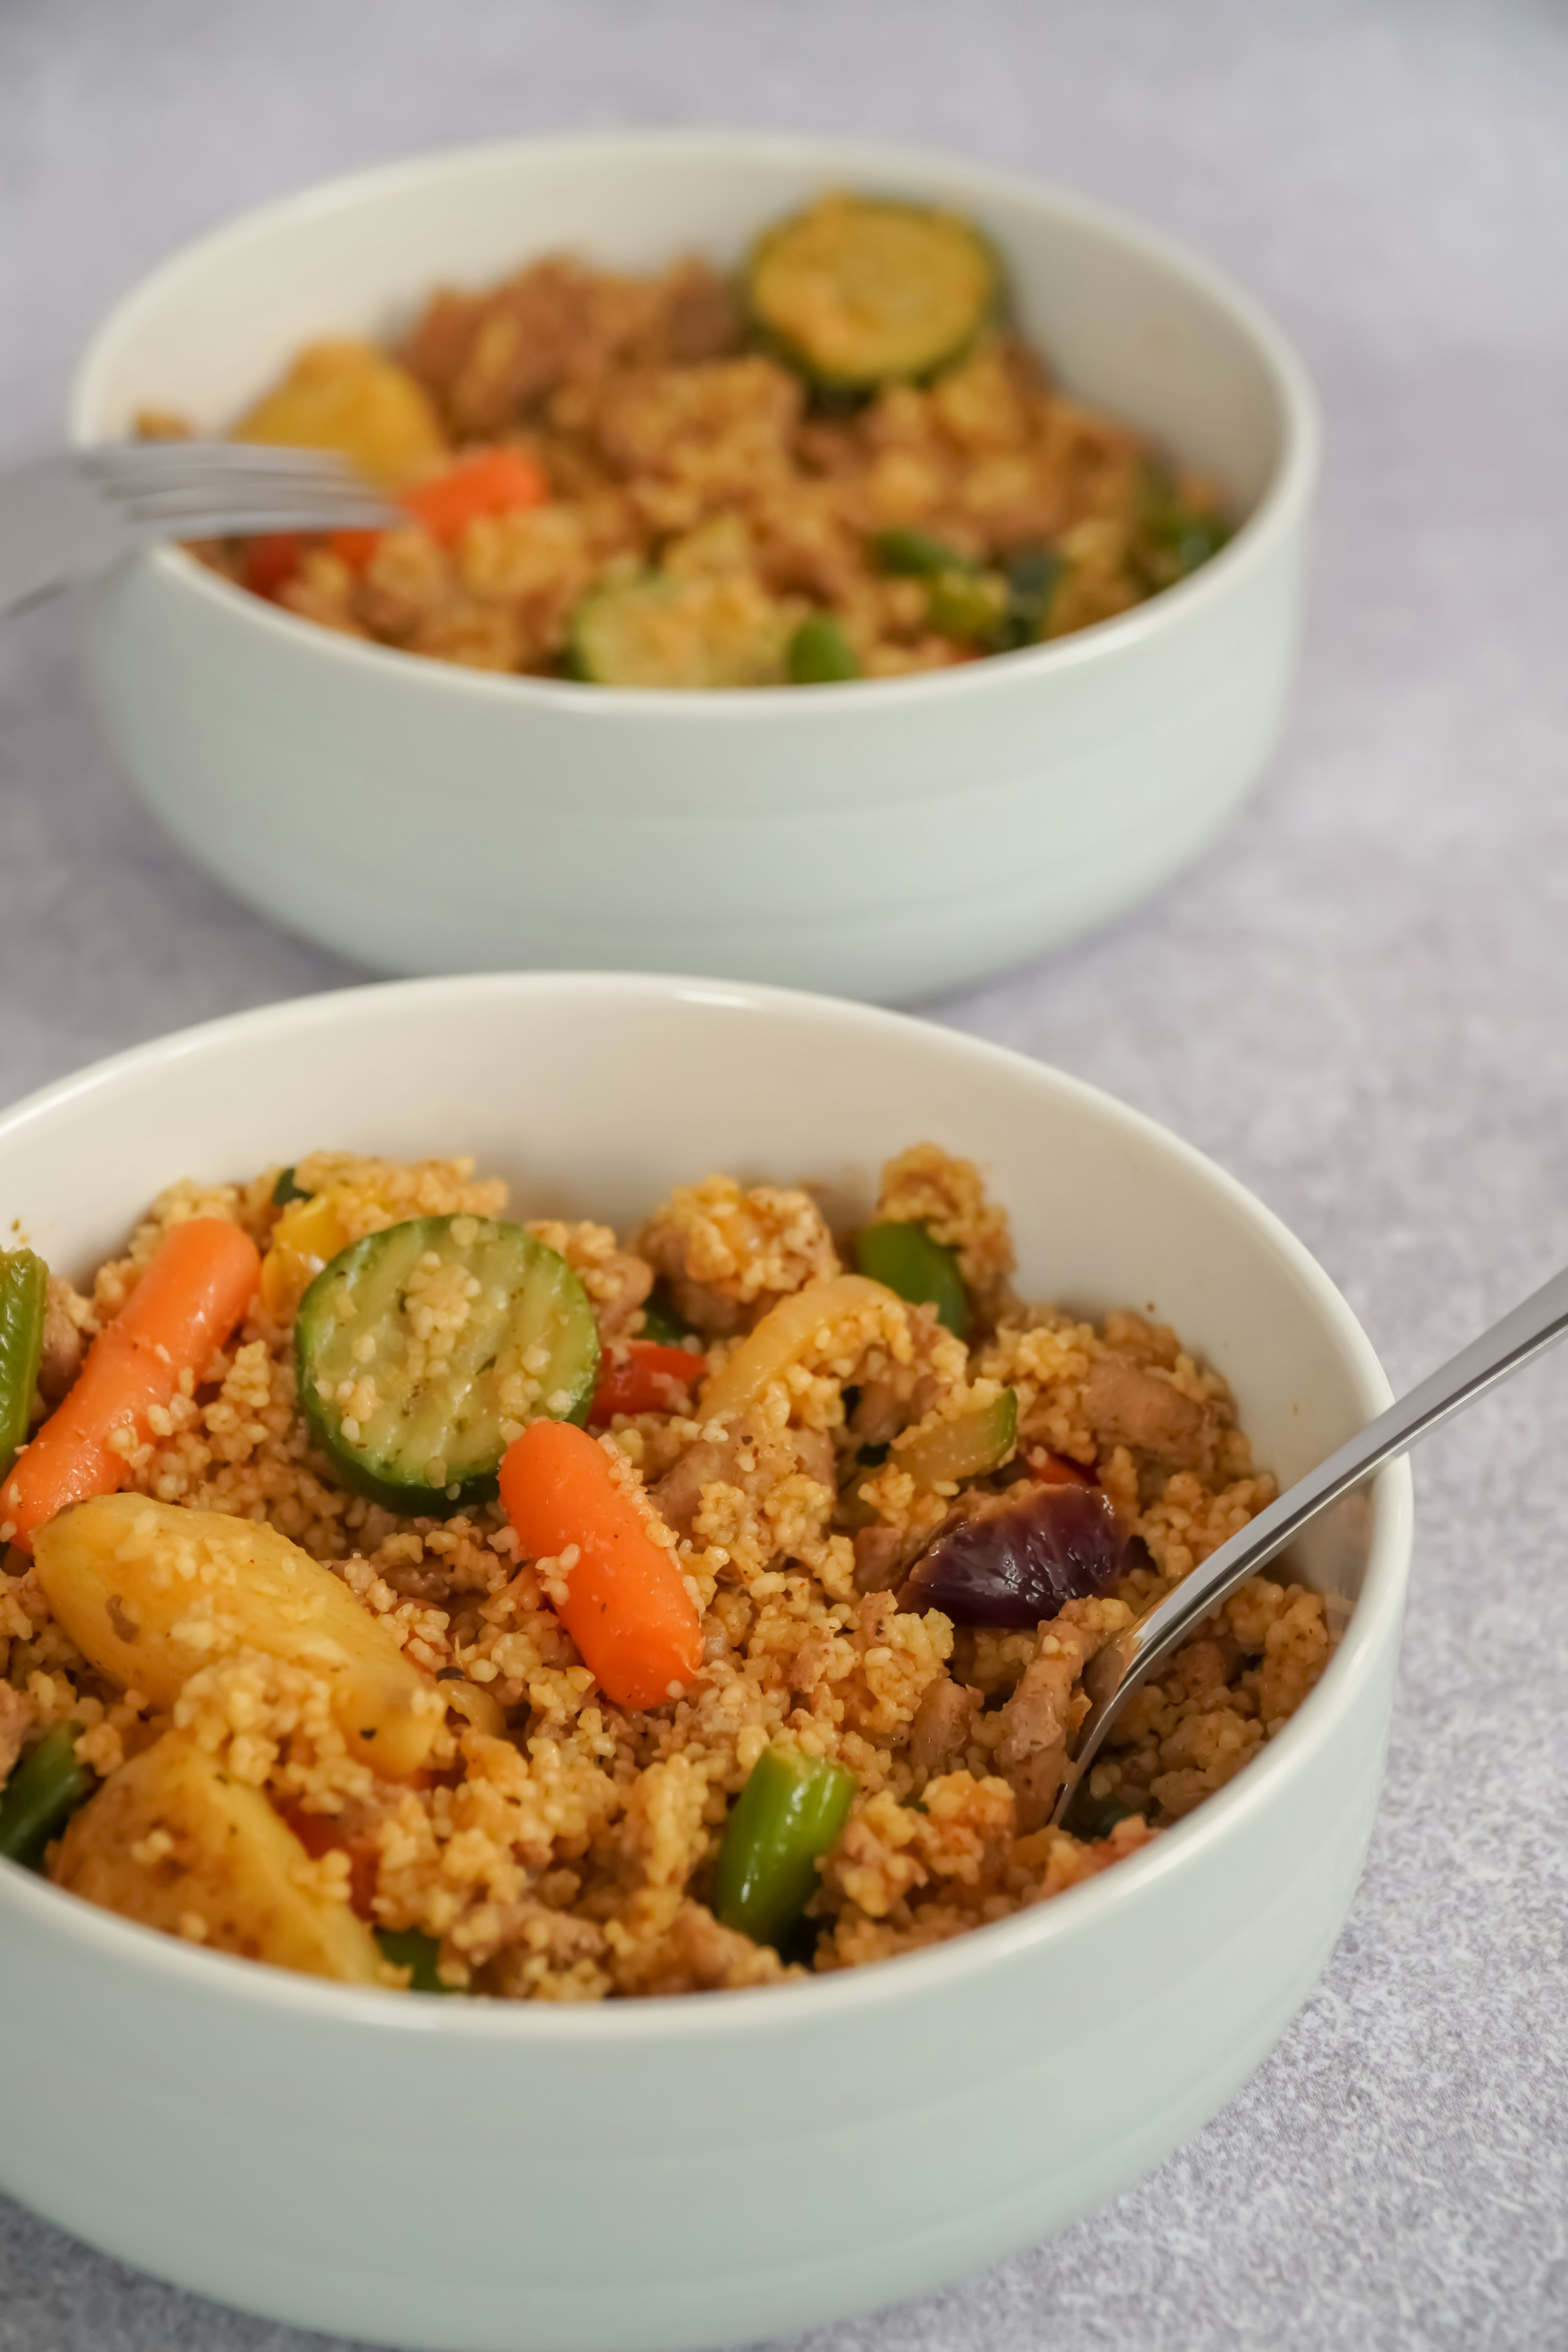
Couscous is a staple of Moroccan cuisine. It is originally a Berber dish made of semolina grains, usually served topped with vegetables and meat cooked in a delicious, flavourful, comforting broth. The couscous served in Moroccan homes is a million miles away from the commercially-produced dried variety we’re used to buying from the supermarket. Rather than a quick five-minute soak in boiling water, home-made couscous is prepared with love, and the whole process takes a couple of hours!
We learned how to prepare couscous properly from Rashida, our host at La Colombe Blanche in Moulay Idriss. It was fascinating to watch. She explained to us how, as a child, she loved to help her mum make couscous from scratch. She would make a dough with semolina flour and water and then push it through a purpose-made sieve. The tiny pellets of dough were then dried in the sun. The sound of the dough being sifted was ‘ksss, ksss’. Rashida's mum told her that this is why the grains, and then the dish, came to be called couscous!
Nowadays, few Moroccan women make their own grains, but they do still lavish a lot of care and attention on the ones they buy from the shop. Rashida told us that any couscous should be prepared by steaming it, even the ‘instant’ variety we typically use. Having tasted the results, I can see why! The granules absorb a lot more moisture, and you end up with plumper, more tender, fluffier couscous.
Rashida used a two-part cooking pot called a couscoussière. The bottom part is a deep pan which holds the steaming liquor. Depending on what dish the couscous is for, this could be water, stock, or the broth with meat and vegetables that will make up the main meal. The top part is a flat-based colander that fits tightly above the pot. If you don’t have a couscoussière, you could use a regular or bamboo steamer, or even a colander on top of a normal saucepan. The important thing is that it fits snugly so that no steam can escape. The idea is that all the steam rises through the couscous. To ensure this happens, you could seal the seam between the colander and the pot with a strip of cloth dipped in a flour and water glue.
How to Prepare Couscous the Moroccan Way
Heat your water or stock in the pot. Bring it up to a simmer.
Moisten the couscous with a cup of water and a little olive oil.
Rub the granules between your fingers to separate them.
Pour the grains into the colander and place on top of the pot.
Steam for one hour.
Pour the couscous into a large flat bowl and stir with a large metal spoon to separate the grains. Add a little water (flavoured with spices if you wish).
As soon as the couscous is cool enough, use your hands to rub the granules gently against each other. Lift them out of the bowl and allow them to fall back in. The idea is to aerate and separate the grains. Make sure there are no clumps remaining.
Return the couscous to the colander and steam for another 20 minutes.
Repeat steps 6, 7 and 8.
By now, the grains should have swelled to three times their original size.
Pour the couscous into a large, flat serving dish. Make a hole in the centre for the meat and vegetables.
Serve and enjoy!
Watch this video, which further explains the process we saw in Rashida’s kitchen:
Tagine
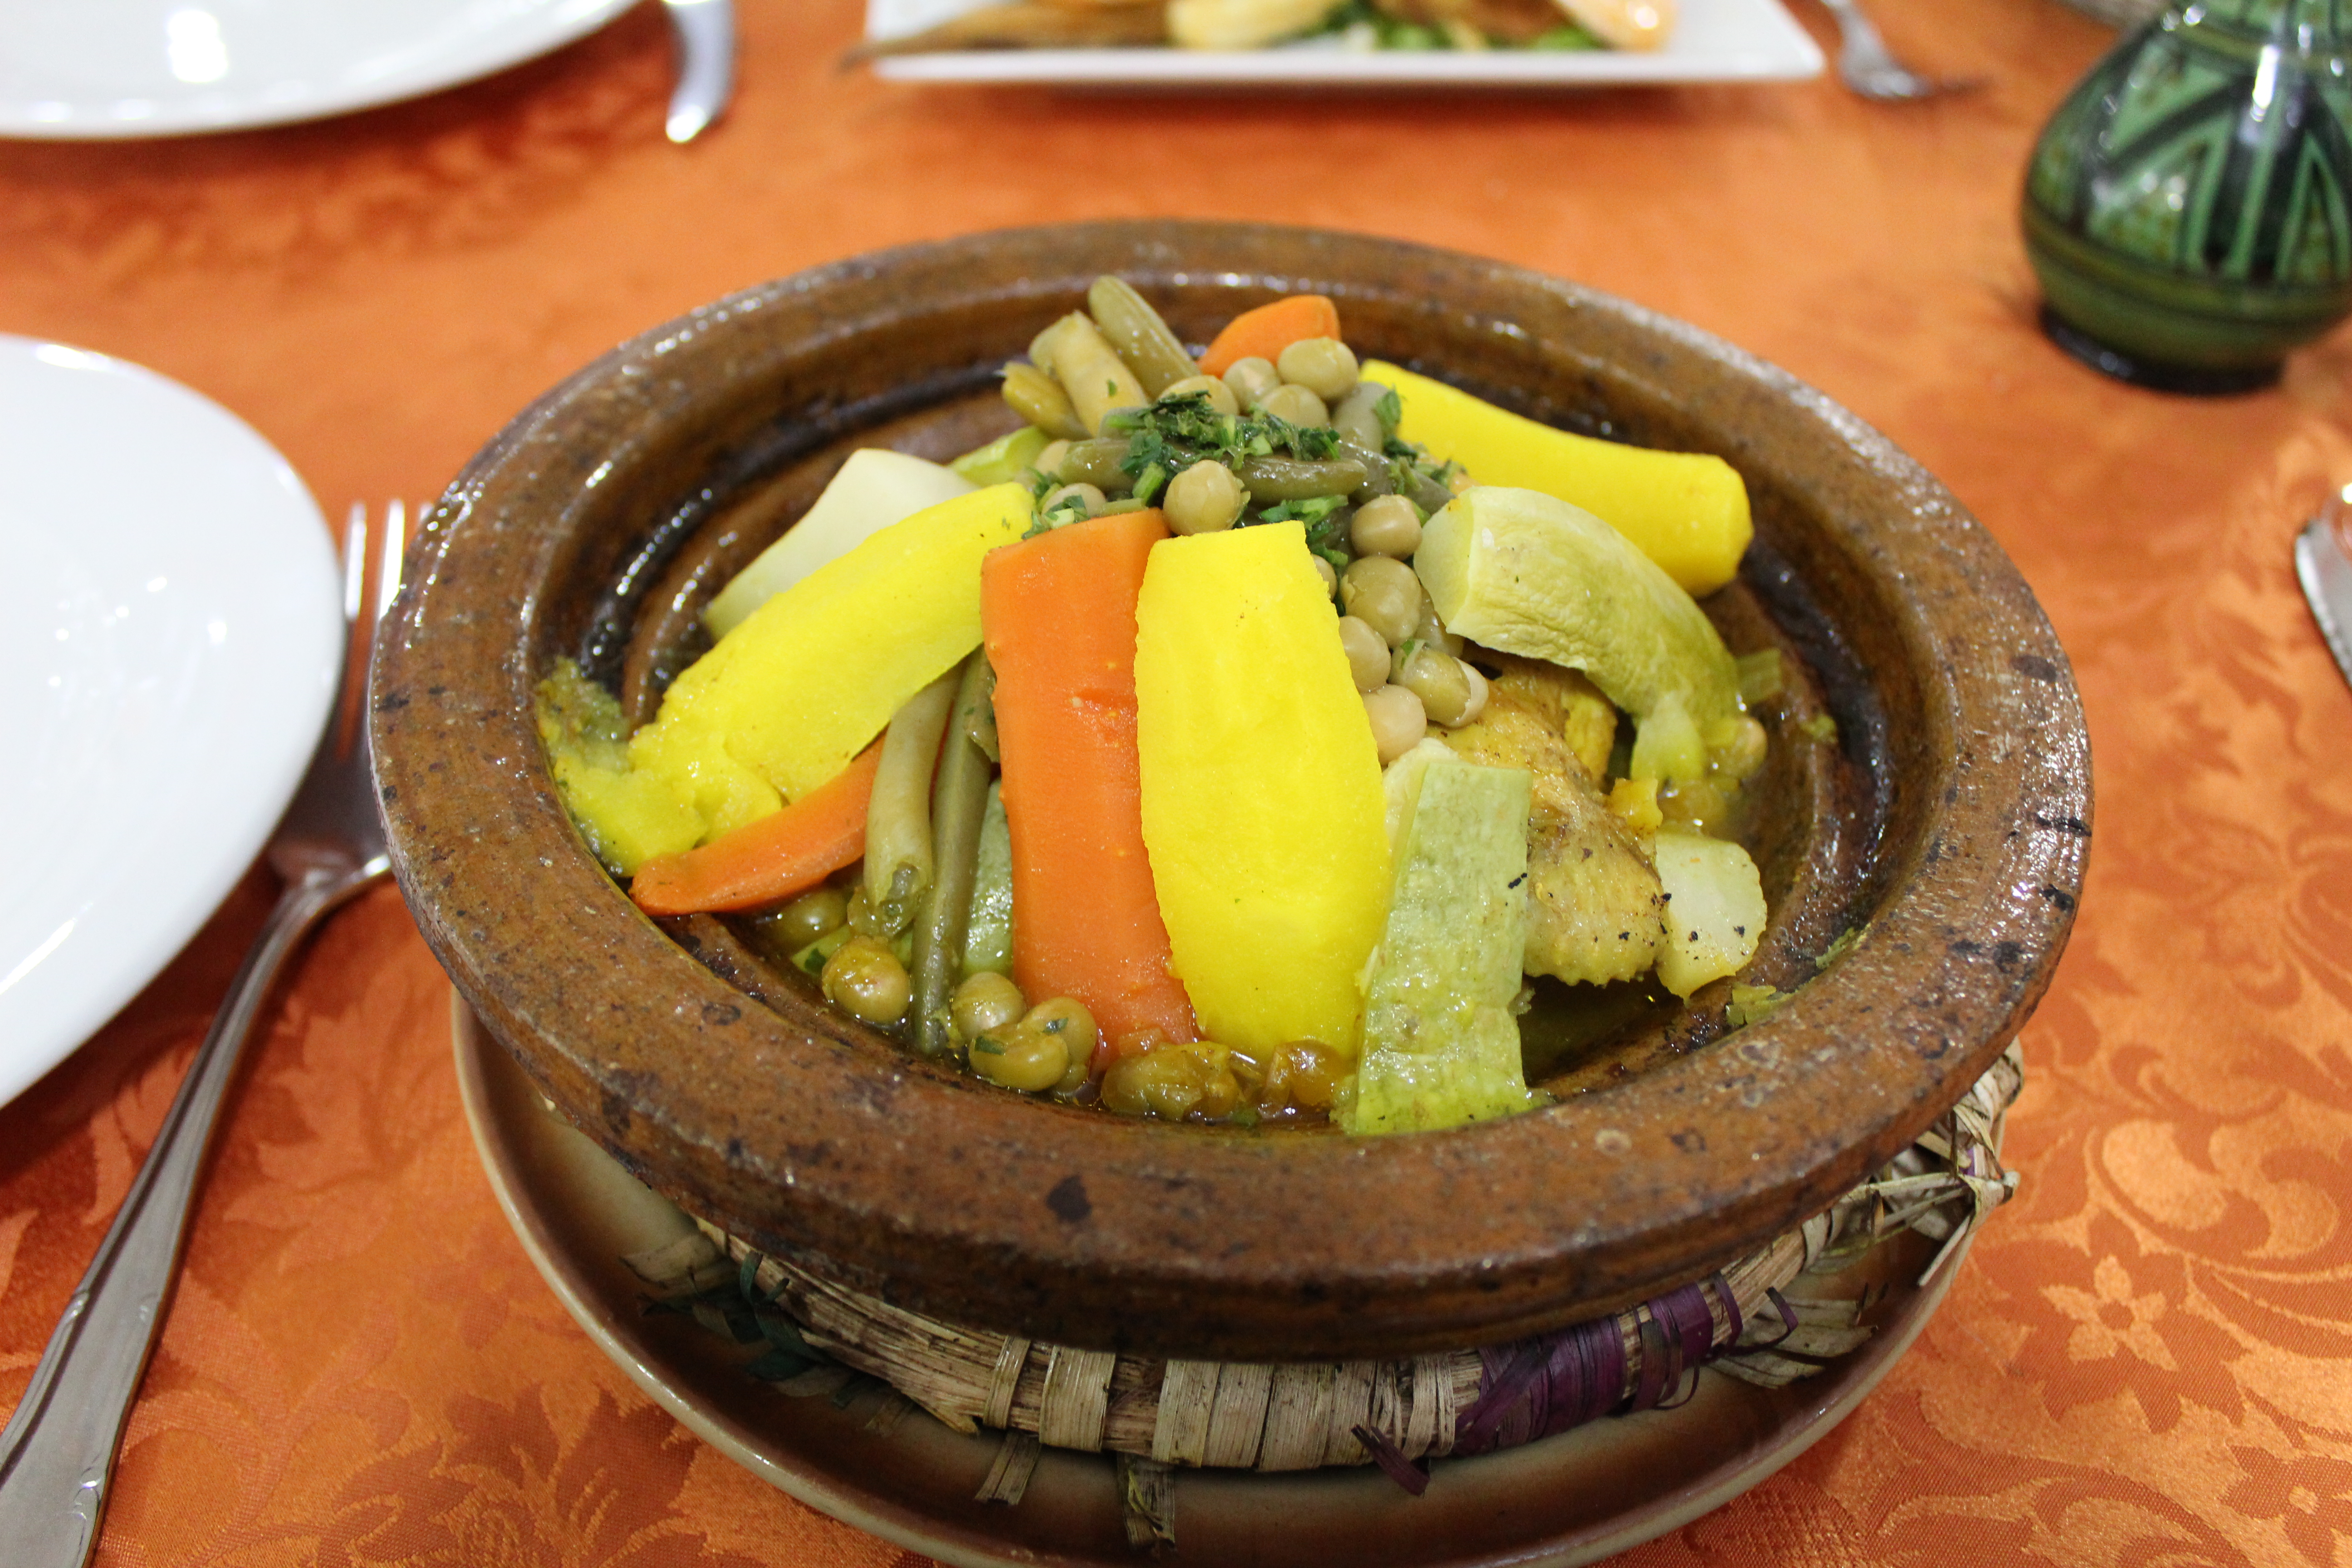
After couscous, ‘tagine’ is generally the word most associated with Moroccan food. A tagine is the iconic conical earthenware pot, with a wide, shallow base for maximum heat distribution and a cone-shaped lid to condense the steam back into the food. It is also the name of the dish that is cooked in it. Aromatics, herbs, spices, vegetables, and proteins are layered with oil and water. As the mixture cooks, a stew-like consistency develops, making a deliciously rich, flavourful sauce that is often mopped up with bread.
Tagines are found all over Morocco and come in vegetable, lamb, chicken, meatball, or fish varieties. It is the ultimate one-pot cooking.
How to Make a Tagine
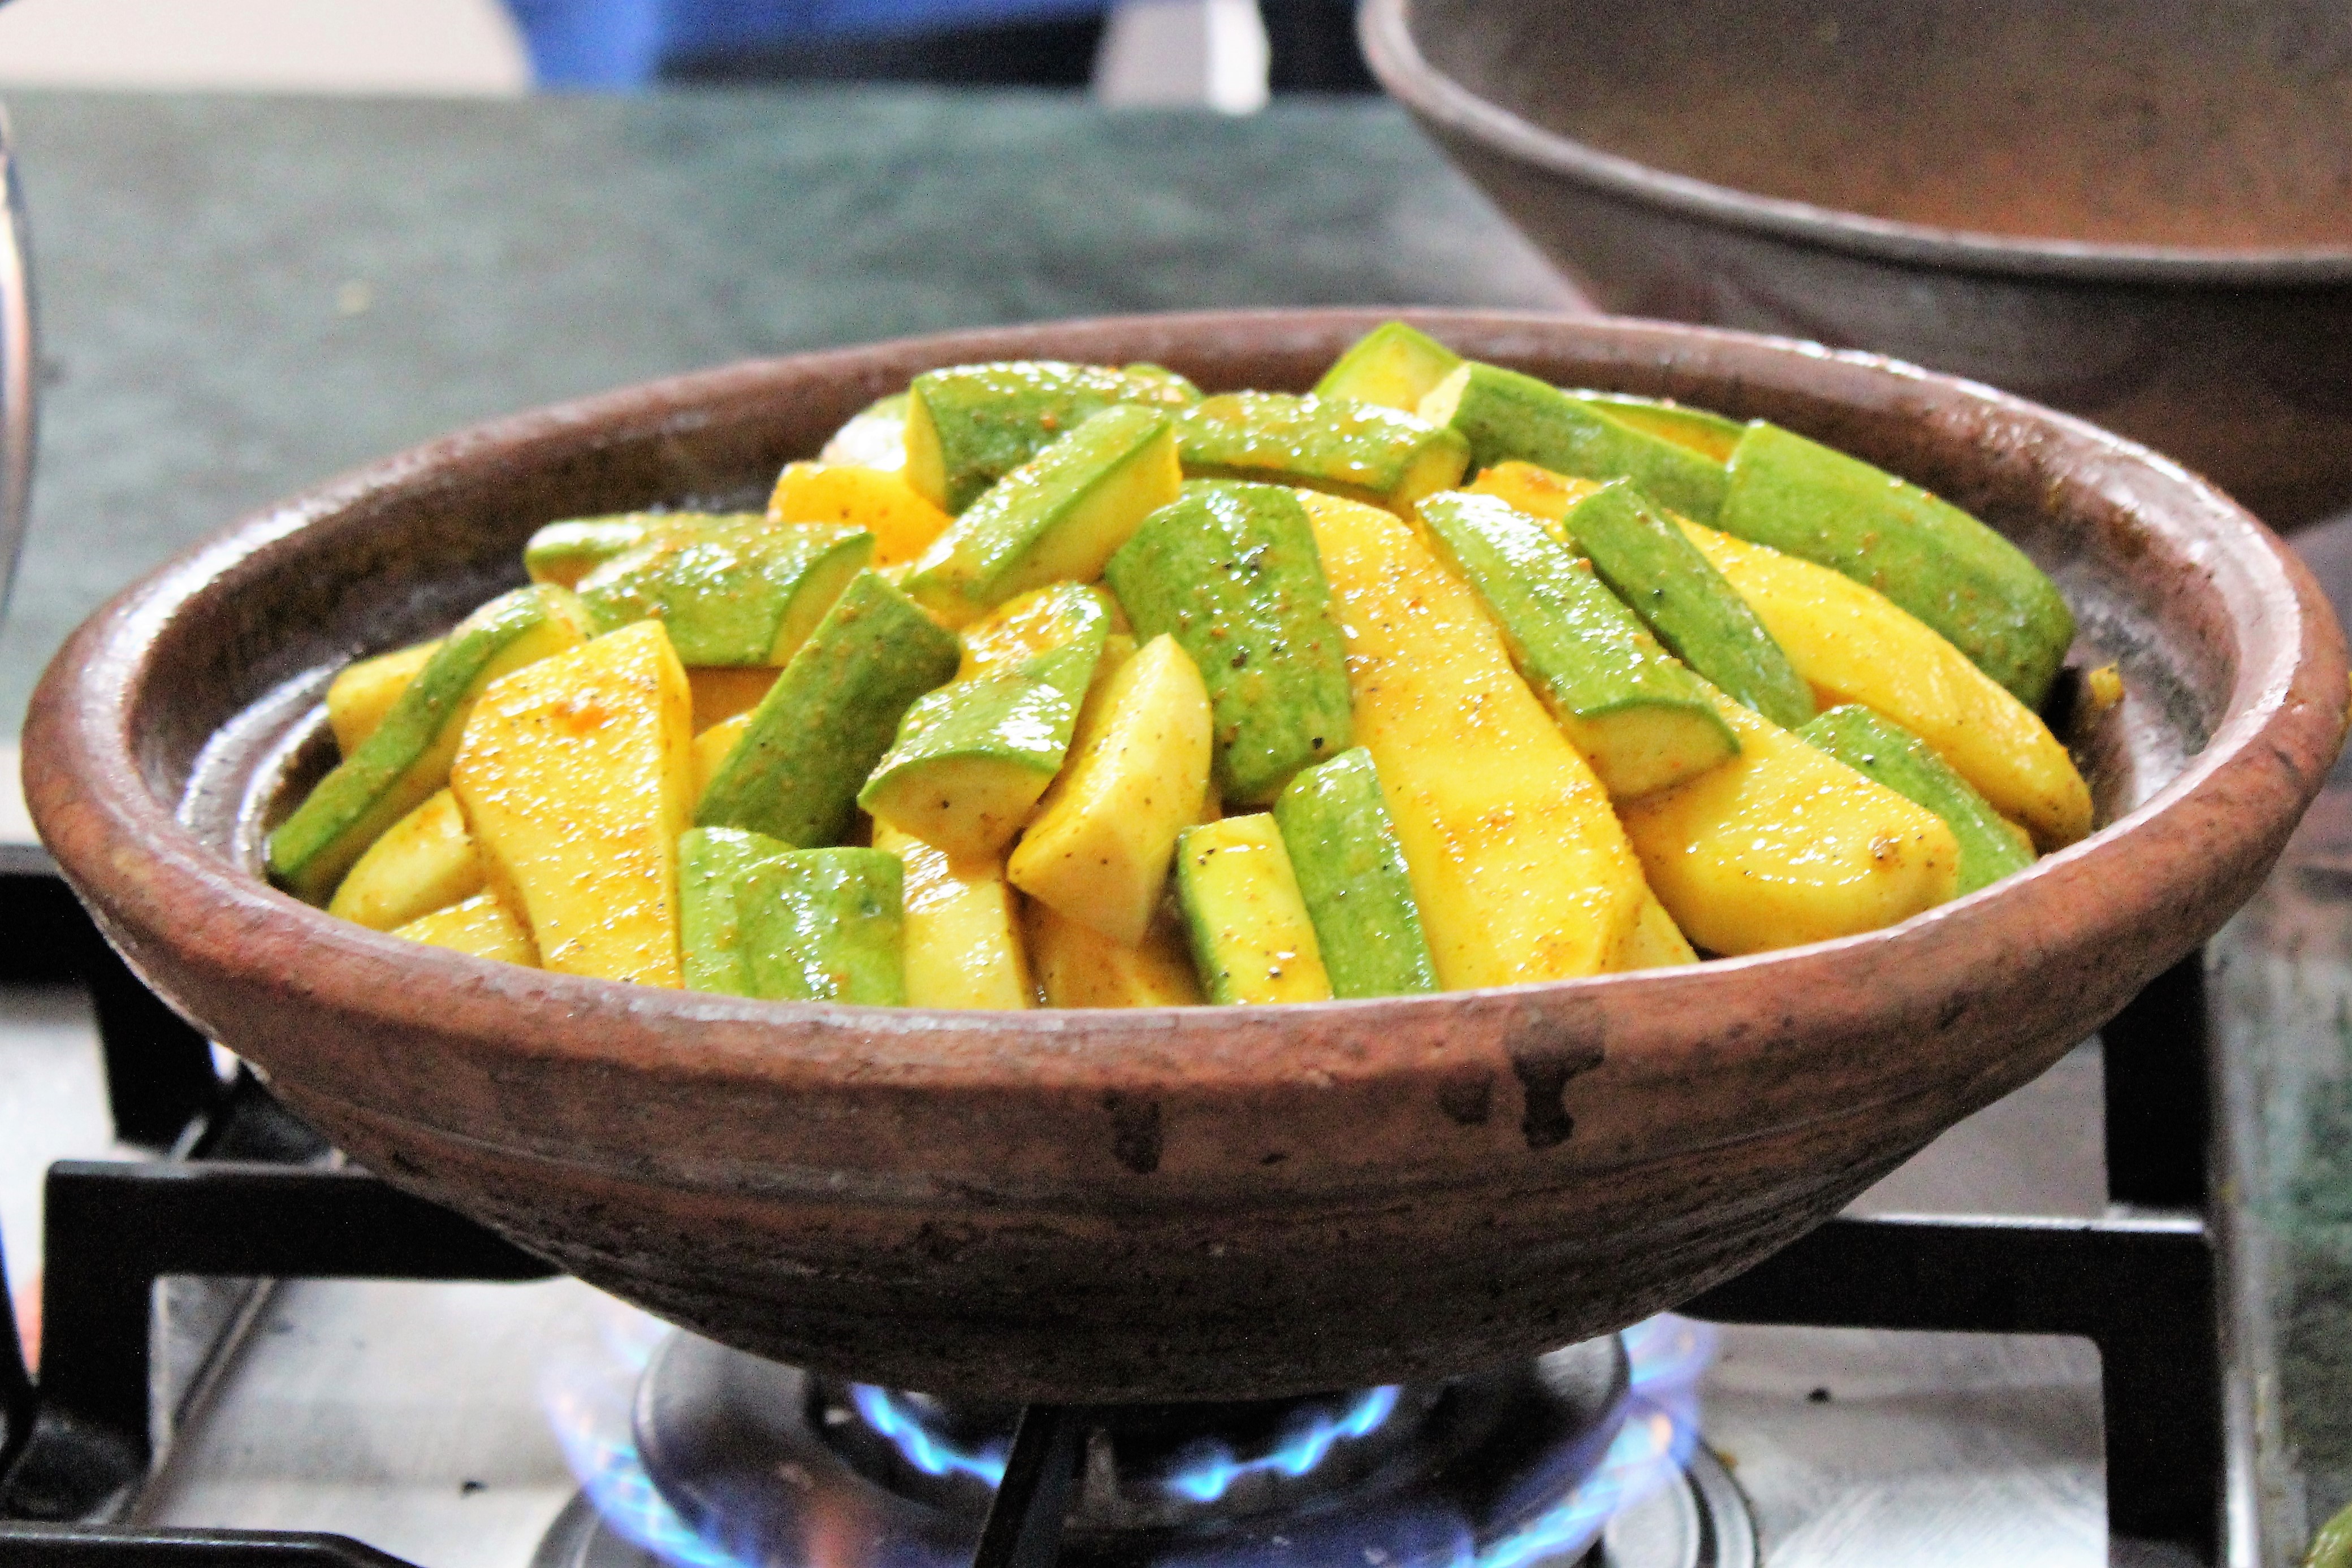
Whilst we were in Morocco, we were lucky enough to learn how to make tagine at a cookery class in Marrakech. These are the basic steps:
Place a layer of thickly sliced red onion across the base of the tagine to create a bed for the rest of the ingredients and to stop the meat from sticking to the bottom of the pot and burning. In fish tagines, the onions are often substituted with celery and/or carrots.
Add garlic. This can be crushed or left whole.
Sprinkle with oil.
Arrange the meat or fish in the centre.
Add half of your spices. These are usually a mix of salt, pepper, cumin, turmeric or saffron, ginger, cayenne, coriander, and paprika. Some recipes suggest that you mix the spices together first and coat the meat and vegetables in them before adding to the tagine.
Add some more oil.
Peel and shape your vegetables. These could include potatoes, sweet potatoes, carrots, courgettes, and parsnips.
Arrange the prepared vegetables in a conical shape around the meat.
Add the rest of your spices.
Add some more oil.
Top the vegetables with your garnish – olives, slices of sweet pepper, pieces of preserved lemon, or whole chillies.
Add water or stock.
Place the tagine over a low heat and slowly bring up to a simmer.
Leave to cook. A lamb or beef tagine can take up to three or four hours depending on the size. Fish, chicken, or vegetable tagines won’t take as long.
Halfway through cooking, check whether the tagine needs more water.
Once the meat and vegetables are tender, serve your tagine!
Watch this video to learn how to make a vegetable tagine:
Chicken with Preserved Lemons and Olives
This is one of my favourite Moroccan recipes. I love the tangy, salty lemons with the soft chicken. Our driver’s sister prepared it for us when we spent the evening in her home in Tangier whilst we waited for the night train to Marrakech. It was delicious!
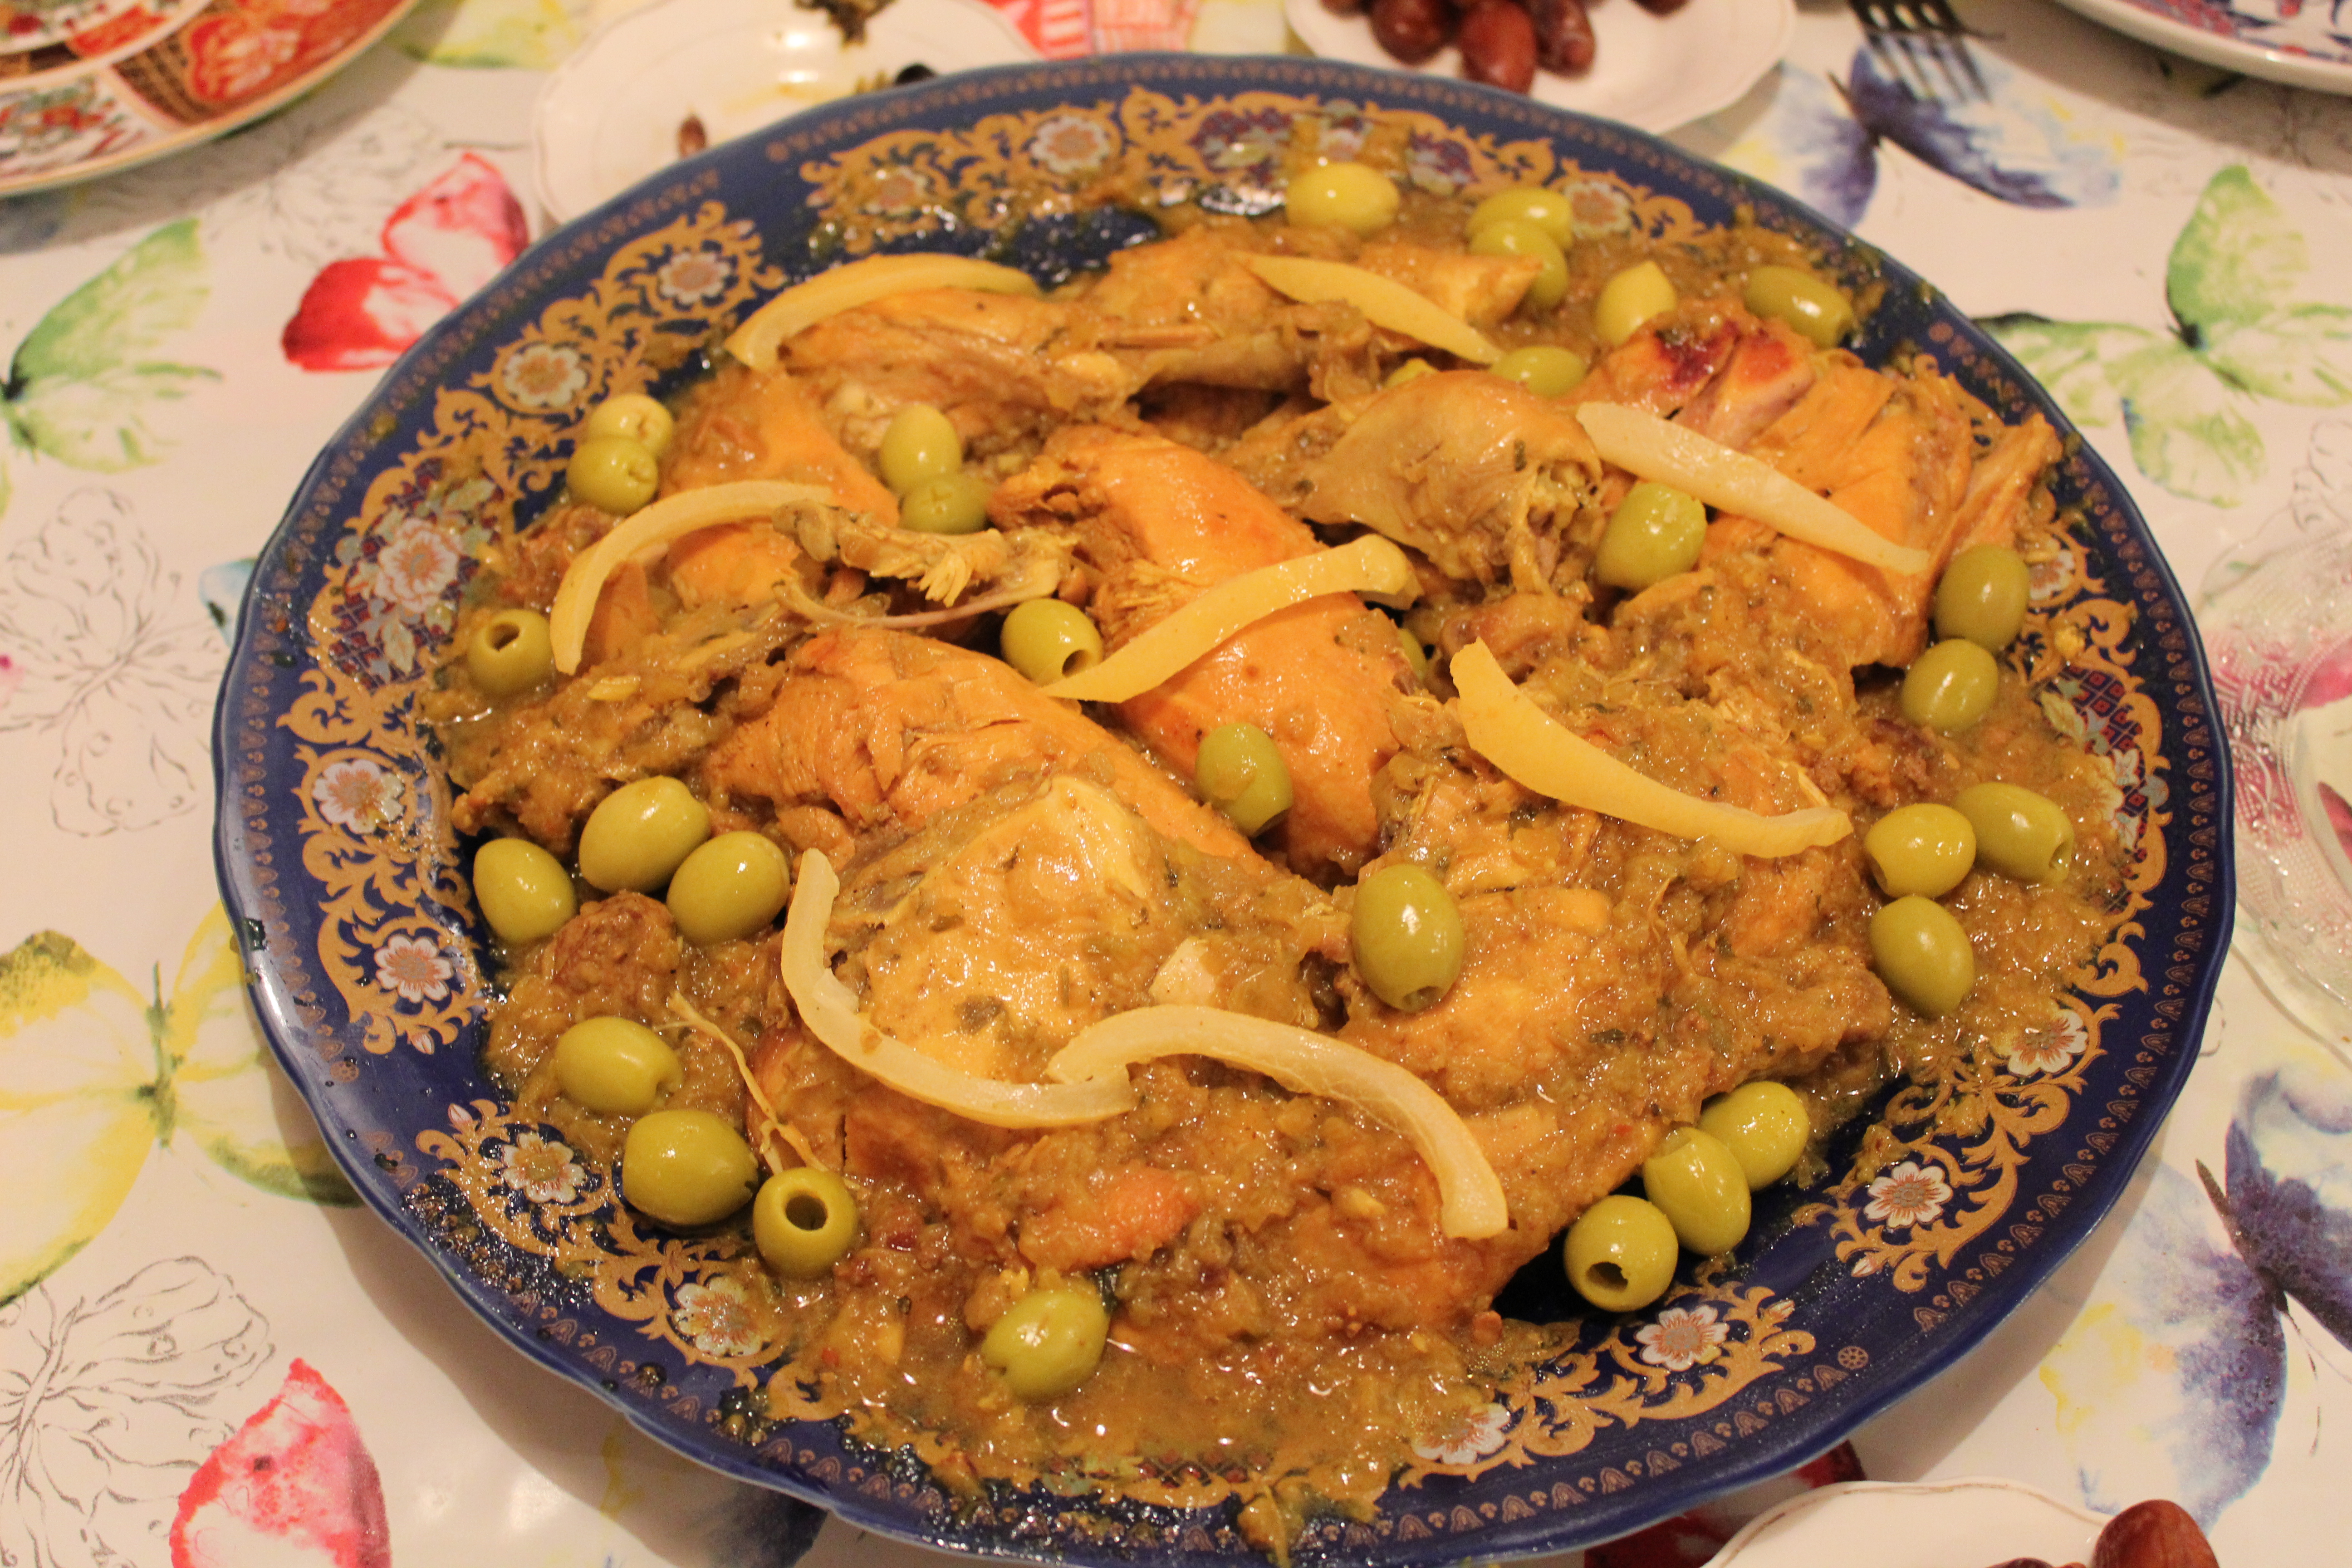
Watch this video to learn how to prepare the dish at home. I love the tongue-in-cheek commentary 😄.
Lamb or Beef with Prunes
I love the way Moroccan cuisine combines meat with dried fruit. From the chicken with lemons described above, to the rabbit with apricots we enjoyed in Chefchaouen, to the tasty red meat with prunes you find all over Morocco, these dishes are hearty, comforting and delicious.
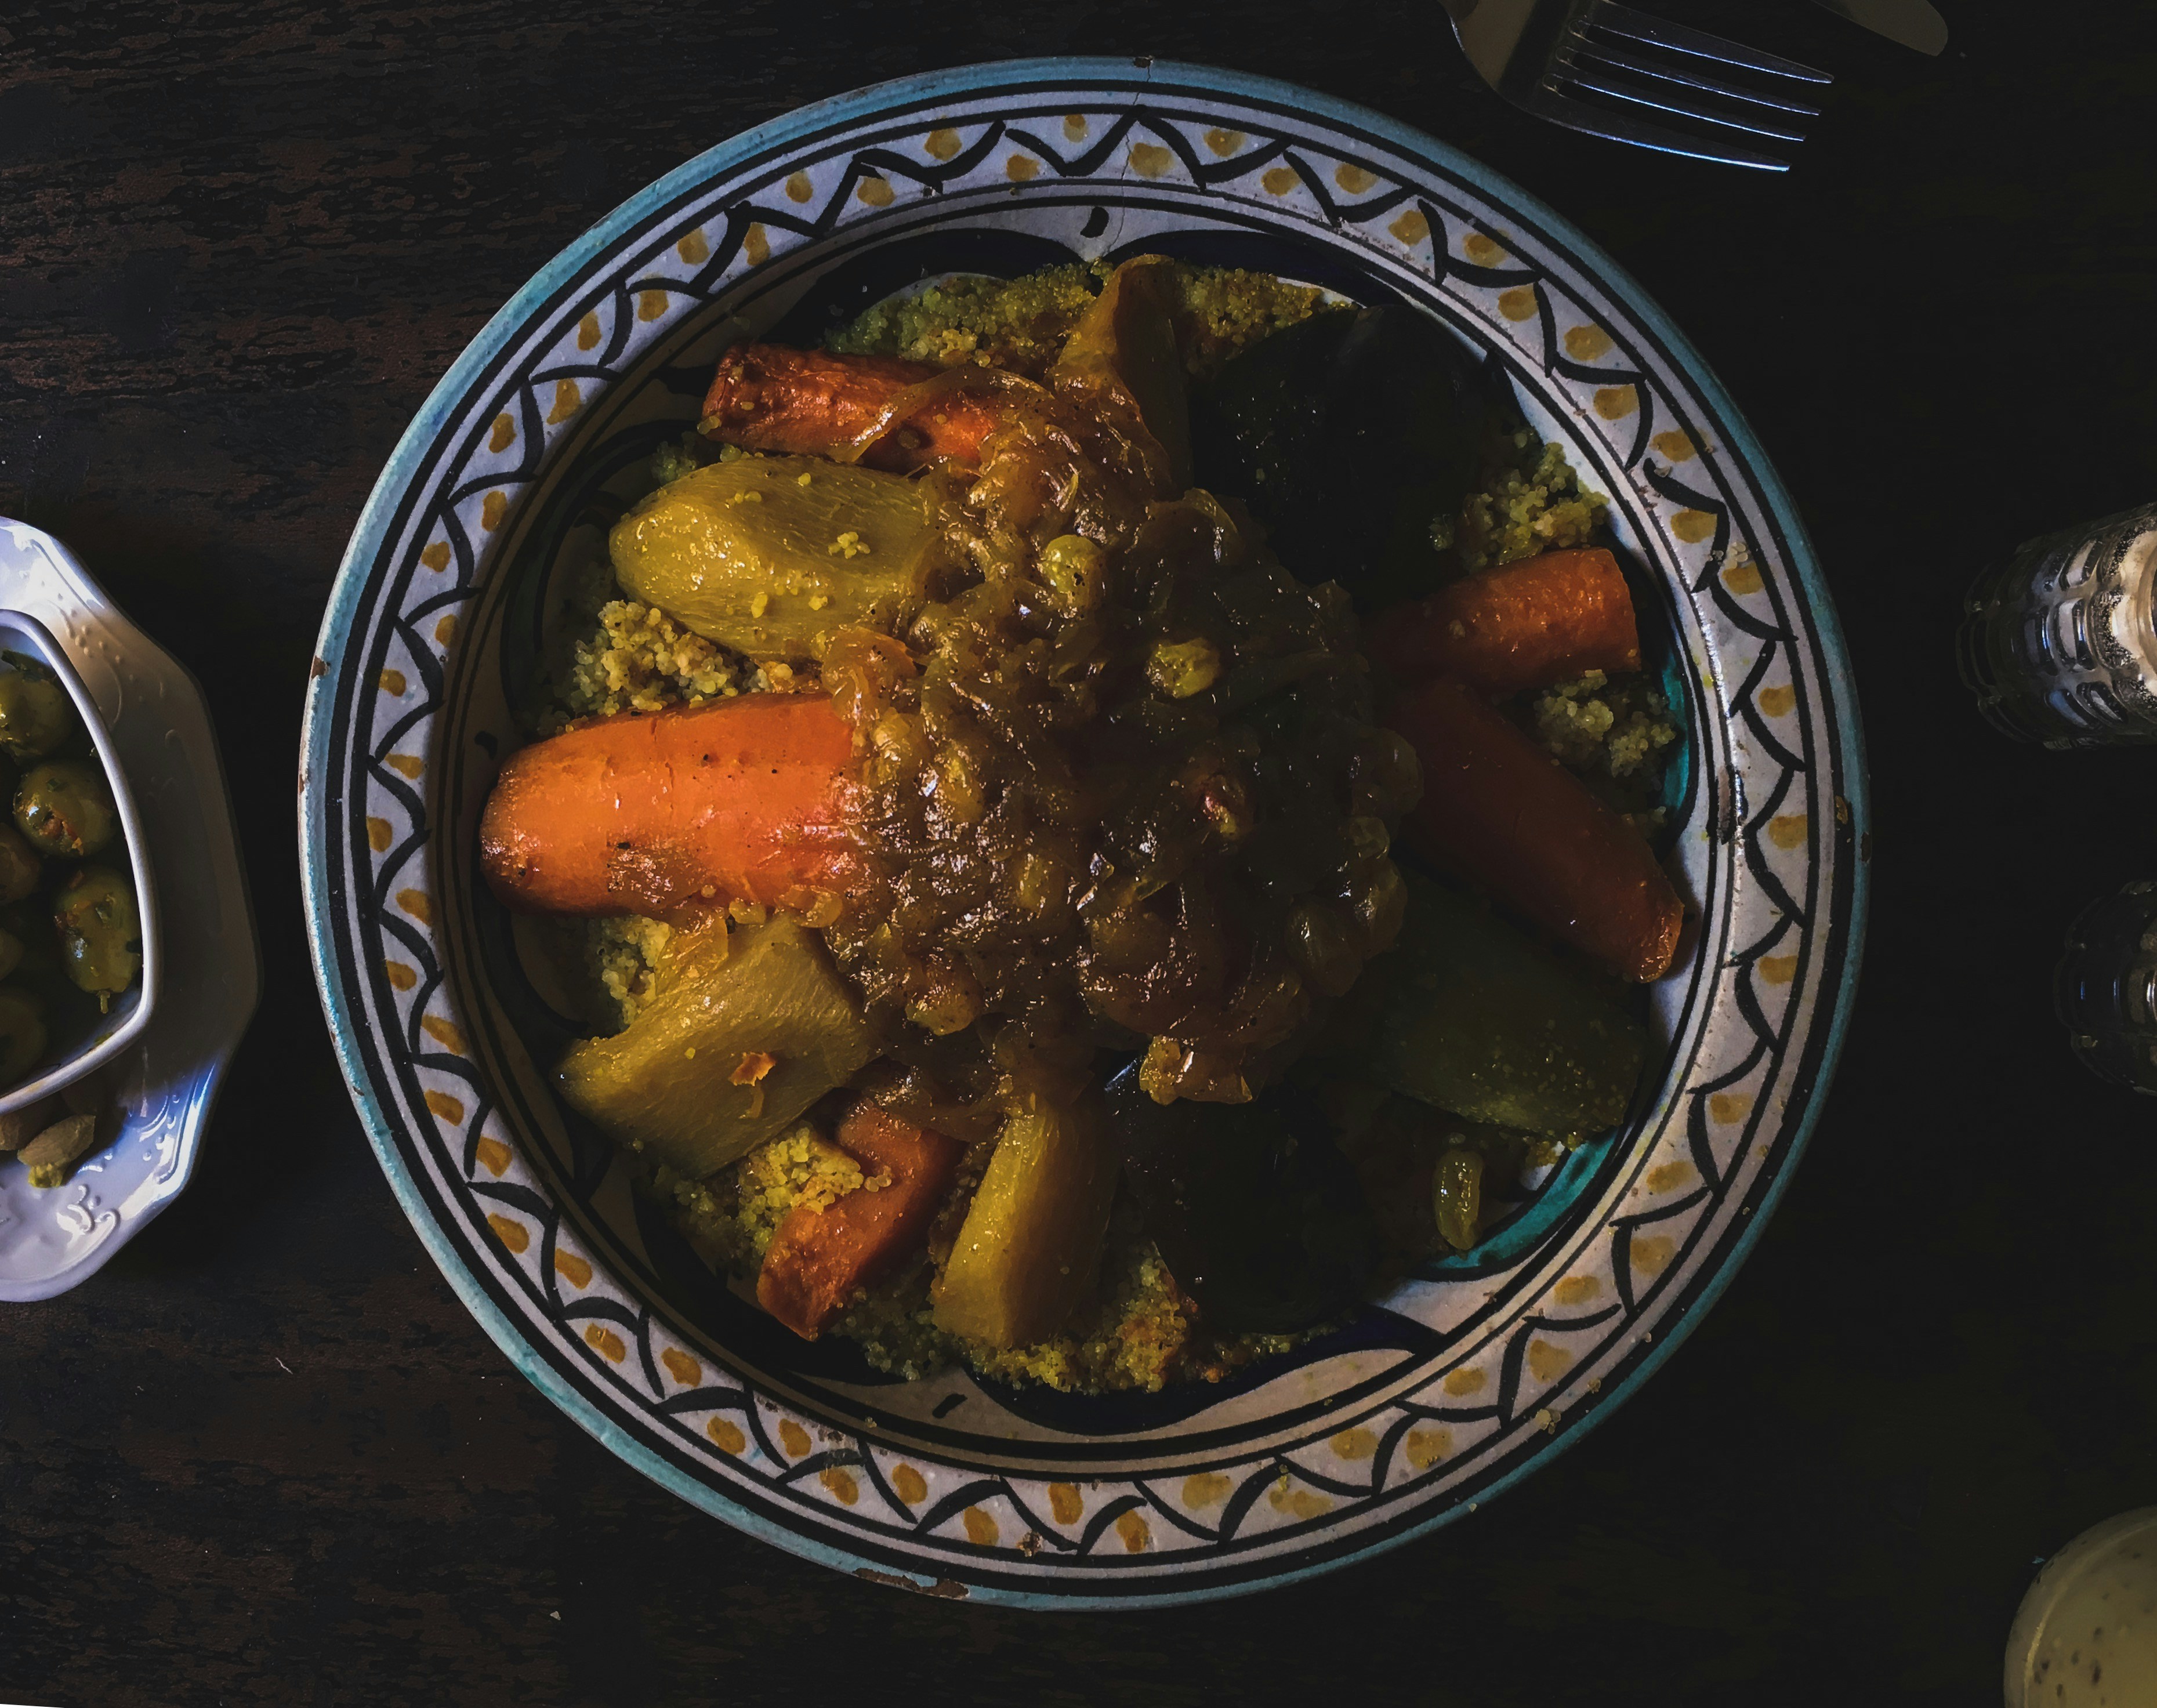
Watch this video, which teaches you how to prepare beef with prunes at home:
Shakshuka (Berber Omelette)
There are many variations on Berber eggs or Berber omelette. All are delicious. They are great for breakfast or lunch and are usually served with freshly-baked bread. We enjoyed the one pictured below at the gîte we stayed at in Aroumd in the High Atlas Mountains. I think the altitude made it taste even better than usual!
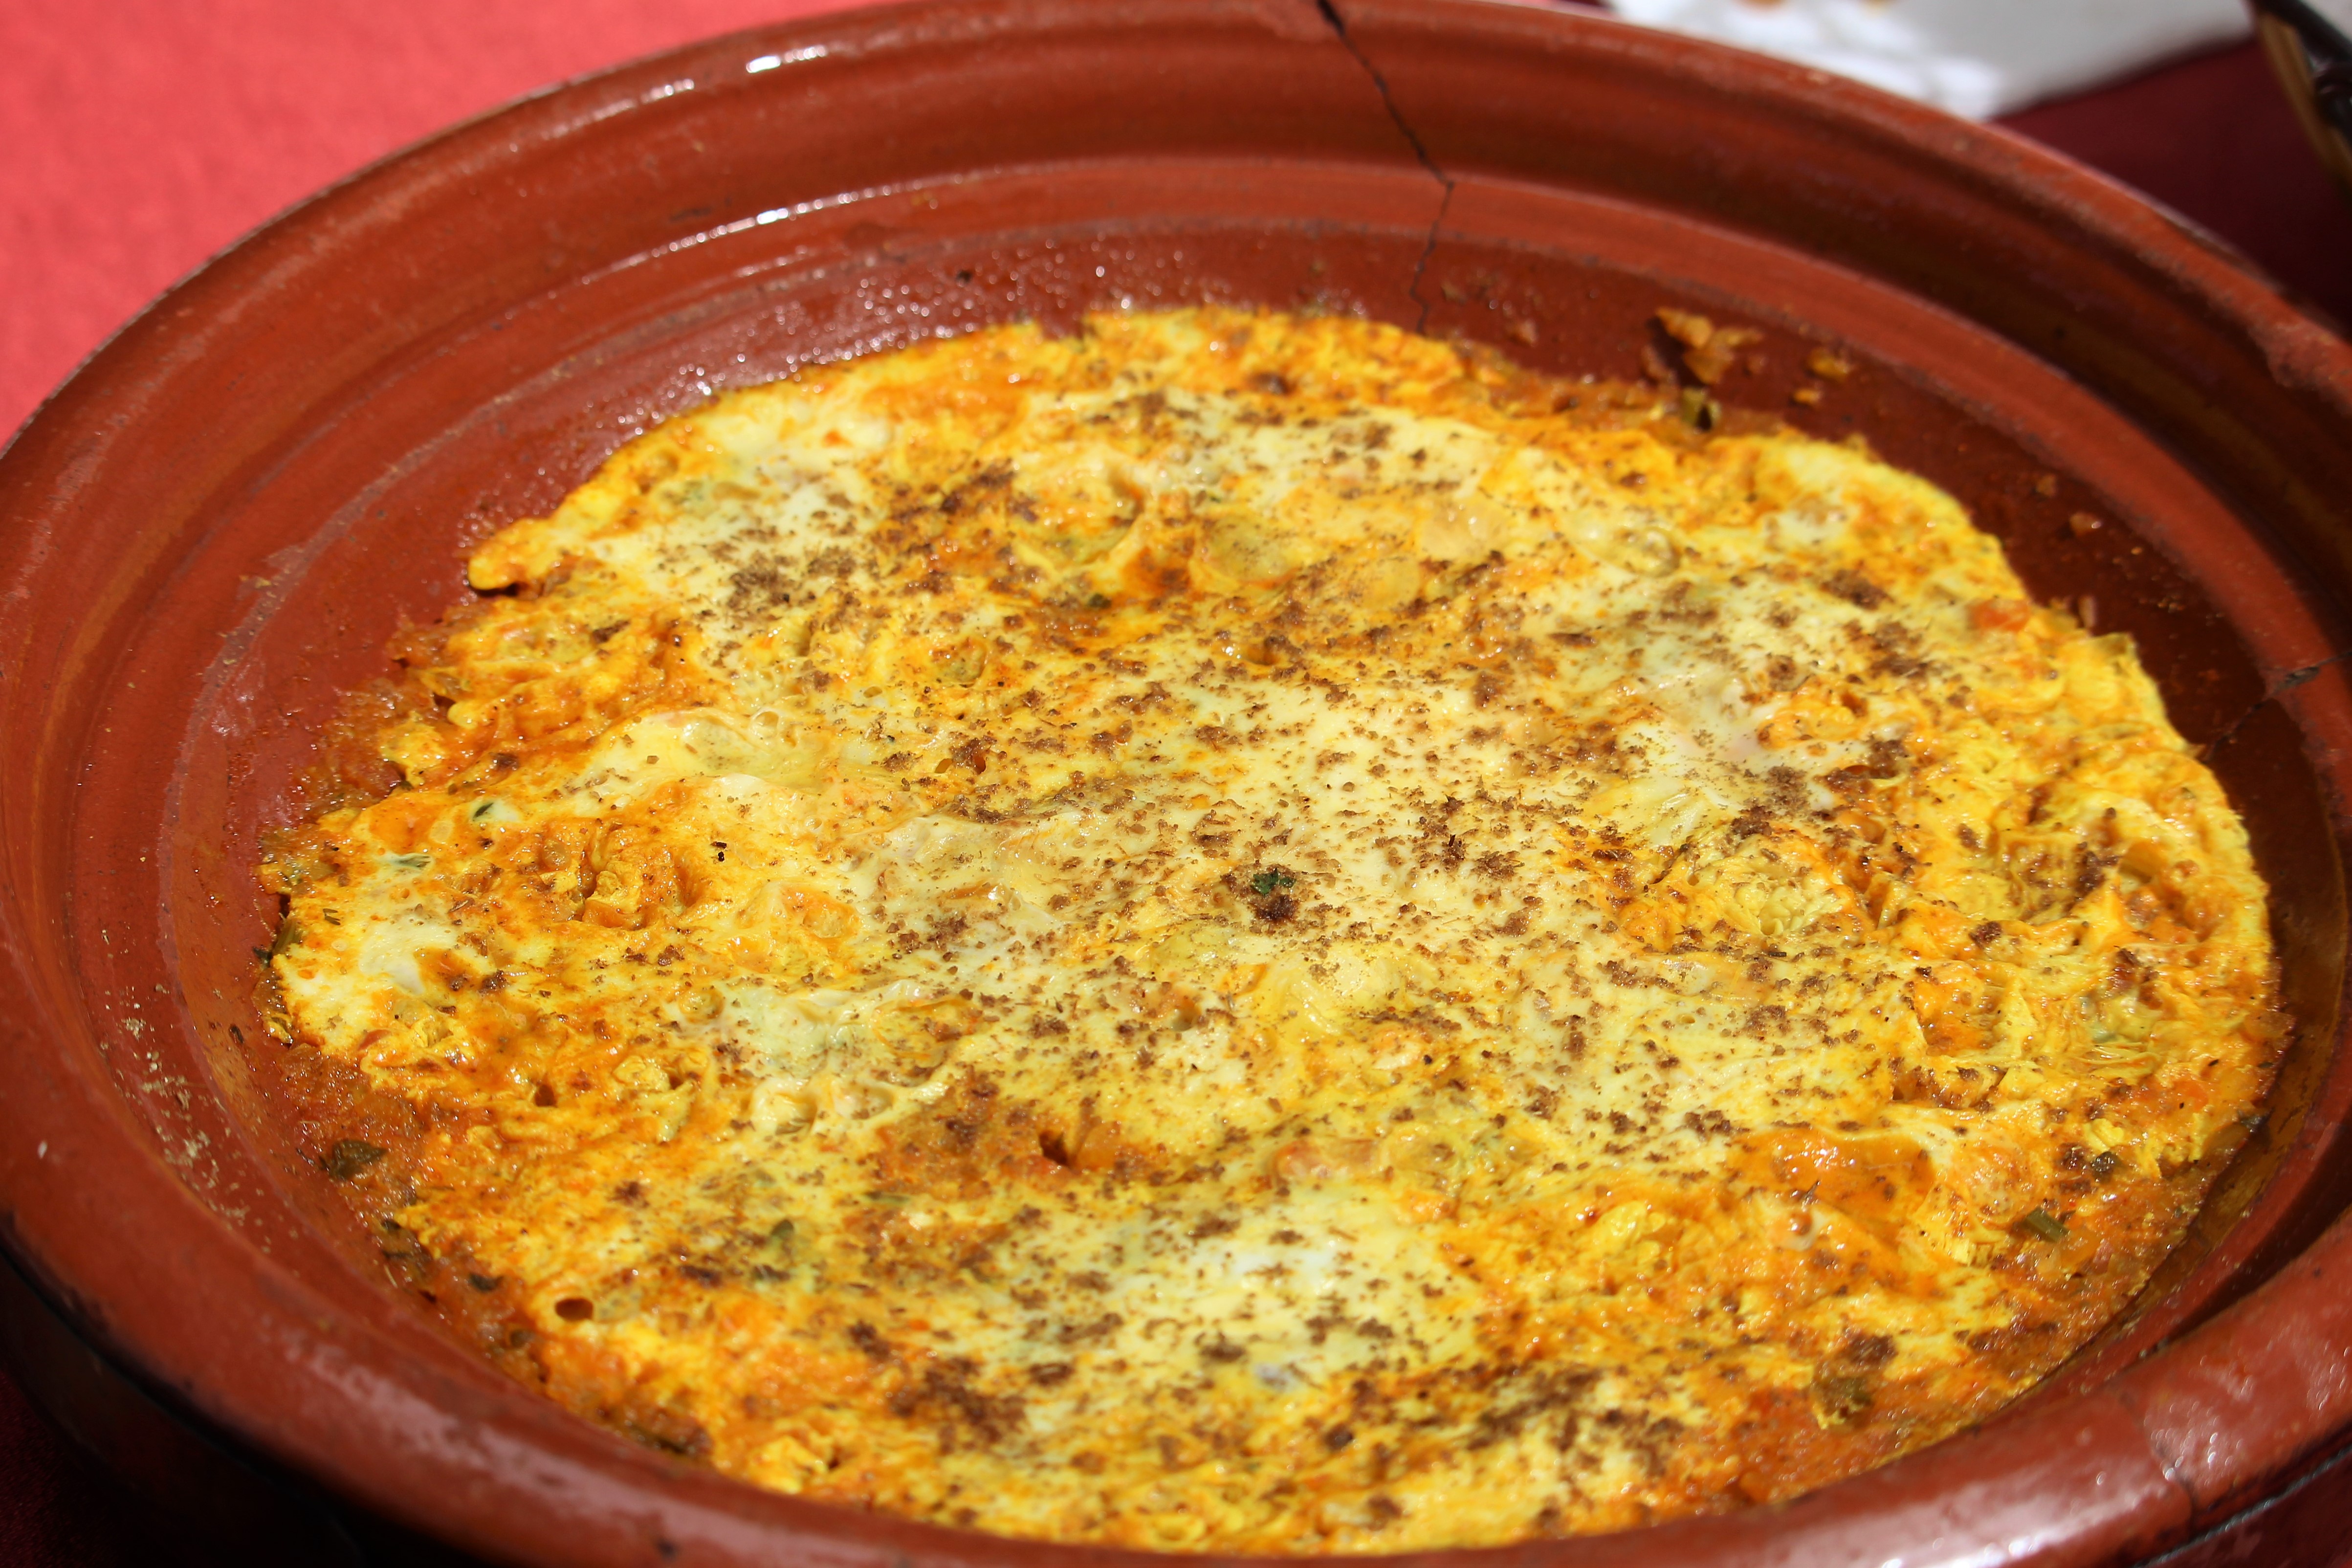
To make this dish at home, you will need:
1½ tbsp melted ghee or olive oil
1 small onion, finely chopped
2 tsp finely grated ginger
2 small garlic cloves, crushed
2 tsp cumin seeds, dry-roasted and ground with a mortar and pestle
2 tsp paprika
1½ tsp ground turmeric
¼ cup coarsely chopped coriander, plus extra, torn, to serve
¼ cup coarsely chopped flat-leaf parsley
8 eggs, lightly whisked
Grilled flatbread, to serve (optional)
Preheat oven to 220C. Heat ghee or olive oil in a large ovenproof frying pan over medium-high heat (or over a low heat in a tagine), add onion and sauté until tender and starting to caramelise (8-12 minutes). Stir in ginger and garlic, then stir in spices, coriander and parsley.
Add eggs to onion and stir until they just start to scramble (1-2 minutes). Transfer to oven and bake uncovered until just set (3-4 minutes), or cooked to your liking. Scatter with coriander and serve with grilled flatbread.
Watch this video for the type of Berber eggs which are poached in a rich tomato sauce:
Harira
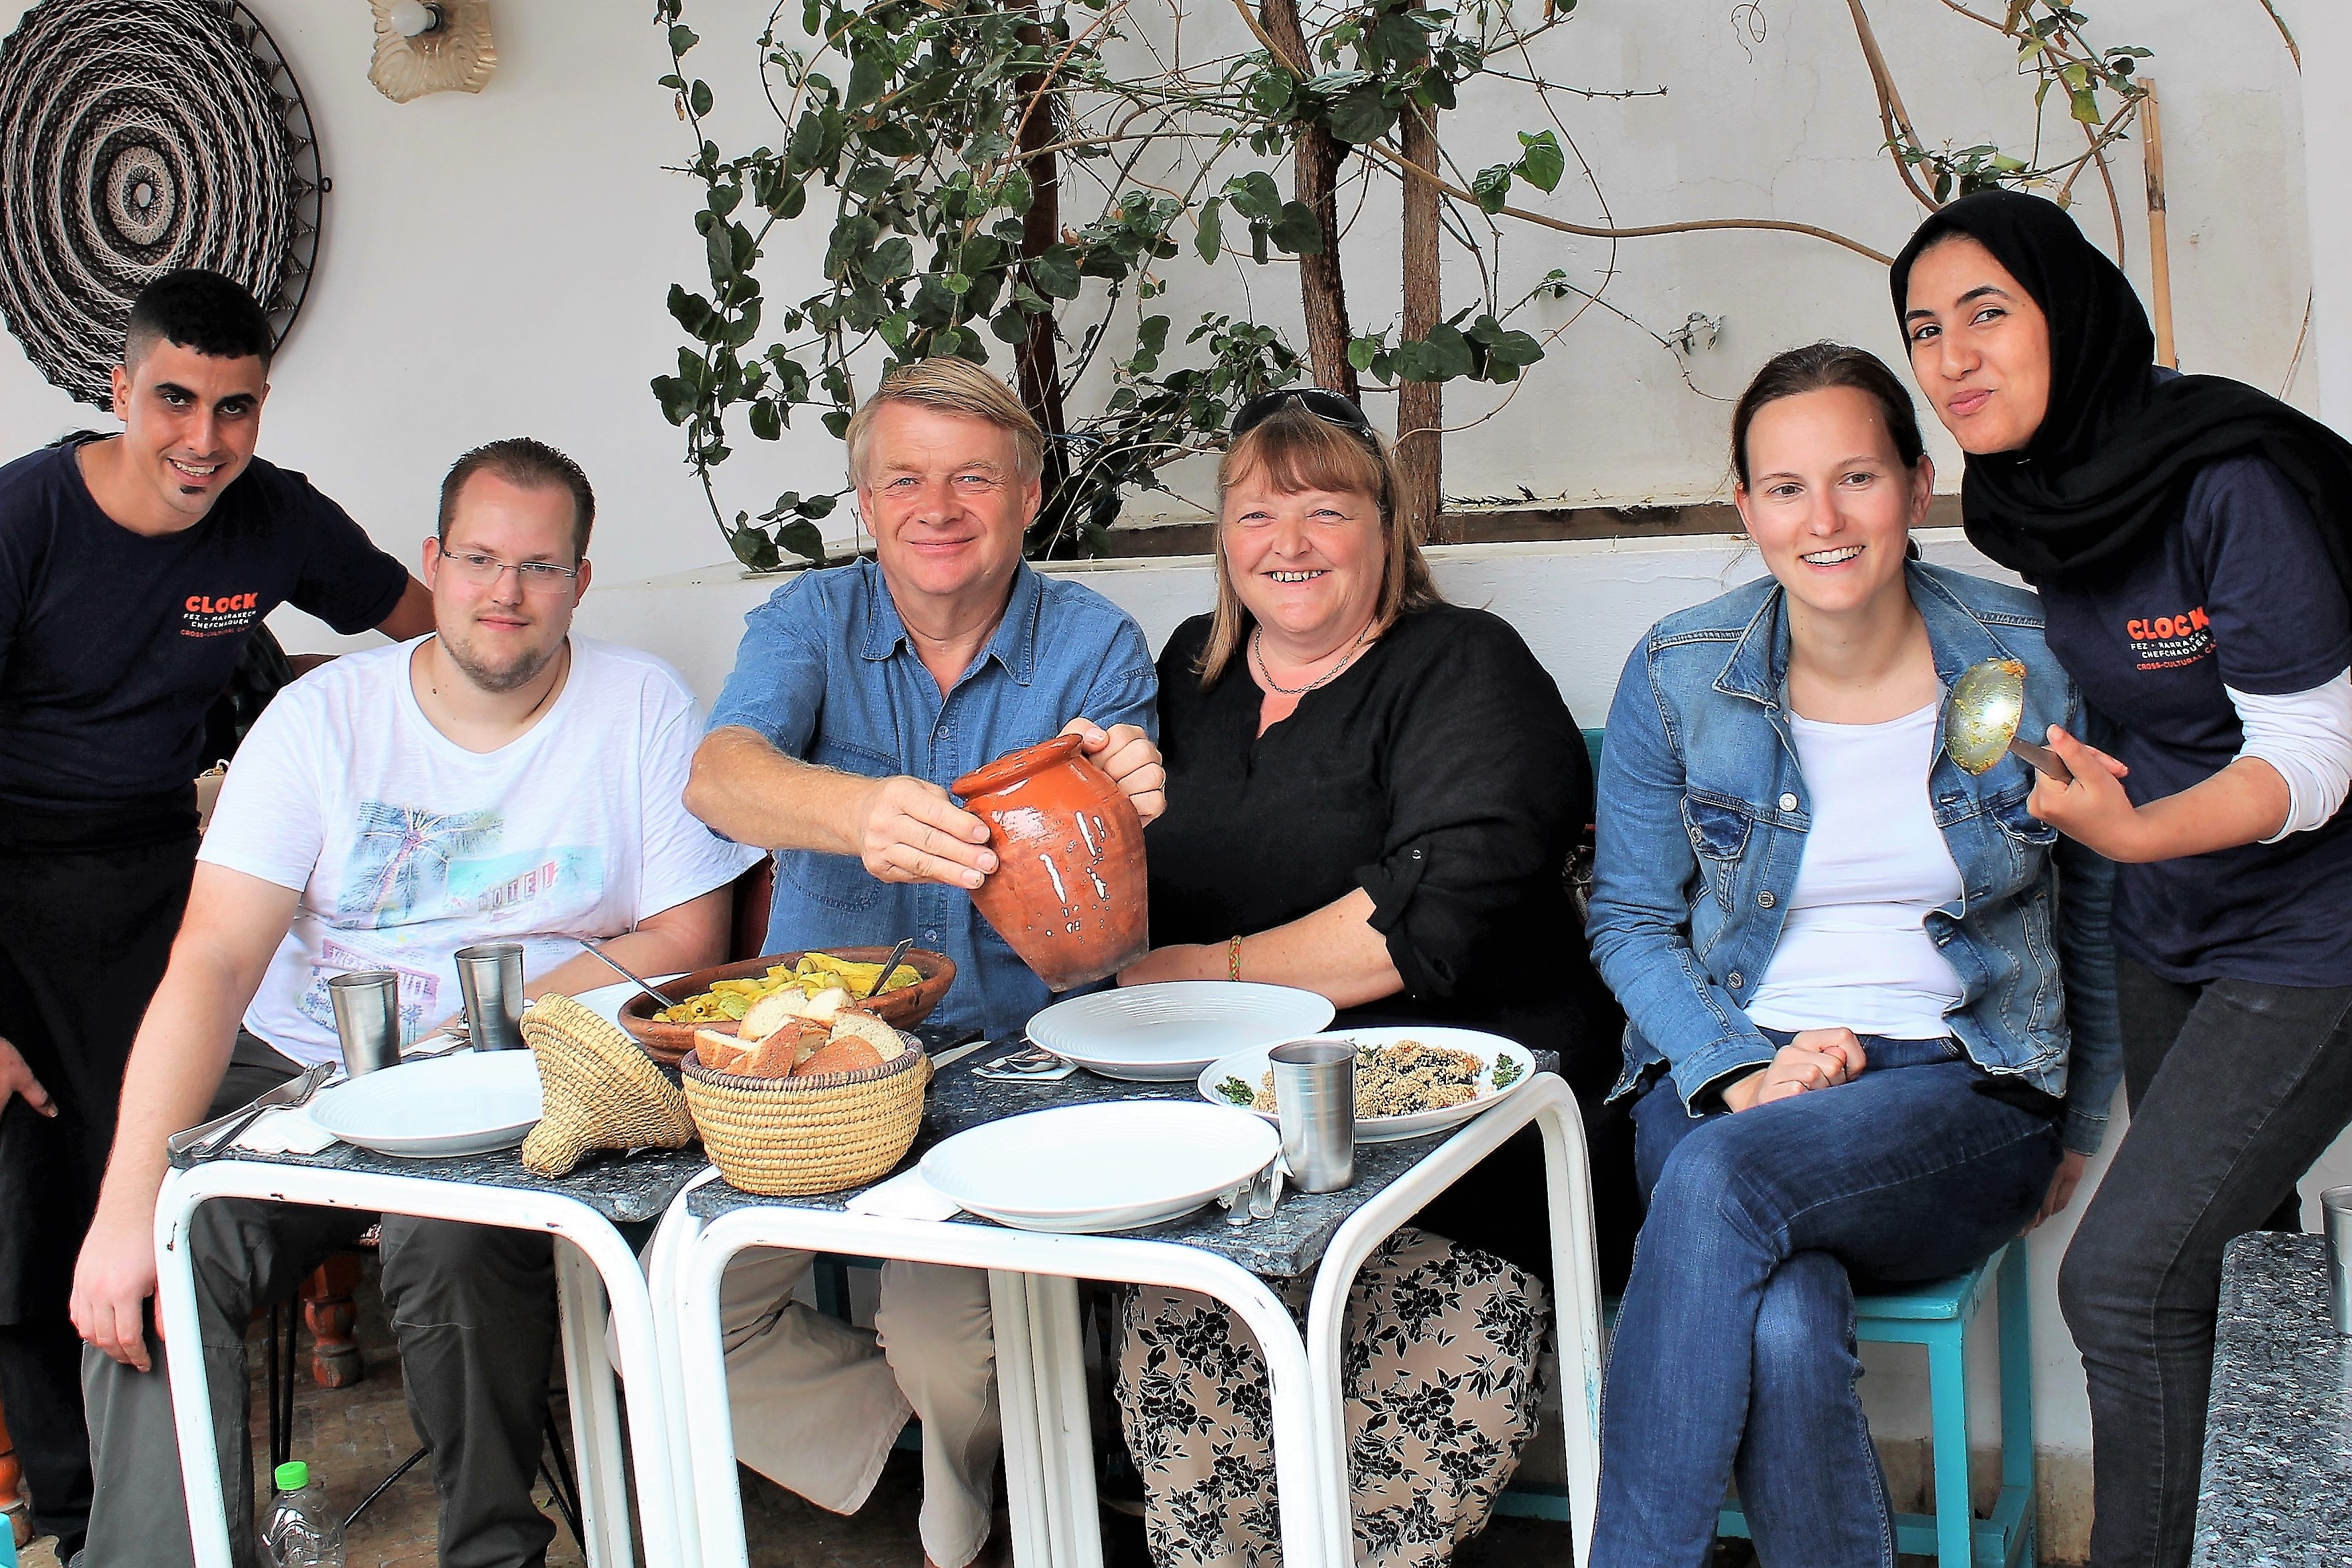
Harira is a spicy tomato, chickpea and lentil soup served all over Morocco – at home, in restaurants, and at street stalls. Sometimes, meat is added to make it into a main course dish. It is usually eaten with dates and sweet pastries on the side. We were served it all over Morocco, but never with more enthusiasm than by these guys during our food tour of Marrakech!
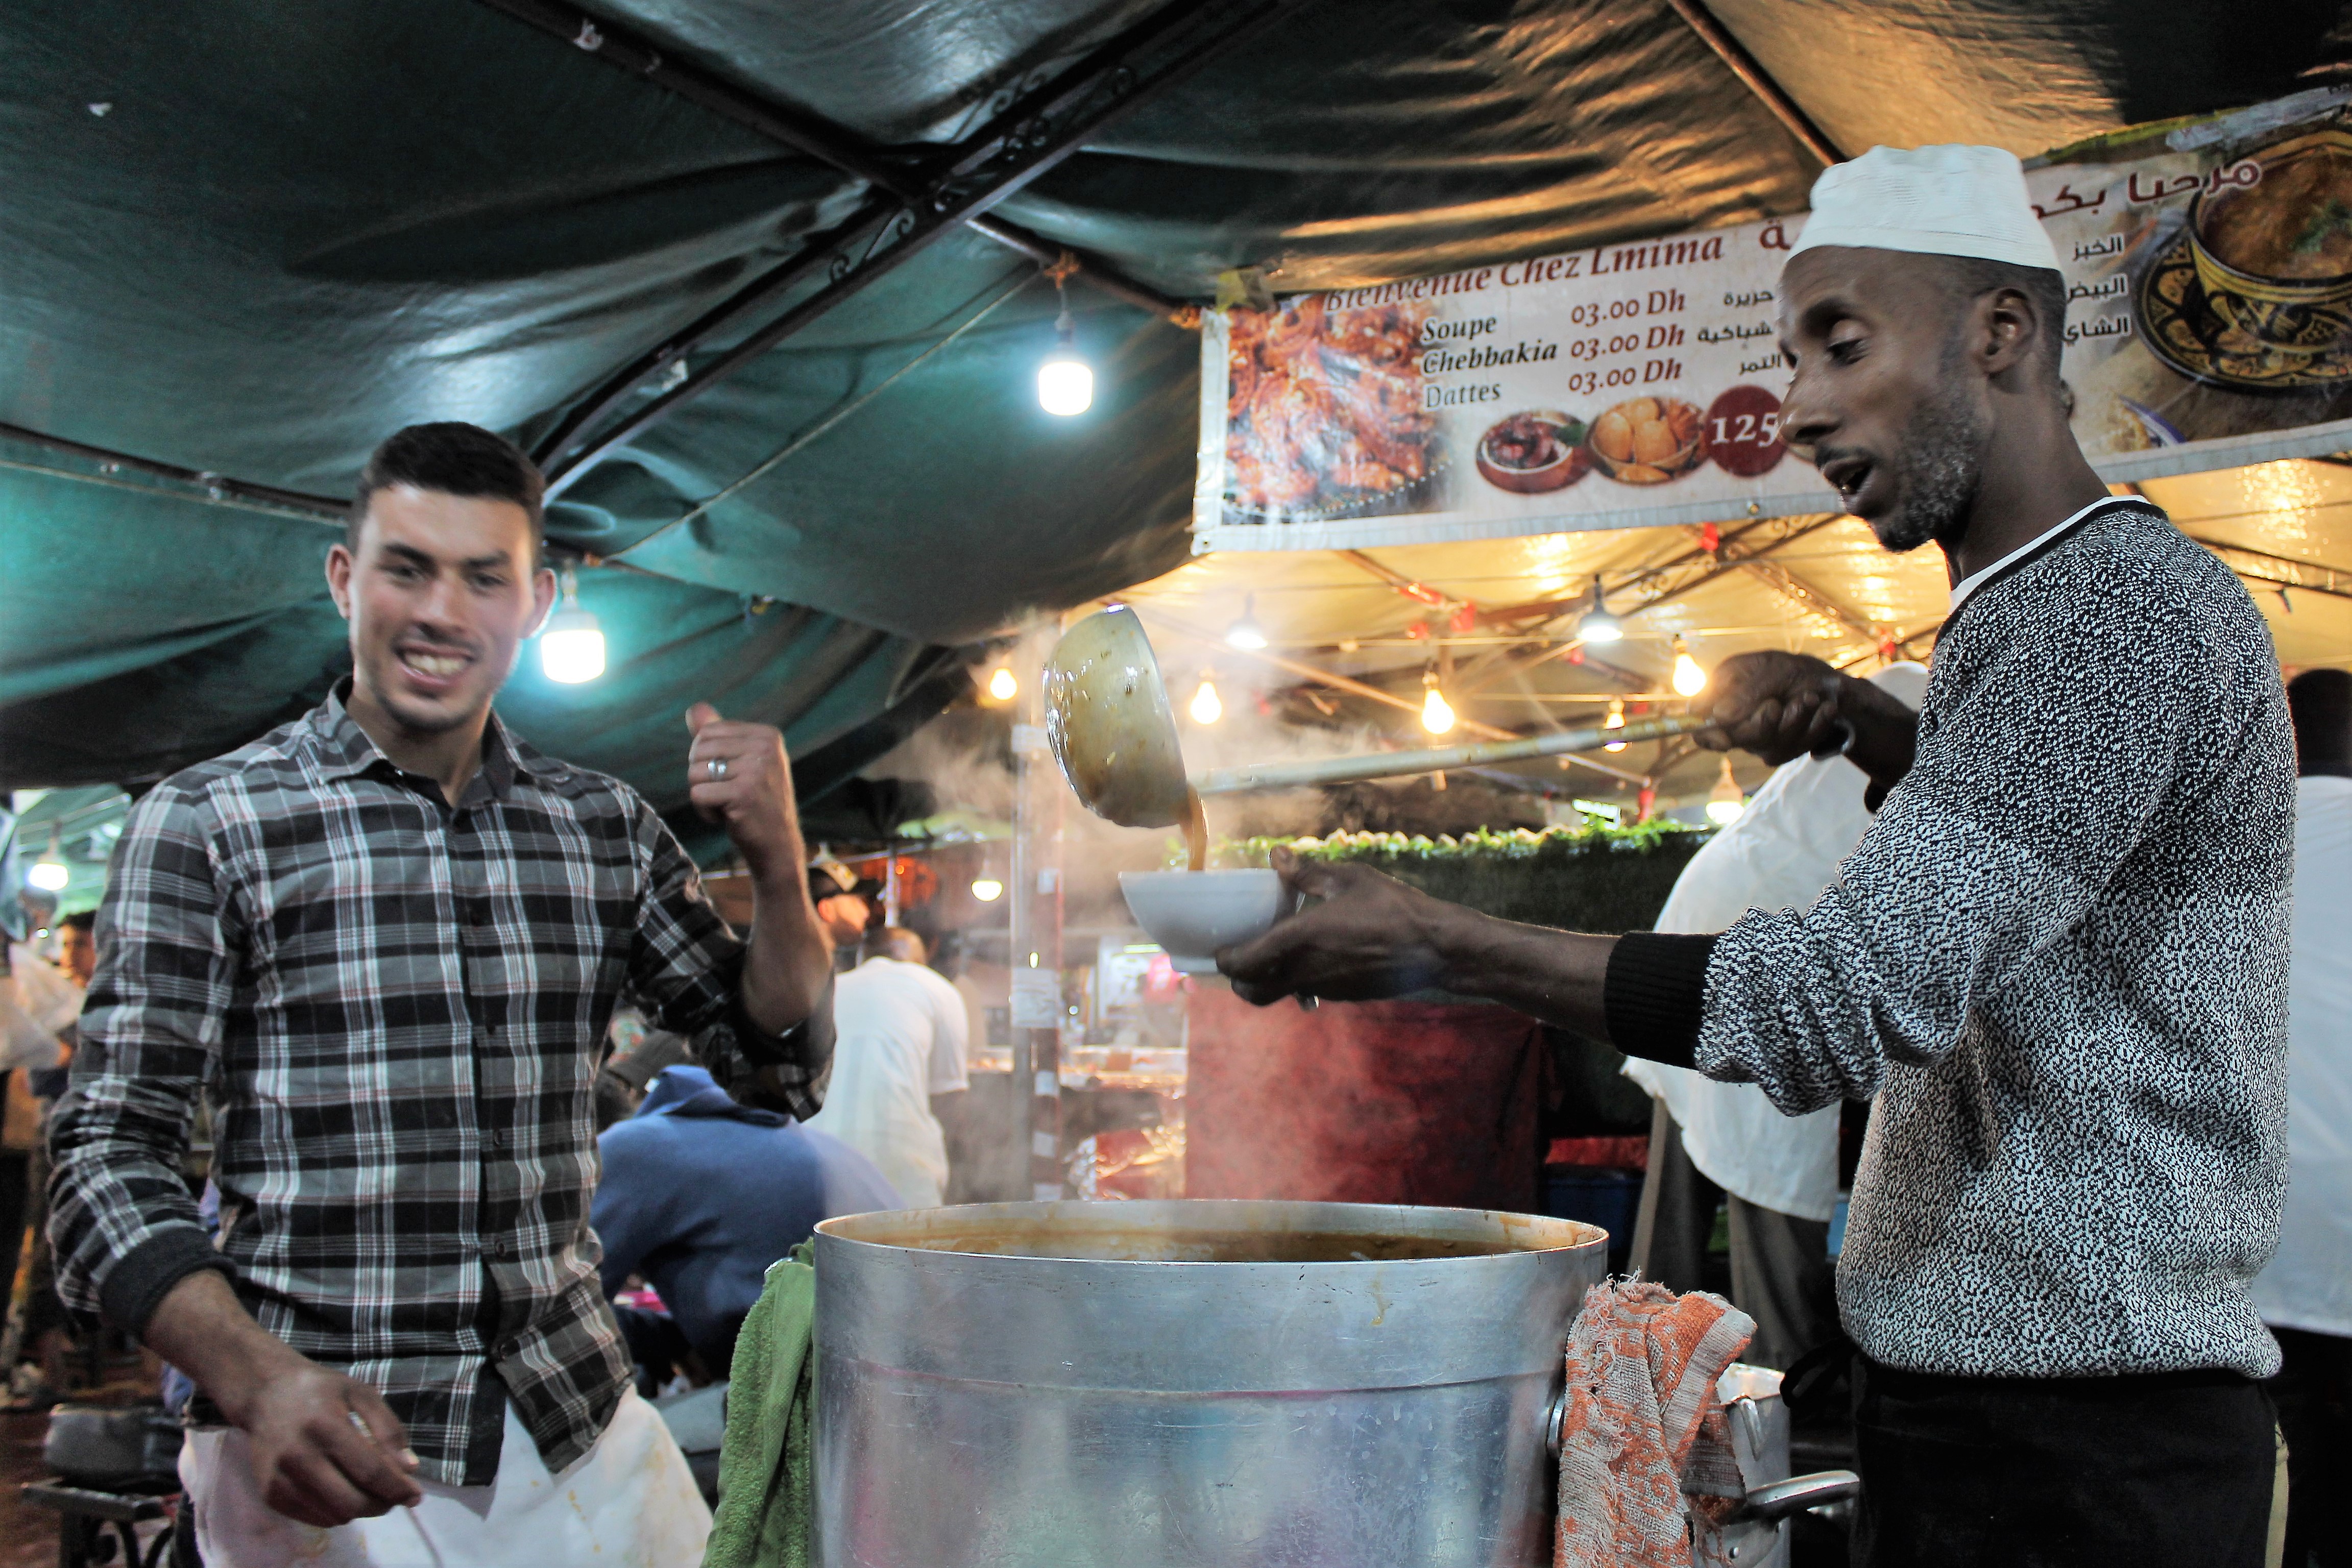
To make Harira at home, you will need:
8 oz. lamb, beef or chicken, diced
3 tbsp vegetable or olive oil
2 lbs soft, ripe tomatoes
1 handful dry chickpeas, soaked and peeled
2 handfuls dry green or brown lentils
1 large onion, grated
1 rib celery with leaves, chopped
1 small bunch flat-leaf parsley, finely chopped
1 small bunch coriander, finely chopped)
1 tbsp salt
1 tbsp ginger
1.5 tsp black pepper
1 tsp ground cinnamon
1/2 tsp turmeric
3 tbsp tomato paste combined with 1 to 2 cups water
3 tbsp uncooked rice
3 tbsp cornflour, slaked in a little water
lemon wedges and coriander for garnish
Method:
Soak the chickpeas overnight. The next day, drain and peel them. This is easily done by pressing chickpeas one-by-one between your forefinger and thumb or by rubbing all of the chickpeas vigorously in a kitchen towel.
Rinse the lentils; set aside until ready to use.
Cover the tomatoes in boiling water for a minute. Peel them. Cut into quarters, and blend in a food processor. Pass through a sieve to remove the seeds if you wish. I prefer to leave them in.
Grate the onion and mix it with the pureed tomatoes.
Wash the celery and finely chop it. Set aside.
Finely chop the parsley and coriander.
In a pressure cooker or stock pot, brown the meat in the oil over medium heat. Add the peeled chickpeas, pureed tomatoes, grated onion, spices, and 3 cups of water. Bring to a boil, cover and cook with medium pressure for 25 minutes (or simmer for 50 to 60 minutes).
Add the lentils, tomato paste mixture, chopped celery and herbs, and 8.5 cups water. Bring to a boil and cover. Cook the soup with medium pressure for 30 minutes (or simmer for 60 minutes). Add the rice, and continue cooking with pressure for another 15 minutes (or 30 minutes by simmering).
Taste and adjust seasoning. Thicken the soup to a silky, cream-like consistency by gradually adding the cornflour mixture, stirring constantly to ensure that it's well blended. Use only as much as is needed to make the soup as thick as you like.
Simmer the soup for another 5 to 10 minutes, stirring occasionally and skimming off any foam that forms on the surface.
Remove from the heat and serve garnished with lemon slices and freshly chopped coriander.
Fish Chermoula
Chermoula is a herby, spicy marinade which is used widely in Morocco to flavour white fish as it cooks. The result is delicious.
Watch this video to learn how to make it at home.
Mechoui (Roast Lamb)
Mechoui is melt-in-the-mouth, fall-off-the-bone roast lamb. In Morocco, it is traditionally prepared by roasting a whole lamb either on a spit over a fire or in a pit in the ground, as it is done in Mechoui Alley in Marrakech.The meat is seasoned with salt and cumin and served with flatbread.
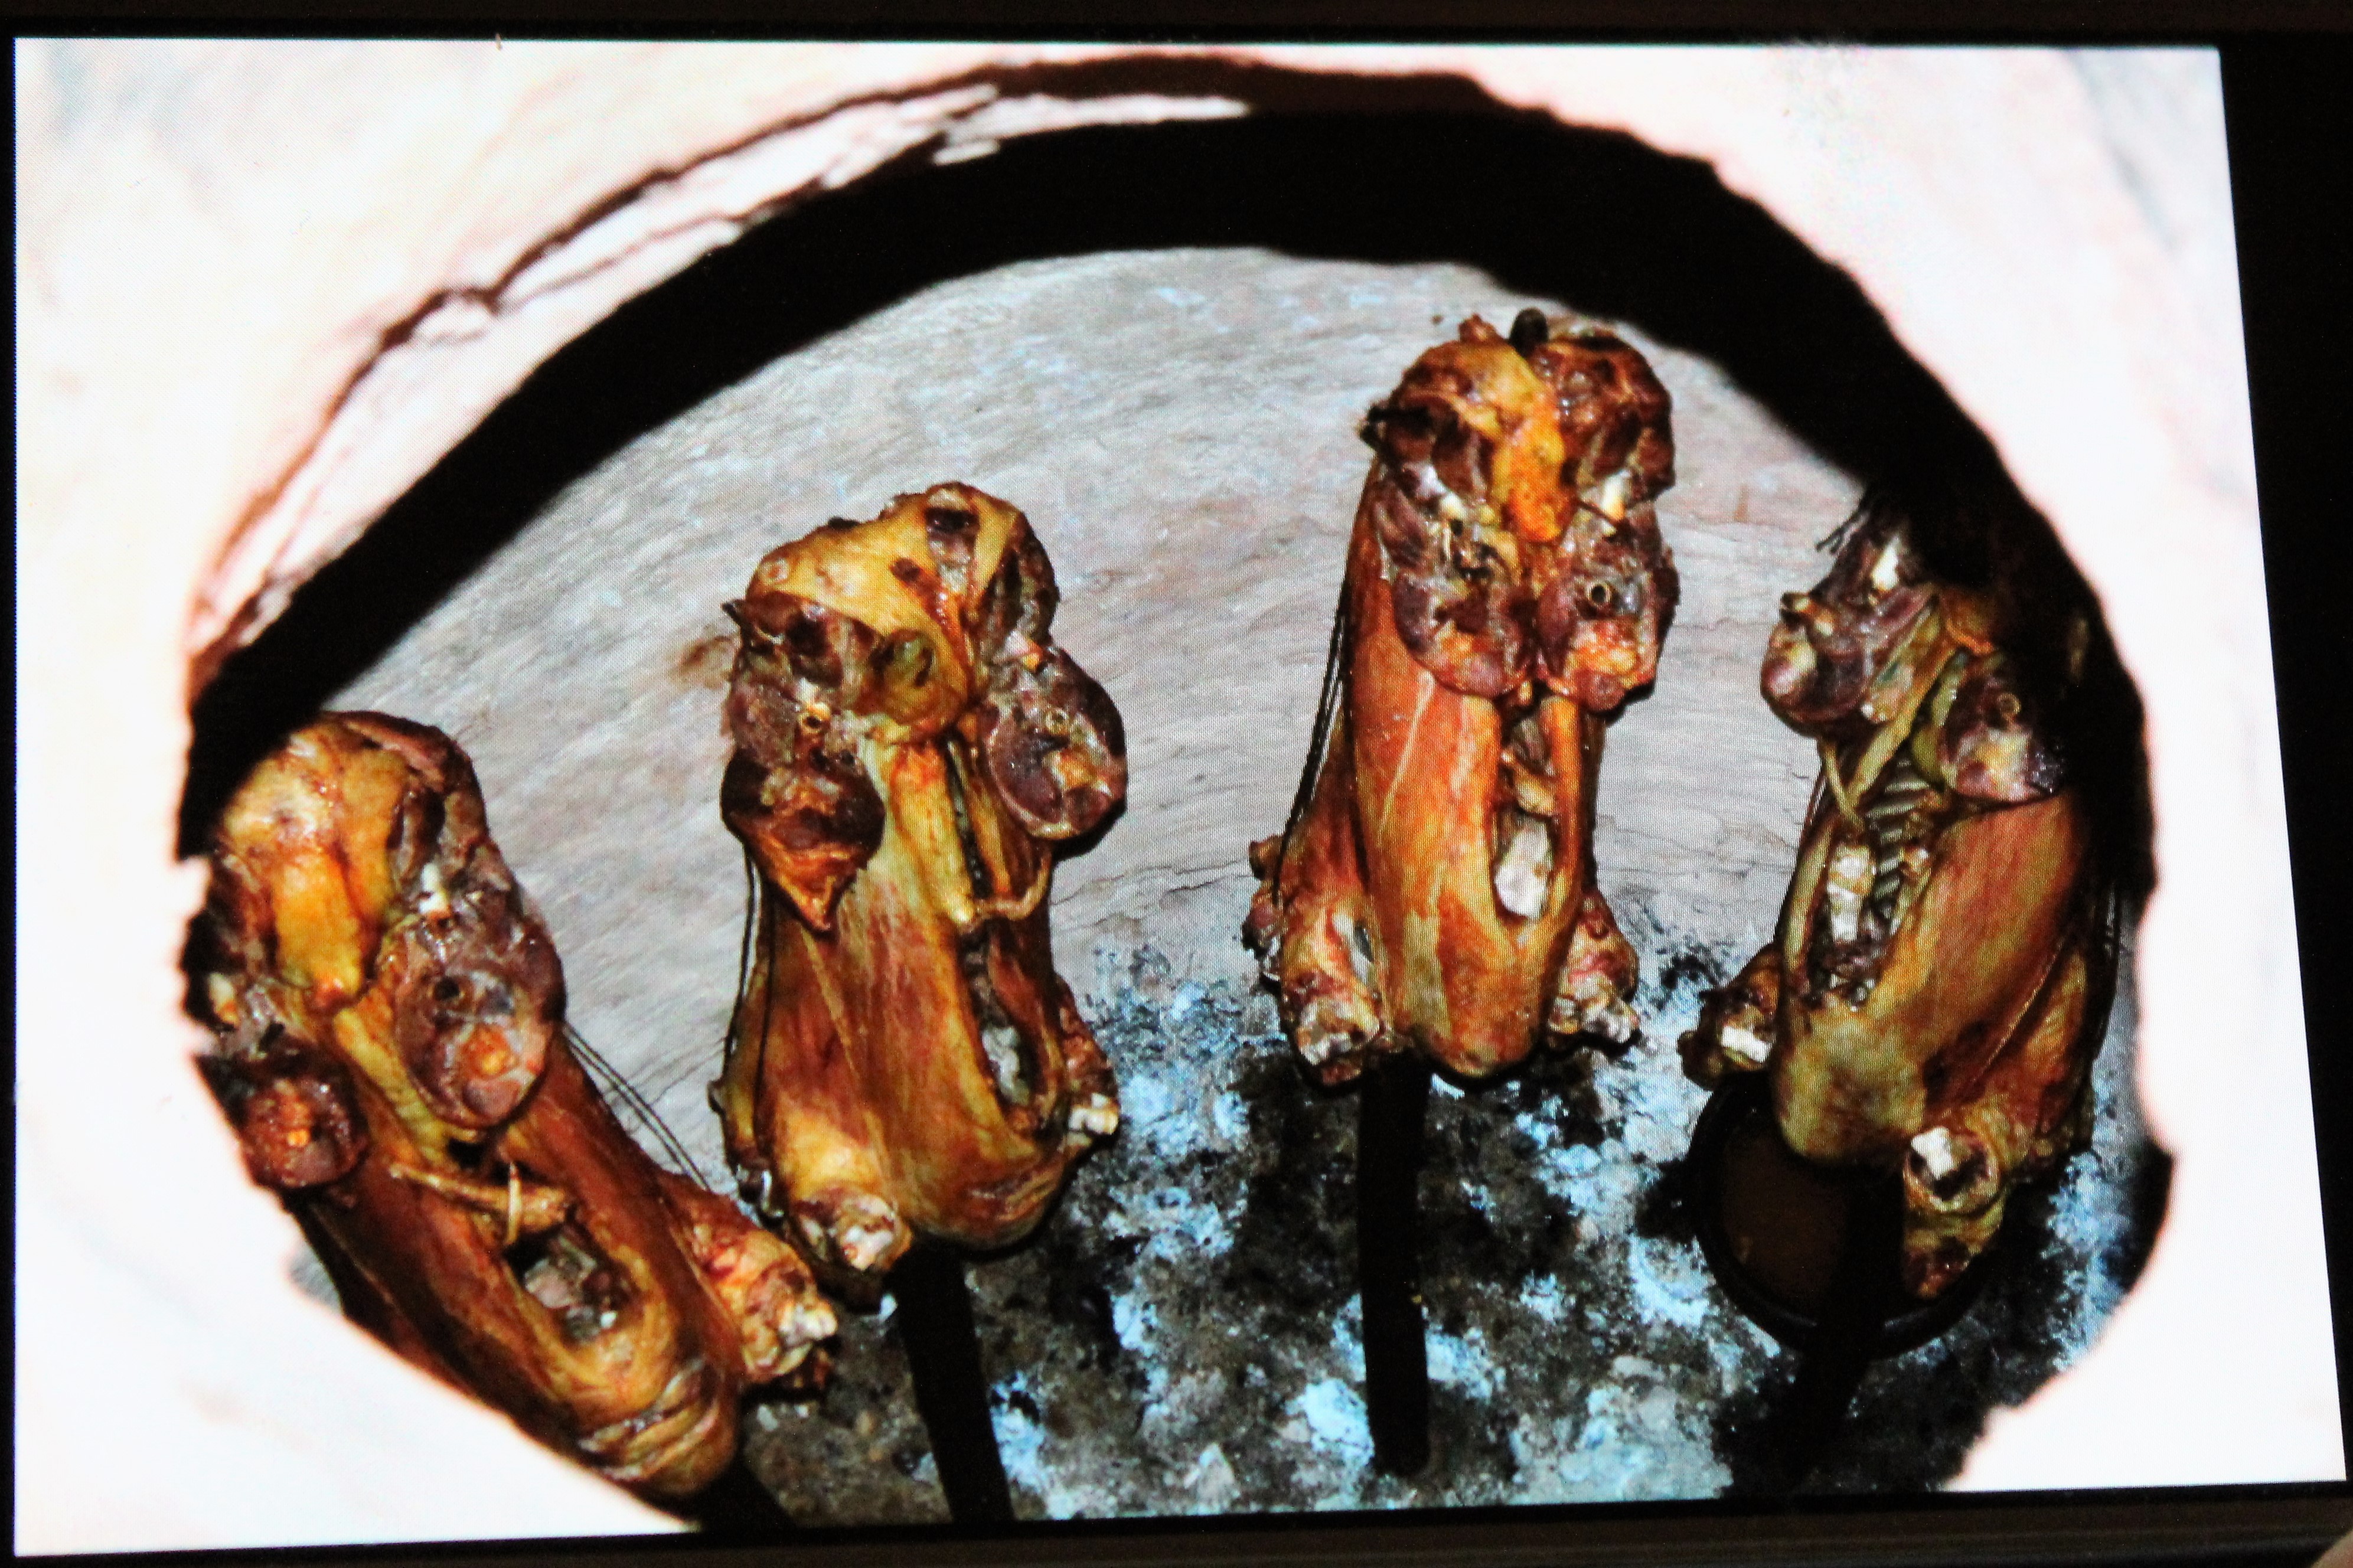
To prepare mechoui at home, you will need:
1 whole leg of lamb (bone-in or shoulder)
4 tablespoons unsalted butter (room temperature)
3 to 4 cloves garlic, crushed
2 teaspoons salt
1 teaspoon ground black pepper
1 teaspoon cumin
1/2 teaspoon saffron threads
1/4 teaspoon turmeric
1 tablespoon olive oil
Salt, for dipping
Cumin, for dipping
Method:
Preheat oven to 250 F.
Trim excess fat from the lamb, and make a dozen or more deep cuts into the meat with the tip of a sharp knife.
Combine butter with garlic, salt, pepper, cumin, saffron, turmeric, and olive oil. Spread the mixture over the entire leg or shoulder of lamb, working some butter into the incisions made with the knife.
Place lamb in a roasting pan and cover with foil, sealing edges tightly. Roast lamb, basting hourly and resealing foil each time, for 7 to 8 hours, or until juices run clear and meat is tender enough to pinch off the bone. Small pieces of lamb, weighing less than 4 pounds, might finish cooking in 6 hours. Larger pieces might take closer to 9 hours.
Remove foil and increase oven temperature to 475 F. Brown lamb, basting frequently, for 15 to 30 minutes, or until meat is well-coloured.
Transfer lamb to a platter and allow it to rest for 30 minutes before serving. If desired, pour juices over and around lamb. Serve dishes of salt and cumin on the side for dipping.
For a colourful presentation, garnish the platter with an assortment of salads or roasted or grilled vegetables. You can also make mini brochettes by threading cubes of cured meat, cheese, and olives on toothpicks and inserting them into the roast as a garnish.
Sardines
Moroccan food includes a lot of fish, especially in the coastal town of Essaouira. Here, we enjoyed many fish dishes. The best of these was probably simple barbecued sardines. These often underrated fish are cheap, plentiful and delicious.
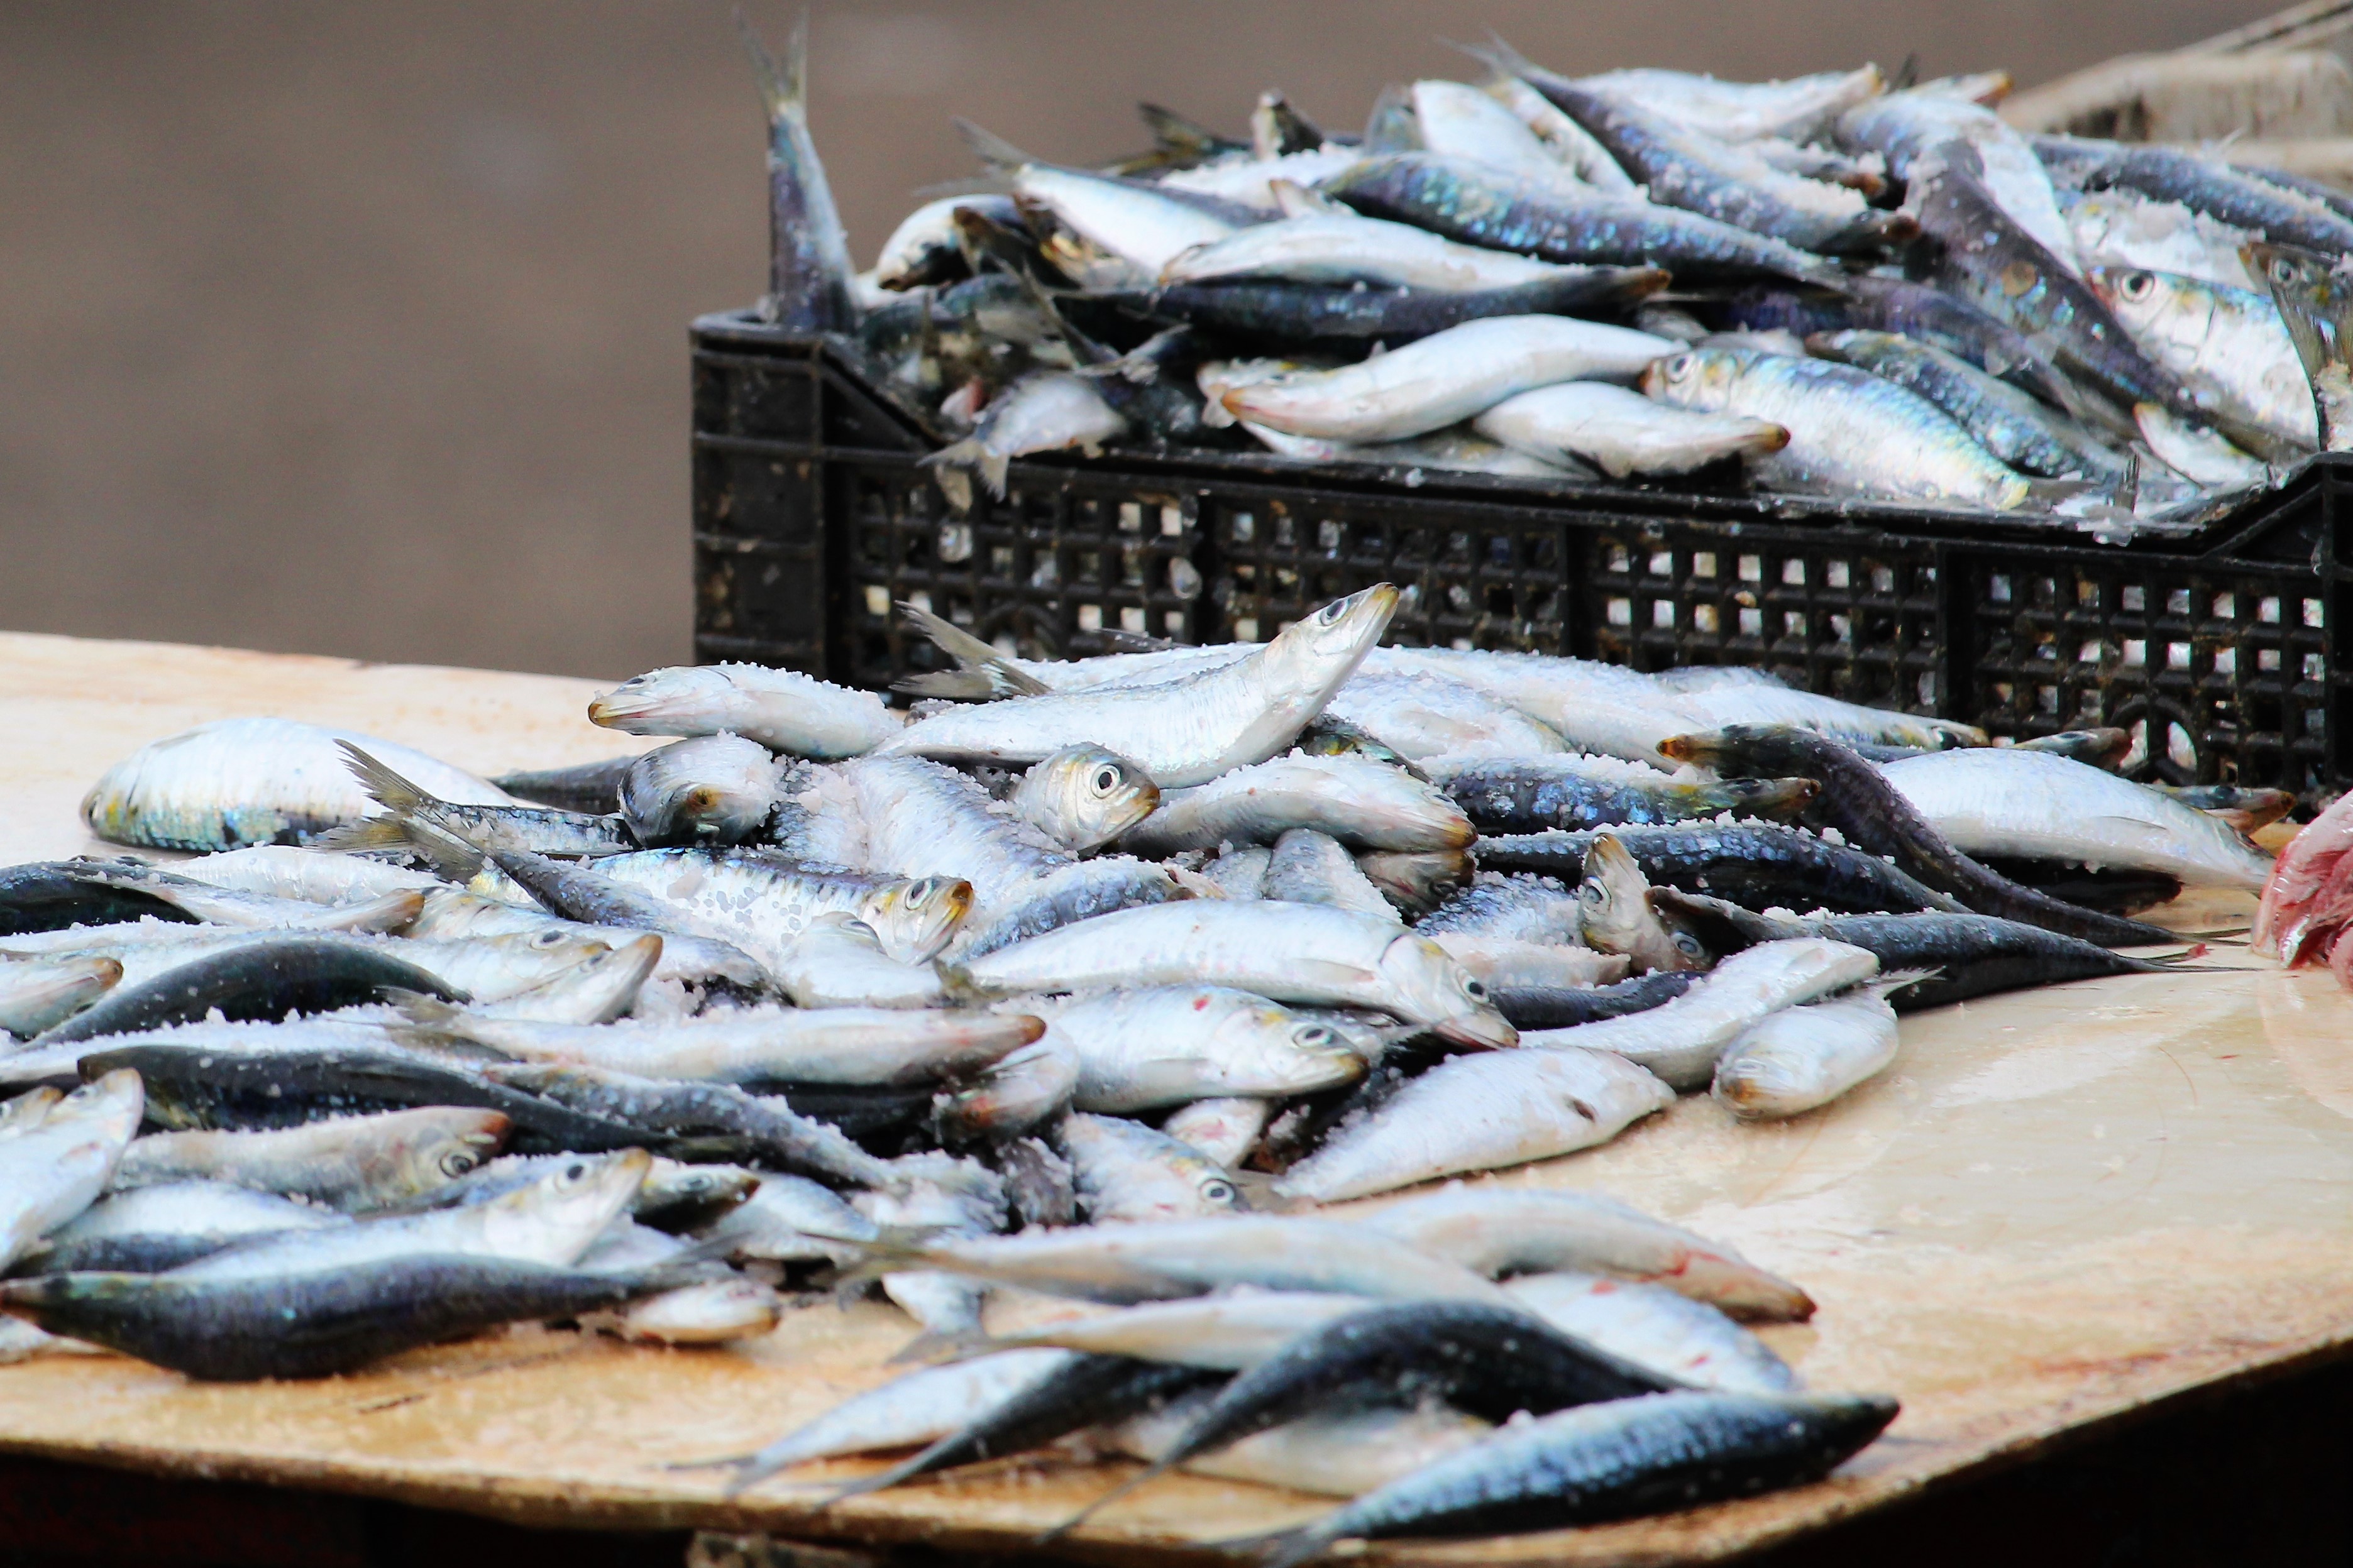
To prepare Moroccan sardines at home, follow the fish chermoula recipe in the video above.
Khobz
Khobz is the ubiquitous Moroccan white bread shaped into flattish rounds and served at every meal as an accompaniment to almost every meal. It doesn’t keep well, so women often bake it or buy it twice a day. It’s common practice to make the bread at home and then take it to a central oven to be baked.
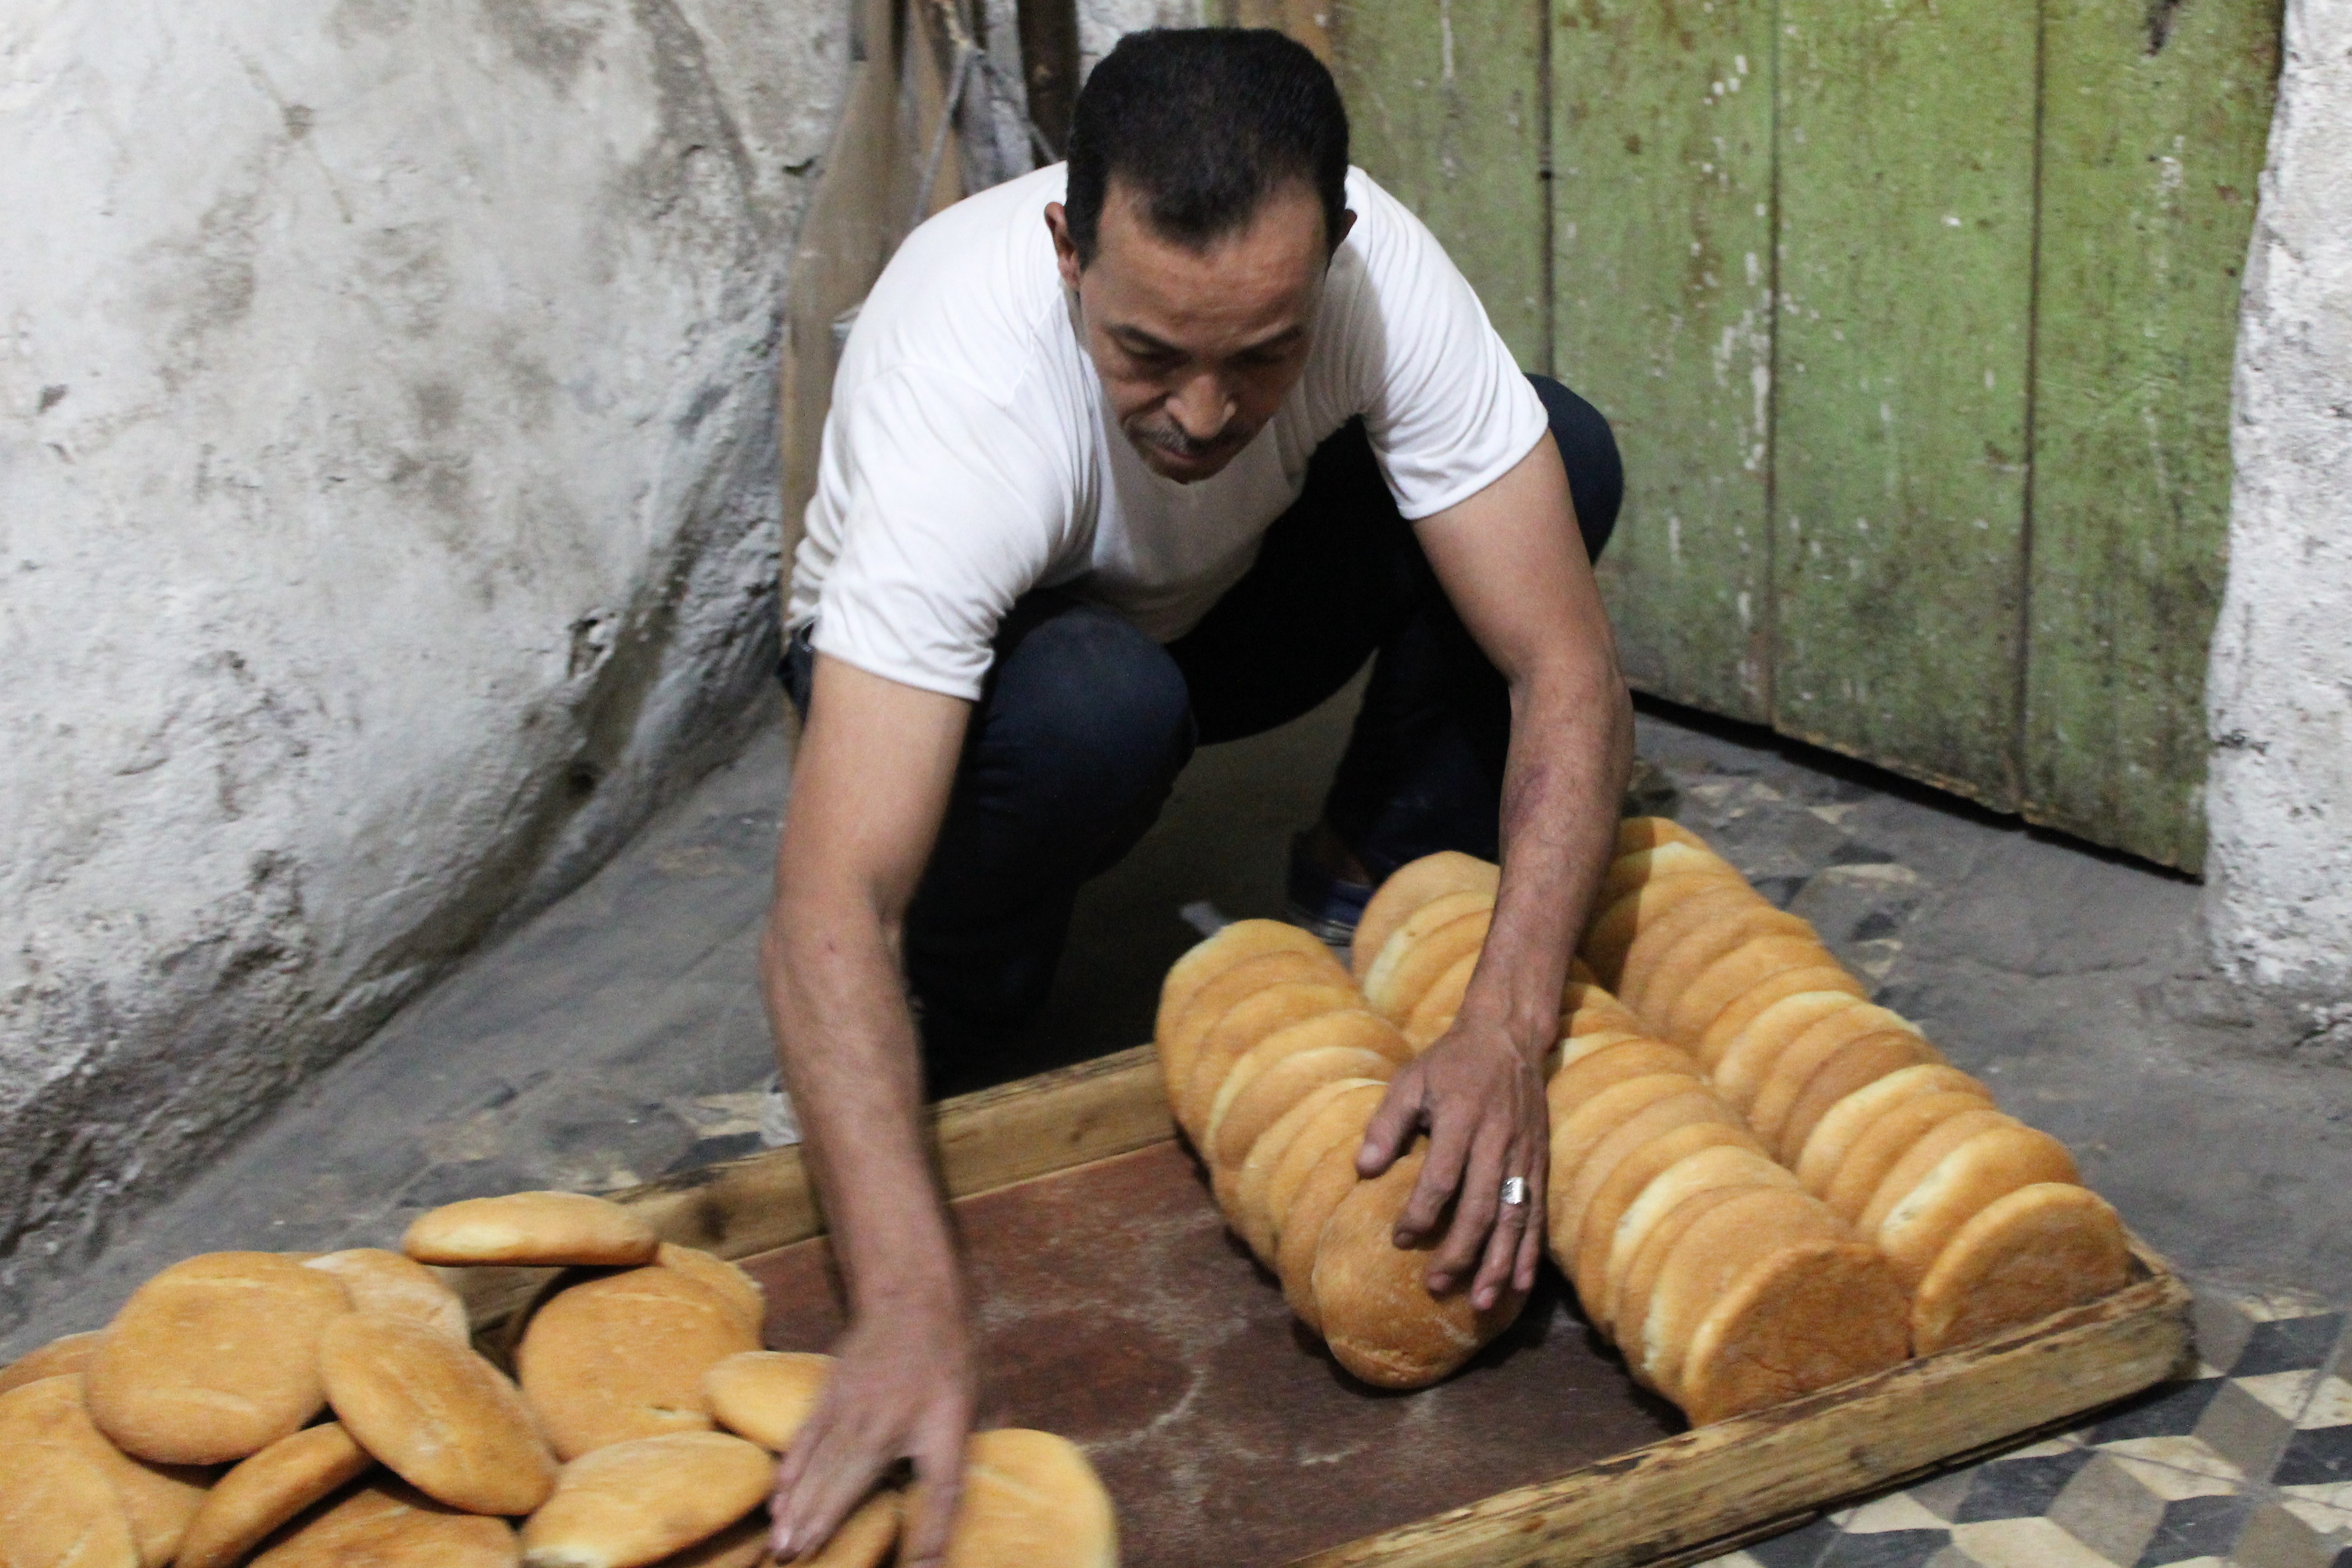
To make khobz at home, you will need:
4 cups white flour, preferably bread flour
2 tsp salt
2 tsp sugar
1 tbsp fast-acting yeast
2 tbsp olive oil
1 1/4 cups warm water (not hot)
oil, semolina, or cornmeal (optional, for preparing the pan)
Method:
Prepare a large baking sheet by lining it with parchment paper OR lightly oiling it OR dusting it with semolina or cornmeal. Set aside.
Combine the flour, salt, yeast, and sugar in a large bowl.
Add the water and oil to the bowl and stir to combine all ingredients.
Knead the dough (in the bowl if it's large enough or on a floured work surface) for 5 to 10 minutes until smooth and elastic. While kneading, work in a little flour or water as needed to ensure the dough is soft and pliable but not sticky.
Divide the dough into two smooth mounds and place well apart on the prepared pan. Cover with a towel and leave to rest for 10 to 15 minutes.
After resting, pat the mounds of dough into flat, round loaves about 1/4" thick. Cover again with a towel and leave to rise for about an hour (longer in a cold room), until the dough springs back when pressed lightly.
Preheat your oven to 225°C. When the oven is hot, lightly score the top of the bread with a sharp knife or poke in several places with a fork.
Bake the khobz in the preheated oven, rotating the pan if necessary, for about 20 minutes or until golden brown. The loaves should sound hollow when tapped.
Transfer the khobz to a rack or towel-lined basket to cool.
Watch this video to see how khobz is made in the traditional way in a clay oven.
Zaalouk
Zaalouk is a tasty cooked aubergine and tomato salad. It is served as a dip with fresh bread or as an accompaniment to many main dishes. Authentic zaalouk takes a long time to prepare, as we found out during our cooking class in Marrakech, but it’s worth it!
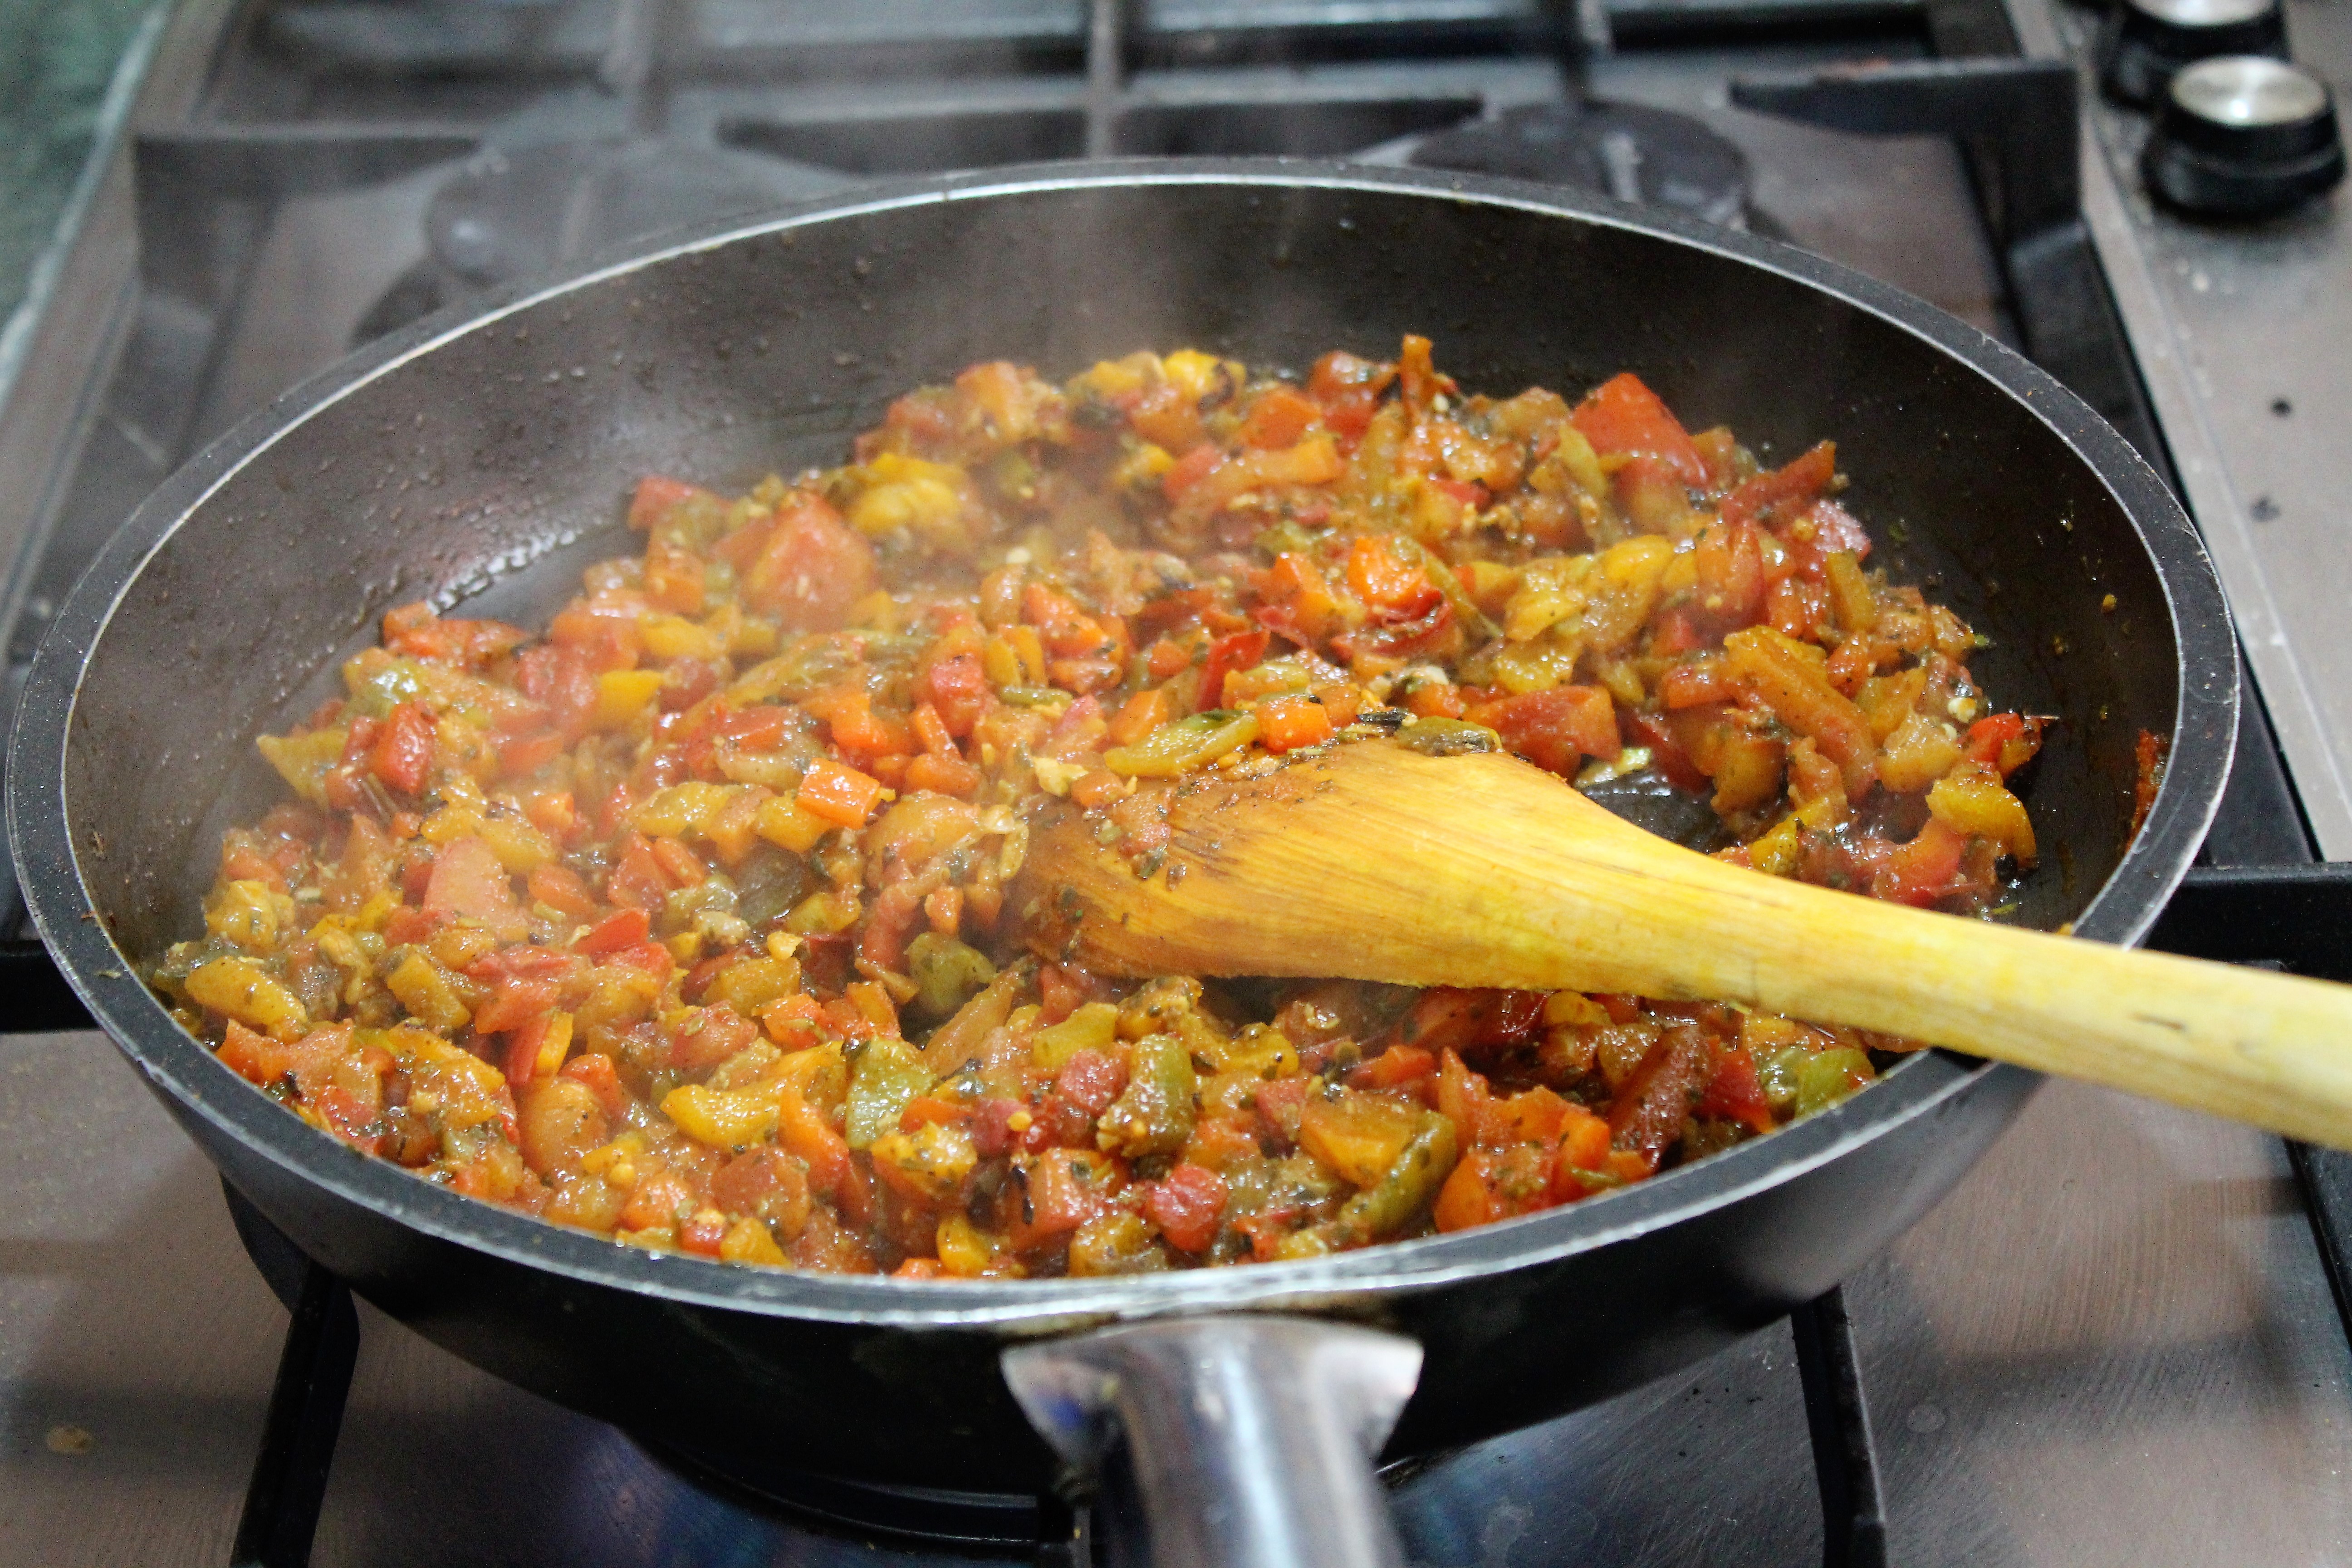
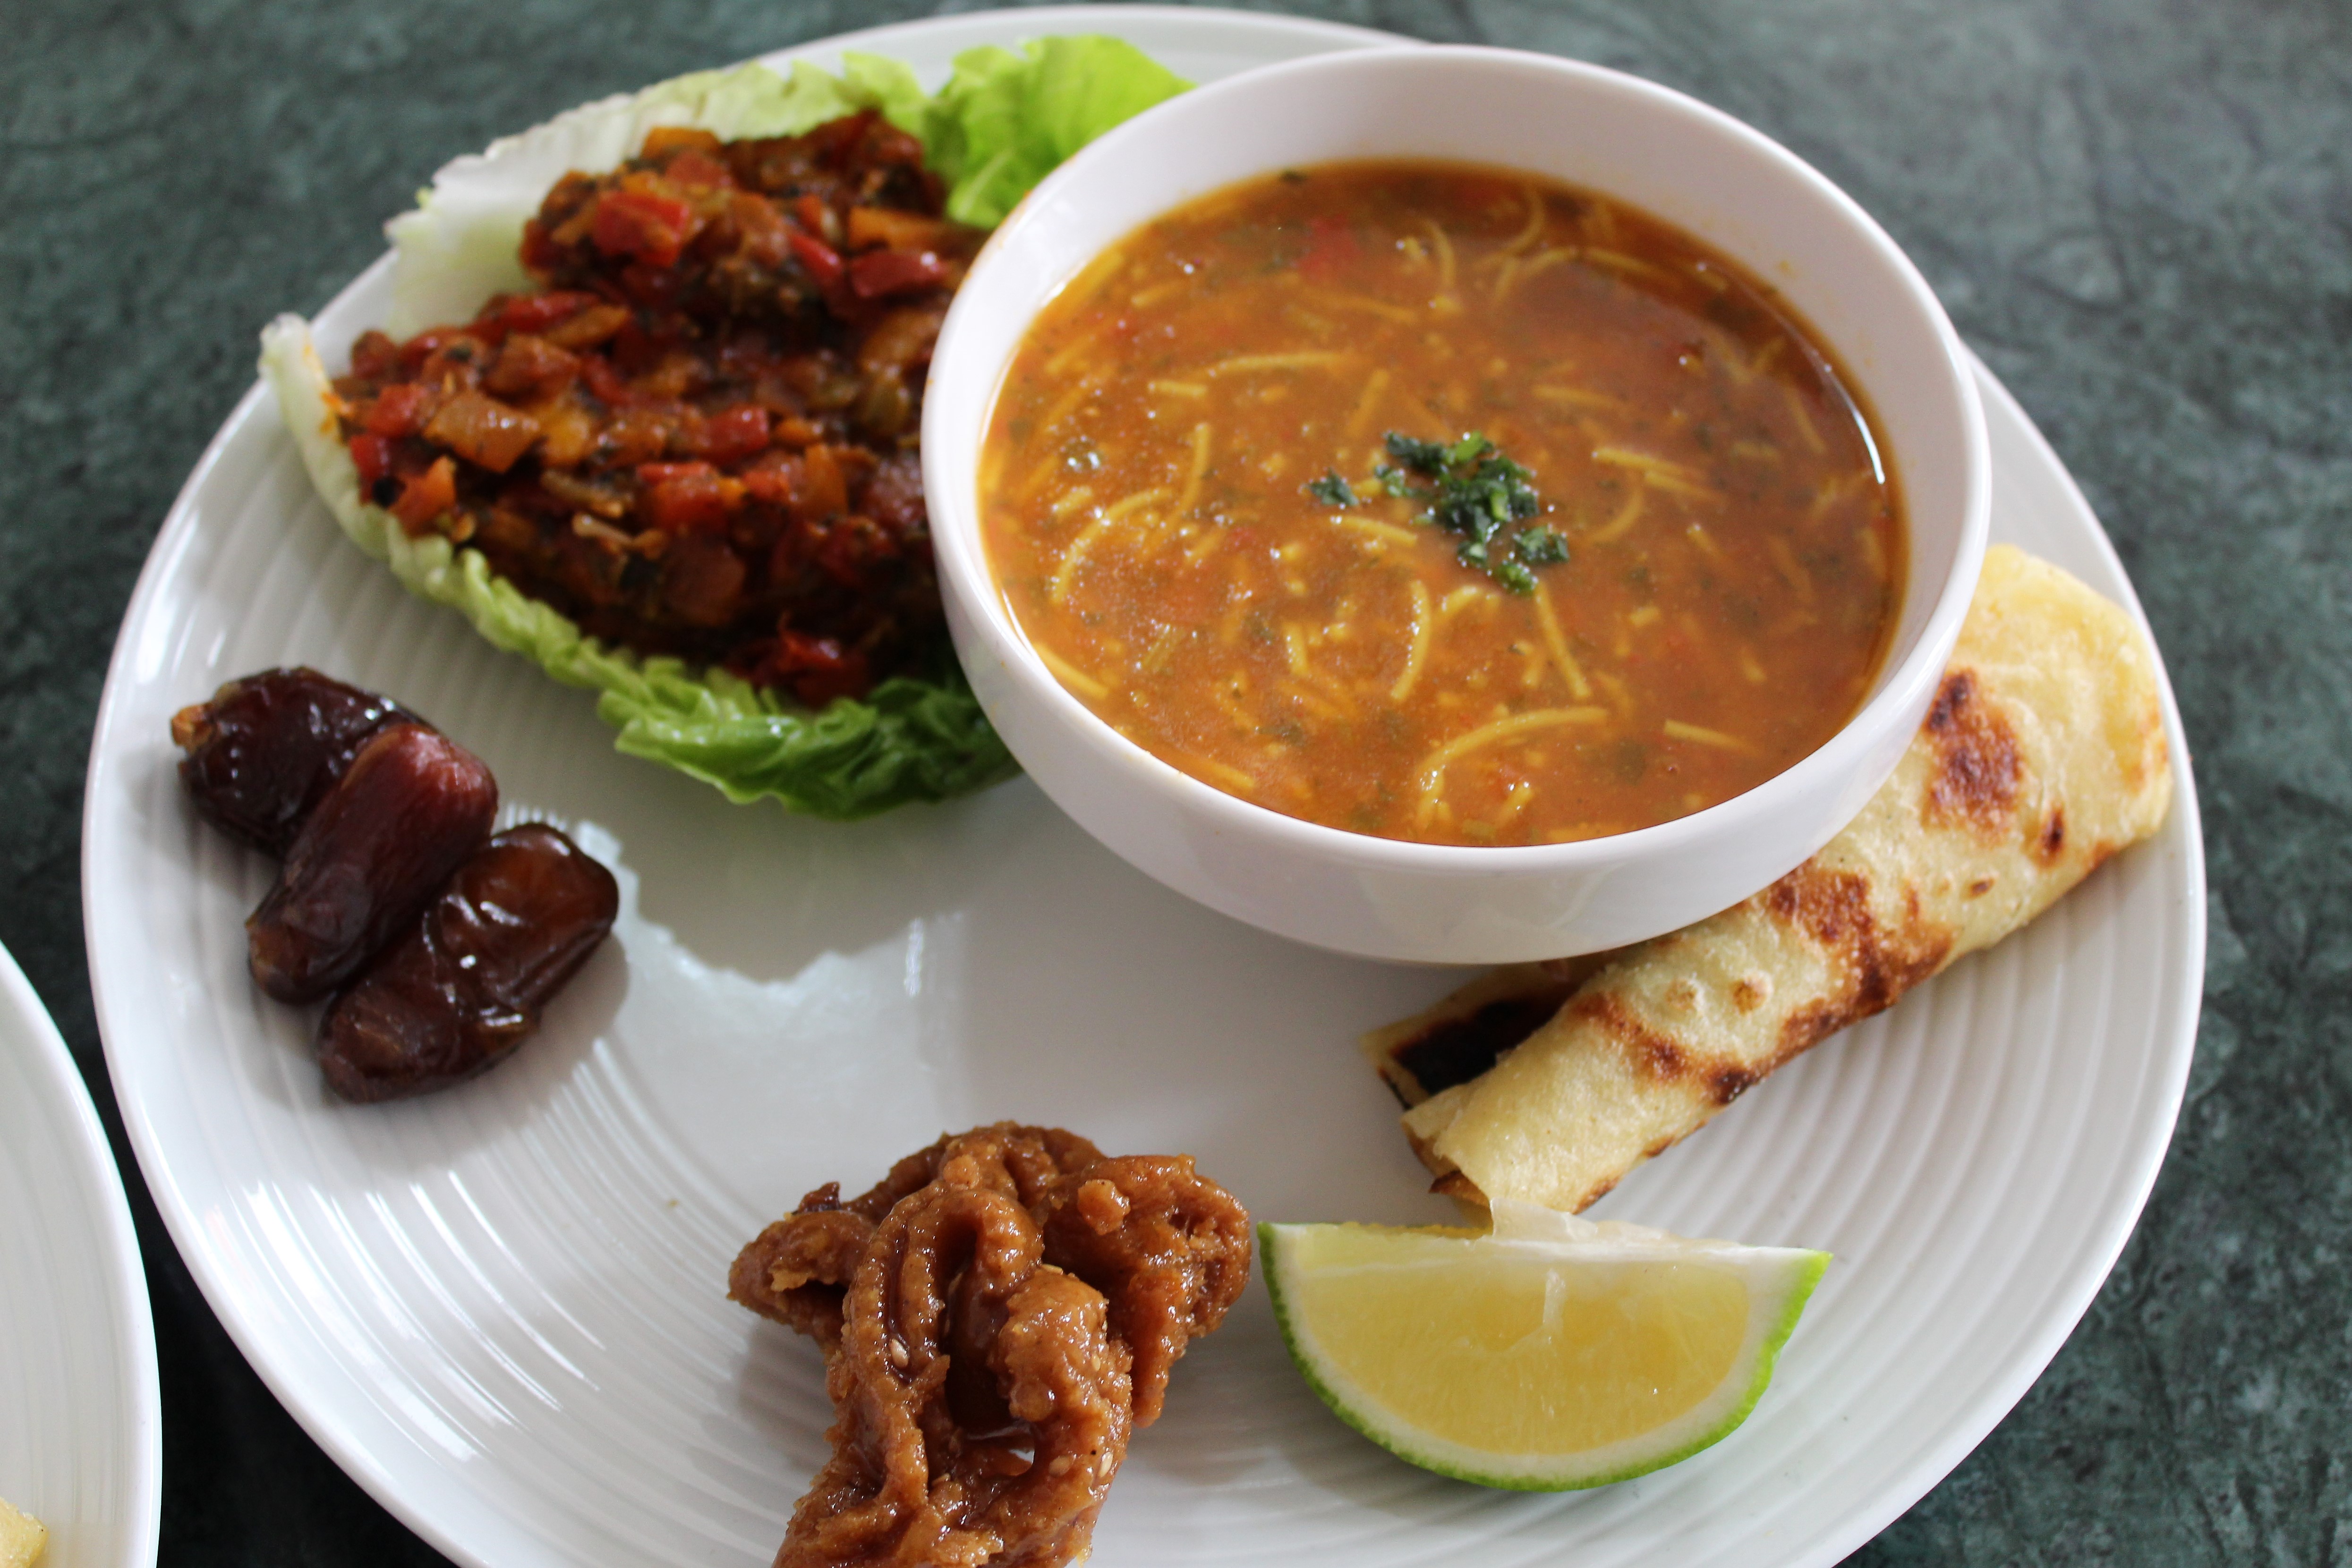
To make zaalouk at home, you will need:
2 aubergines
2 tomatoes
3 cloves garlic
1 bunch parsley
1 teaspoon paprika
1 teaspoon cumin
A pinch of chilli flakes
Salt
Pepper
Method:
Preheat the oven to 200 degrees C.
Cut aubergines in half and brush with olive oil, then roast them until golden brown, about 15 minutes.
Dice the tomatoes and sauté on high heat in olive oil. Add minced garlic, cumin and paprika.
Dice the aubergines (with or without the skin) and finely chop the parsley, then add to the tomatoes.
Keep stirring and cook until the aubergine is tender (about 15 to 20 minutes). Add salt and pepper to taste.
Drizzle with olive oil and add a pinch of chilli flakes.
Pastilla
Pastilla, or bastilla, is a sweet and savoury pie originating from Fez. The filling is traditionally made with pigeon, but chicken is often used today. The meat is cooked, shredded and combined with spices before being wrapped in layers of filo-type pastry, covered in sugar, and baked. The sweetness is an acquired taste – one that I quite like, but that Mark really couldn’t stand!
Watch this video from Gordon Ramsey to see how to make a simple pastilla at home.
To make a more authentic pastilla, you will need:
2kg of chicken, cut into pieces
½ kg of onions, finely chopped
2 cloves of garlic, minced
1 tablespoon of chopped parsley
½ tablespoon of chopped coriander
1 teaspoon of ginger powder
1 teaspoon of turmeric powder
1 teaspoon of salt
½ teaspoon of black pepper
1 teaspoon of cinnamon powder
2 tablespoons of brown sugar
A large pinch of saffron threads
1 tablespoon of salted butter
1/4 cup oil
1/2 kg filo pastry sheets
500g boiled almonds – peeled – fried until light golden and crushed
4 tablespoons of light brown sugar
1 teaspoon of cinnamon powder
1 egg yolk
Method:
In a large pot, put the chopped onions in oil and add chicken, salted butter, spices, and garlic. Stir and cook for a few minutes.
Add water almost to the level of the chicken.
Cover the pot, and when it comes to the boil, lower the heat to medium and keep stirring occasionally with a wooden spoon until the chicken pieces are cooked and the meat separates easily from the bones.
When the chicken is cooked, remove the pieces to a plate. Add brown sugar and cinnamon to the pan, and cook until the onion is caramelised.
When the chicken is cold, remove the meat from the bones and add into the pot with the onion and mix well.
Mix the almonds with the sugar and cinnamon.
Grease a round mould with butter.
On the bottom of the dish, place 7 filo sheets well-greased with butter, overlapping them like the petals of a flower and leaving the overflow to the outside edges of the dish (about half of the sheet inside, the other half to the outside).
Consolidate the bottom of the pastilla with 1 or 2 more filo sheets placed in the centre of the mould.
Put a layer of the almond mixture on the sheets using the back of a spoon to spread it perfectly.
Put pieces of chicken and onions over the entire surface of the almonds in order to completely cover the mould.
Add a layer of almonds on top.
Add another sheet of pastry on top, then fold the layers of the pastilla pastry over the stuffing.
Arrange 3 new sheets on top and overlap to close the pastilla firmly.
Once the pastilla is closed, brush the egg yolk on the top.
Using a small wooden stick, like a toothpick, make some small holes on the top of the pastilla.
Put the pastilla in a preheated oven (180 degrees C) for about 45 minutes. The pastilla should be golden brown and crispy when cooked
When it is baked, leave to rest for about 5 minutes, then sprinkle icing sugar over the entire surface
Just before serving, sprinkle more icing sugar over the surface of the pastilla and decorate it with cinnamon and crushed fried almonds.
Maakouda
Maakouda are delicious spicy potato fritters made at home and served as a starter or, more commonly, bought on the streets to eat as a snack – the Moroccan equivalent of a bag of chips!
They are made by flavouring mashed potato with herbs and spices, forming it into balls or small patties, and deep-frying them. They are served on their own in a paper cone or in a sandwich with salad. Not very healthy, but extremely tasty!
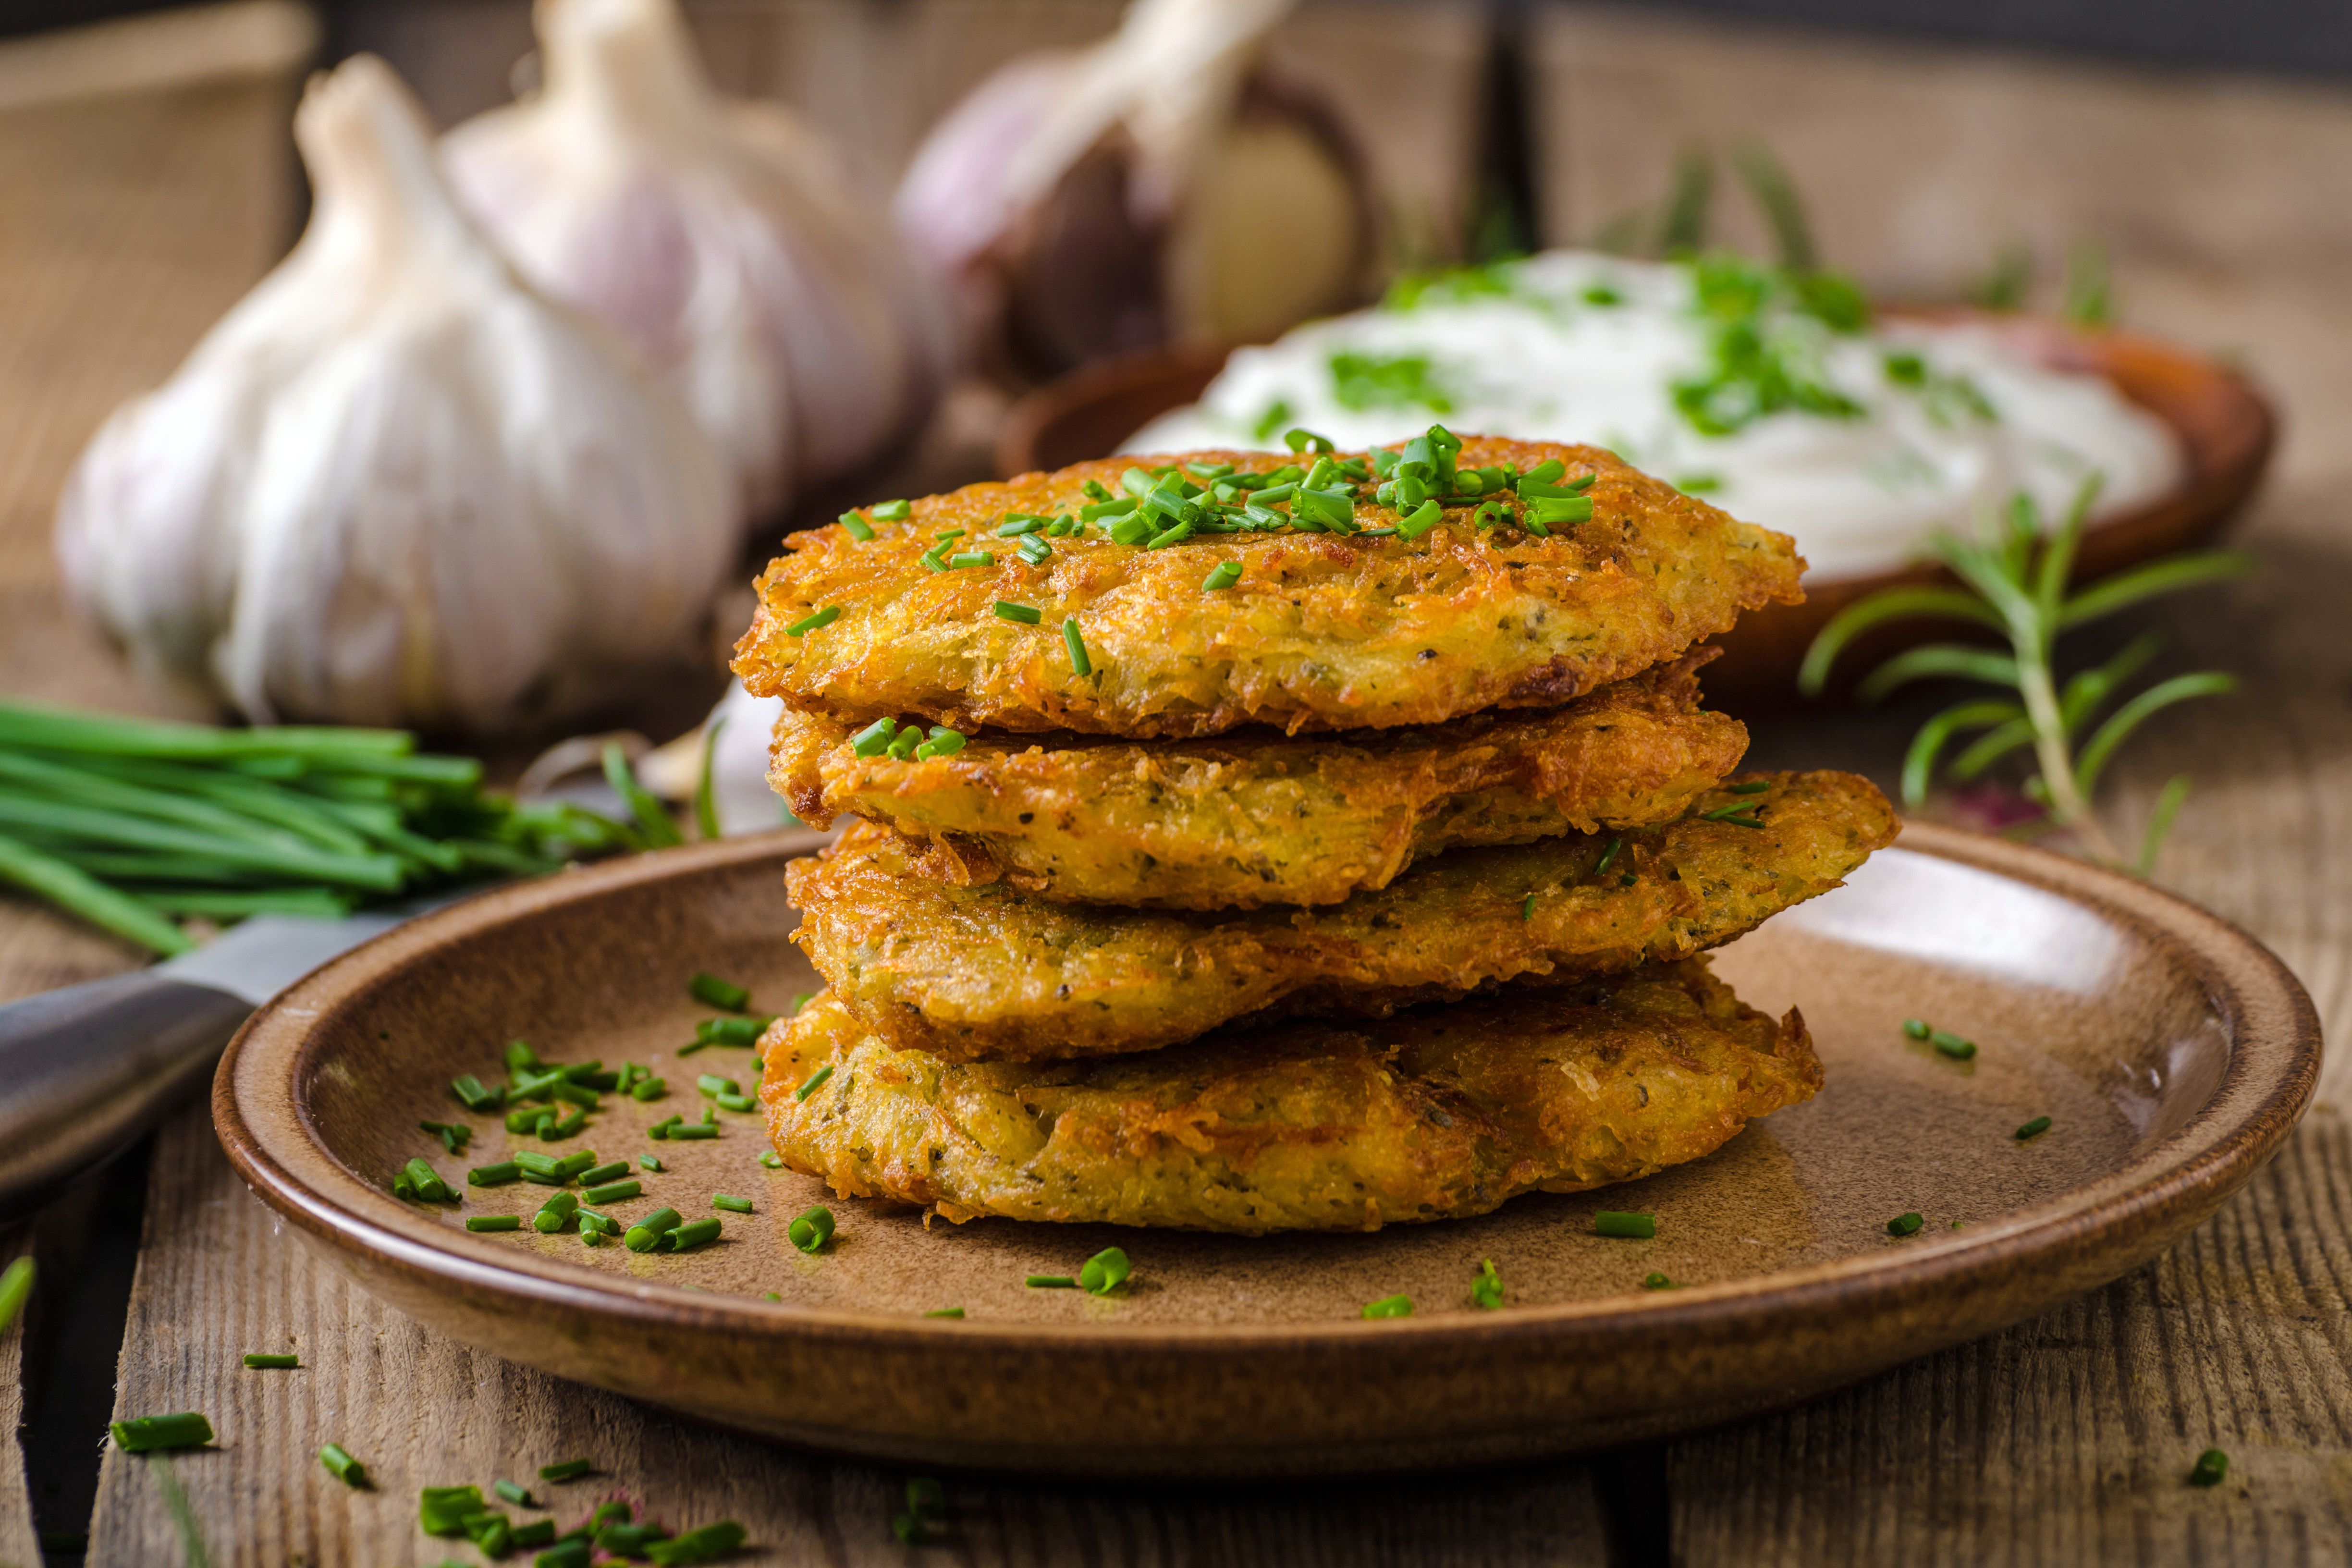
To make maakouda at home, you will need:
2 pounds medium potatoes, peeled
1 teaspoon salt, plus more for the pot
2 tablespoons unsalted butter
1 small onion, finely chopped
3 cloves garlic, crushed
1 1/2 tablespoons ground cumin
1/2 teaspoon freshly ground black pepper
1 teaspoon turmeric
1/4 cup coarsely chopped coriander
2 large eggs, beaten
Olive oil, for frying
Method:
Place the potatoes in a large pot. Cover with salted water and boil just until a sharp knife can be inserted halfway through.
Drain the potatoes and plunge them into ice water to stop the cooking. Drain again, and allow to cool. Chill the potatoes, covered, in the refrigerator for several hours or overnight.
Melt the butter over medium-low heat in a small frying pan. Add the onion and sauté gently over medium-low heat for 7 to 10 minutes, or until translucent.
Add the garlic and sauté a minute more, stirring constantly. Remove from the heat.
Grate the chilled potatoes into a mixing bowl. Gently fold in the onion and garlic, 1 teaspoon salt, cumin, pepper, turmeric, and coriander. Stir in enough of the eggs to bind the potatoes but not so much that there is excess egg in the bottom of the bowl.
Shape the potato mixture into cakes about 3 inches in diameter. Wet hands will make the mixture easier to handle.
Heat enough olive oil to generously cover the bottom of a frying pan. Add the potato cakes and cook slowly over medium heat, about 8 minutes per side, or until deep golden-brown and crisp. Serve the maakouda warm.
Bissara
Bissara is a popular soup made from broad beans. It is a Berber dish and is often eaten for breakfast in winter by the nomads of the mountain and desert regions.
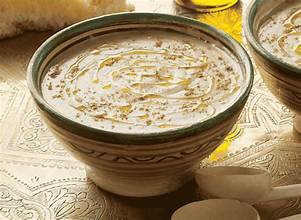
To make bissara at home, you will need:
1 cup dry broad beans
1 cup dry split peas
1 tsp cumin
1 tsp paprika
1 tsp turmeric powder
3 tbsp olive oil
3 cloves of garlic, crushed
Salt to taste
Method
Add your dry broad beans and split peas to a large pot. Add 4 to 6 cups of water, just enough to completely submerge your beans/peas. Place the pot on a medium-high heat and add cumin, paprika, turmeric powder, salt, olive oil, and garlic.
Bring to a boil, cover and lower the heat to medium-low. Let cook for 30-35 minutes. Once your beans are broken down, turn the heat off and let your pot cool down for about 10 minutes. Using an immersion blender, blend the soup until you get a smooth texture.
To garnish, add a drizzle of olive oil, some cumin and a pinch of chilli flakes.
Snail Soup
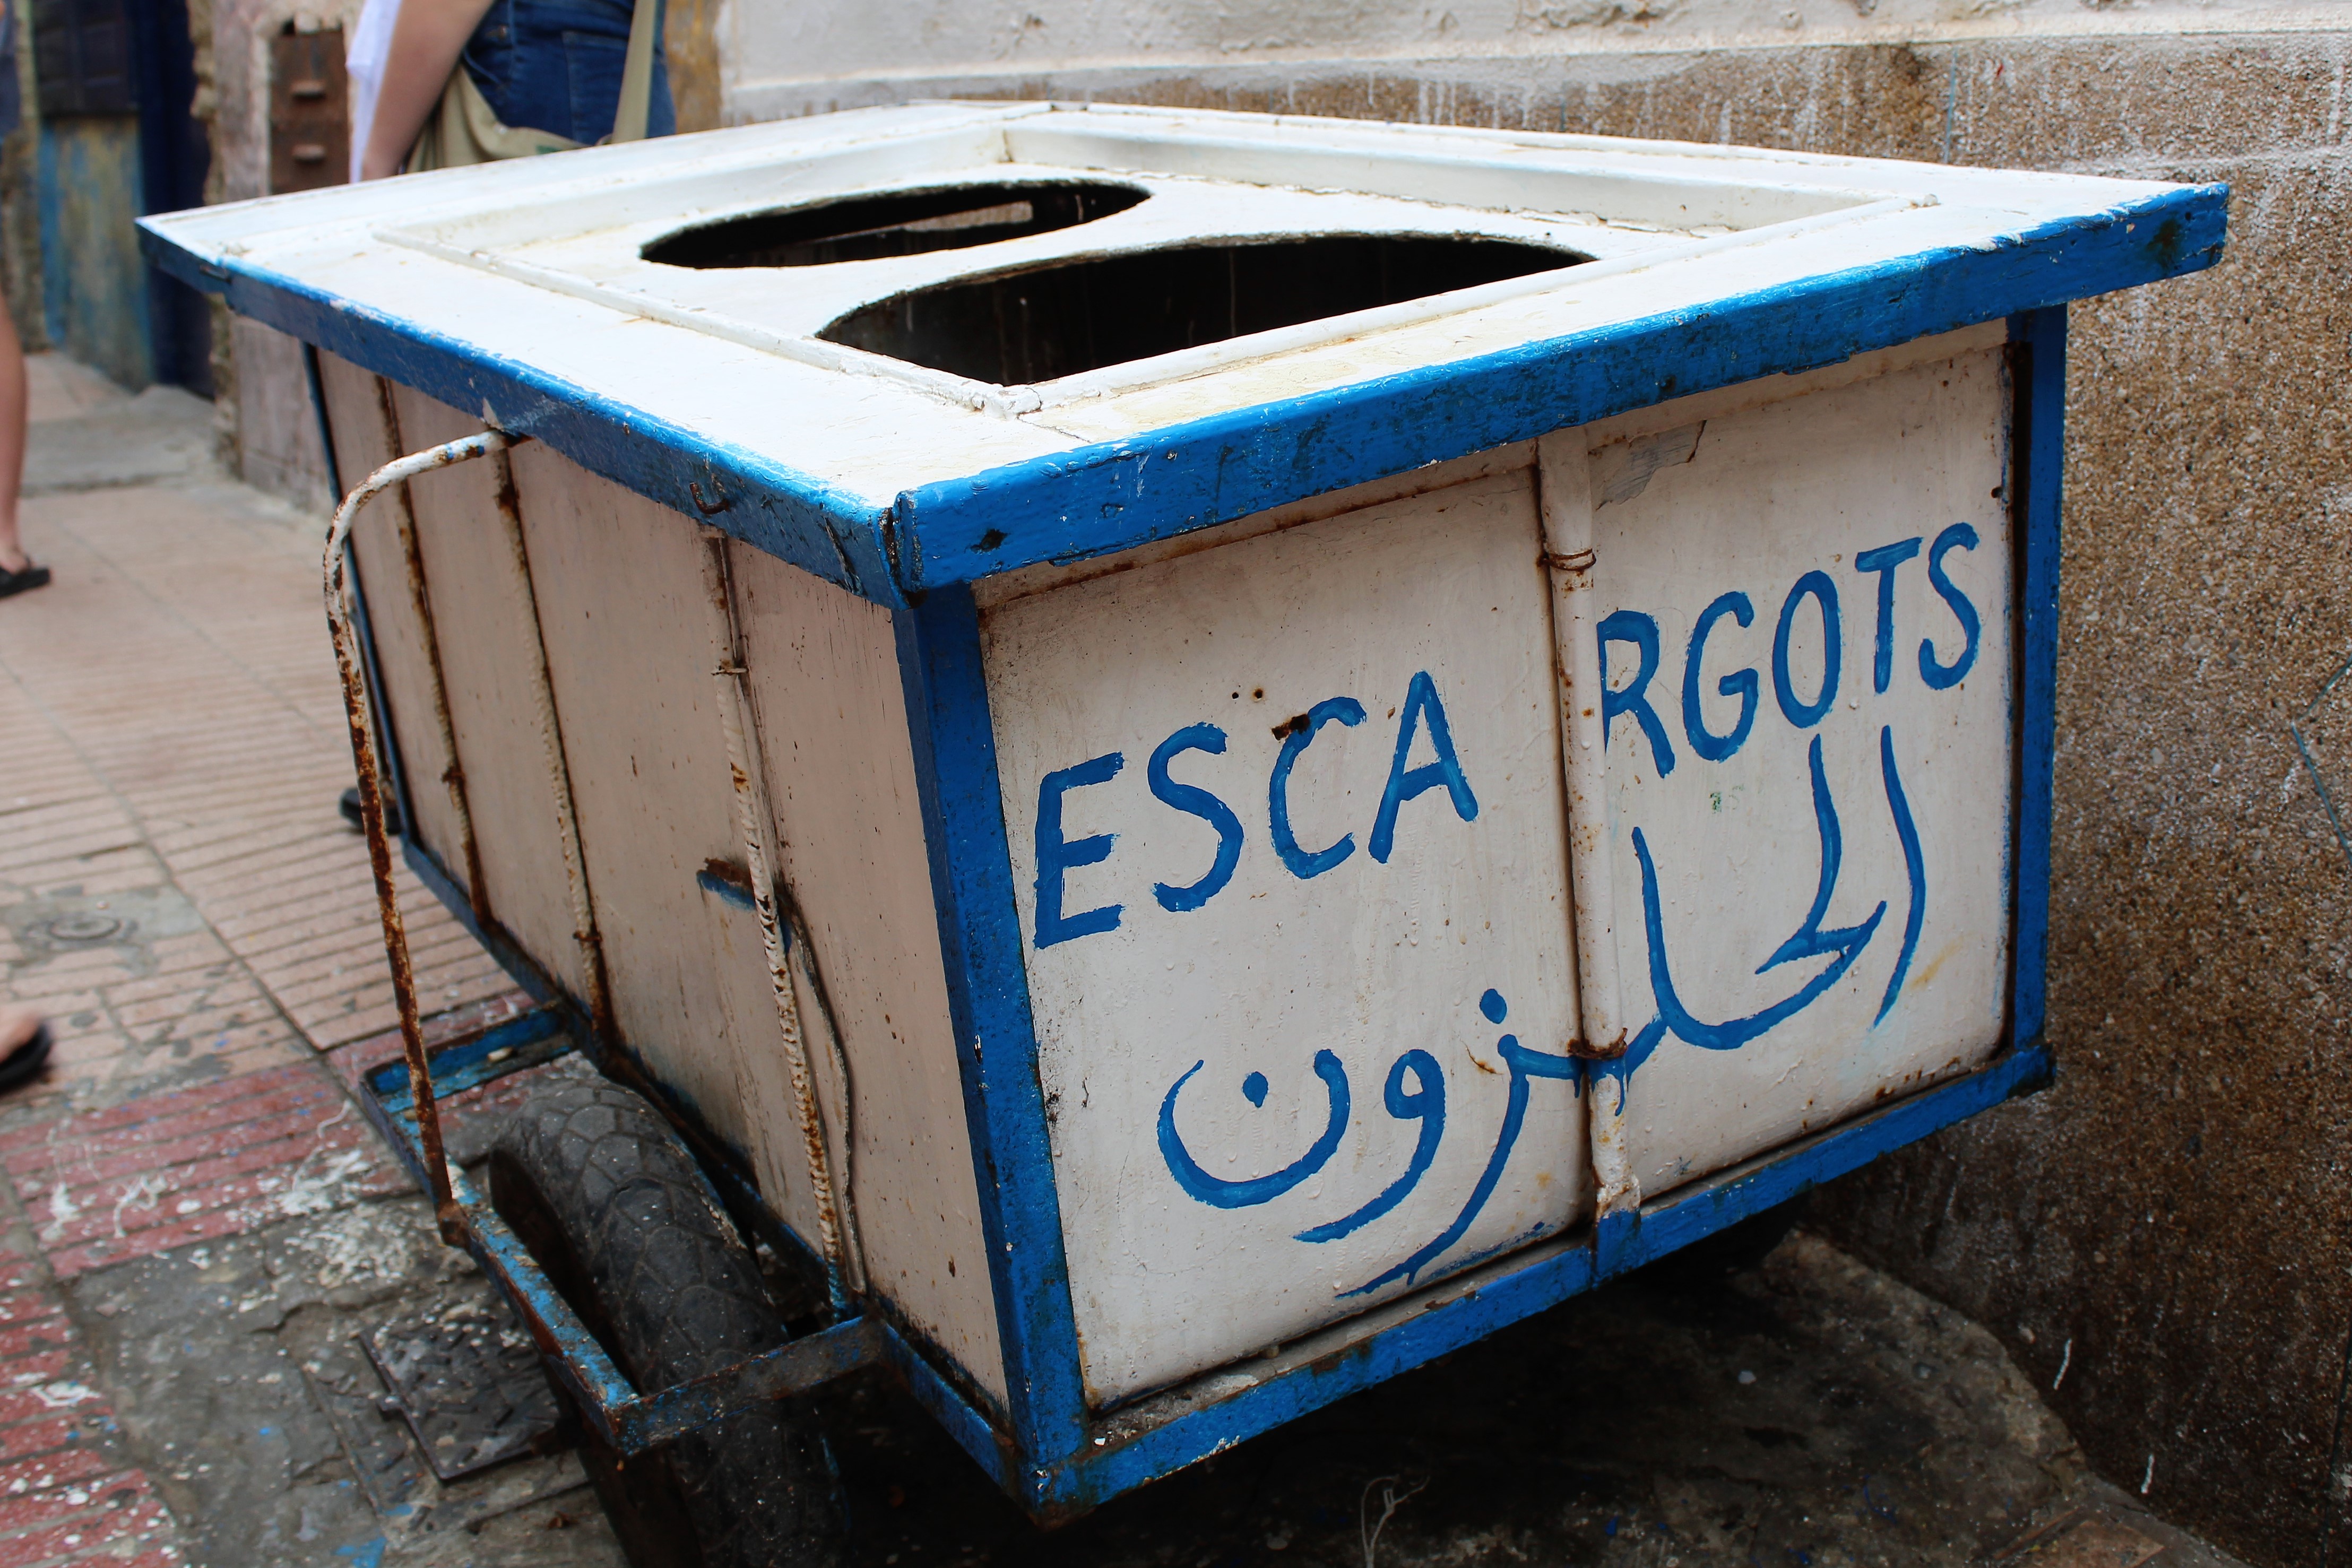
Ghoulal, or babbouche in French, is an earthy broth containing boiled snails. It’s sold on the streets of almost every town and city in Morocco. Some would say it’s one of the must-try foods when you’re visiting the country. I passed when we were given the chance to try it in Chefchaouen. Having spent many years living in France, I already know that I’m not keen on the taste or texture of escargots!
Tanjia
Not to be confused with ‘tagine’, tanjia is a meaty stew particular to Marrakech. The Greek urn-like pot it is cooked in is also called a tanjia.
Most tanjias today are made with beef, but lamb, chicken, or camel can also be used. A traditional tanjia has no vegetables. The meat is flavoured with herbs, spices, dried fruits, garlic, and lemon. You add water, olive oil, and a handful of smen, a salty type of butter similar to ghee, and cook it very slowly. Tanjia is often referred to as the bachelor’s dish because it has simple ingredients and is very easy to prepare. Traditionally, it was made by men who worked in Marrakech’s souks as a picnic dish for when they gathered to socialise in the city’s parks on Fridays, their only day off. They didn’t even have to cook the tanjia themselves. They took their filled pots to the local hamman where the bathhouse workers would put them in the hot embers used to heat the water. They would leave them there to simmer away, usually overnight on a Thursday.
The best way to replicate this today would be in a slow cooker.
We made a lamb tanjia at our cookery class in Marrakech and enjoyed several others while we were in Morocco. They were especially delicious for meat lovers like us!
Watch this video to learn more about the importance of tanjia to the people of Marrakech.
To prepare tanjia at home, you will need:
2 lbs lamb or mutton
2 tbsp garlic, crushed
1 tsp salt
1 pinch of saffron threads
1/2 tsp turmeric
3/4 tsp white pepper
1 tsp cumin
1/2 preserved lemon rind, finely chopped
1/4 cup olive oil
1-2 cups water
Method:
Add the olive oil and garlic to a large pan and cook on medium heat for about 3 minutes.
Wash and trim the lamb of all excess fat and add to the pan.
Add all of the spices and mix well.
Add the preserved lemon and just enough water to barely cover the meat.
Cover and cook on medium-high heat for about 2 hours.
Check to see if the meat is tender. It should be falling apart, and the sauce should be thick. If there is a lot of liquid left, remove the meat, and continue to boil until it is reduced and thickened.
When finished, turn out onto a plate and eat with crusty bread.
Kaab el Ghazal
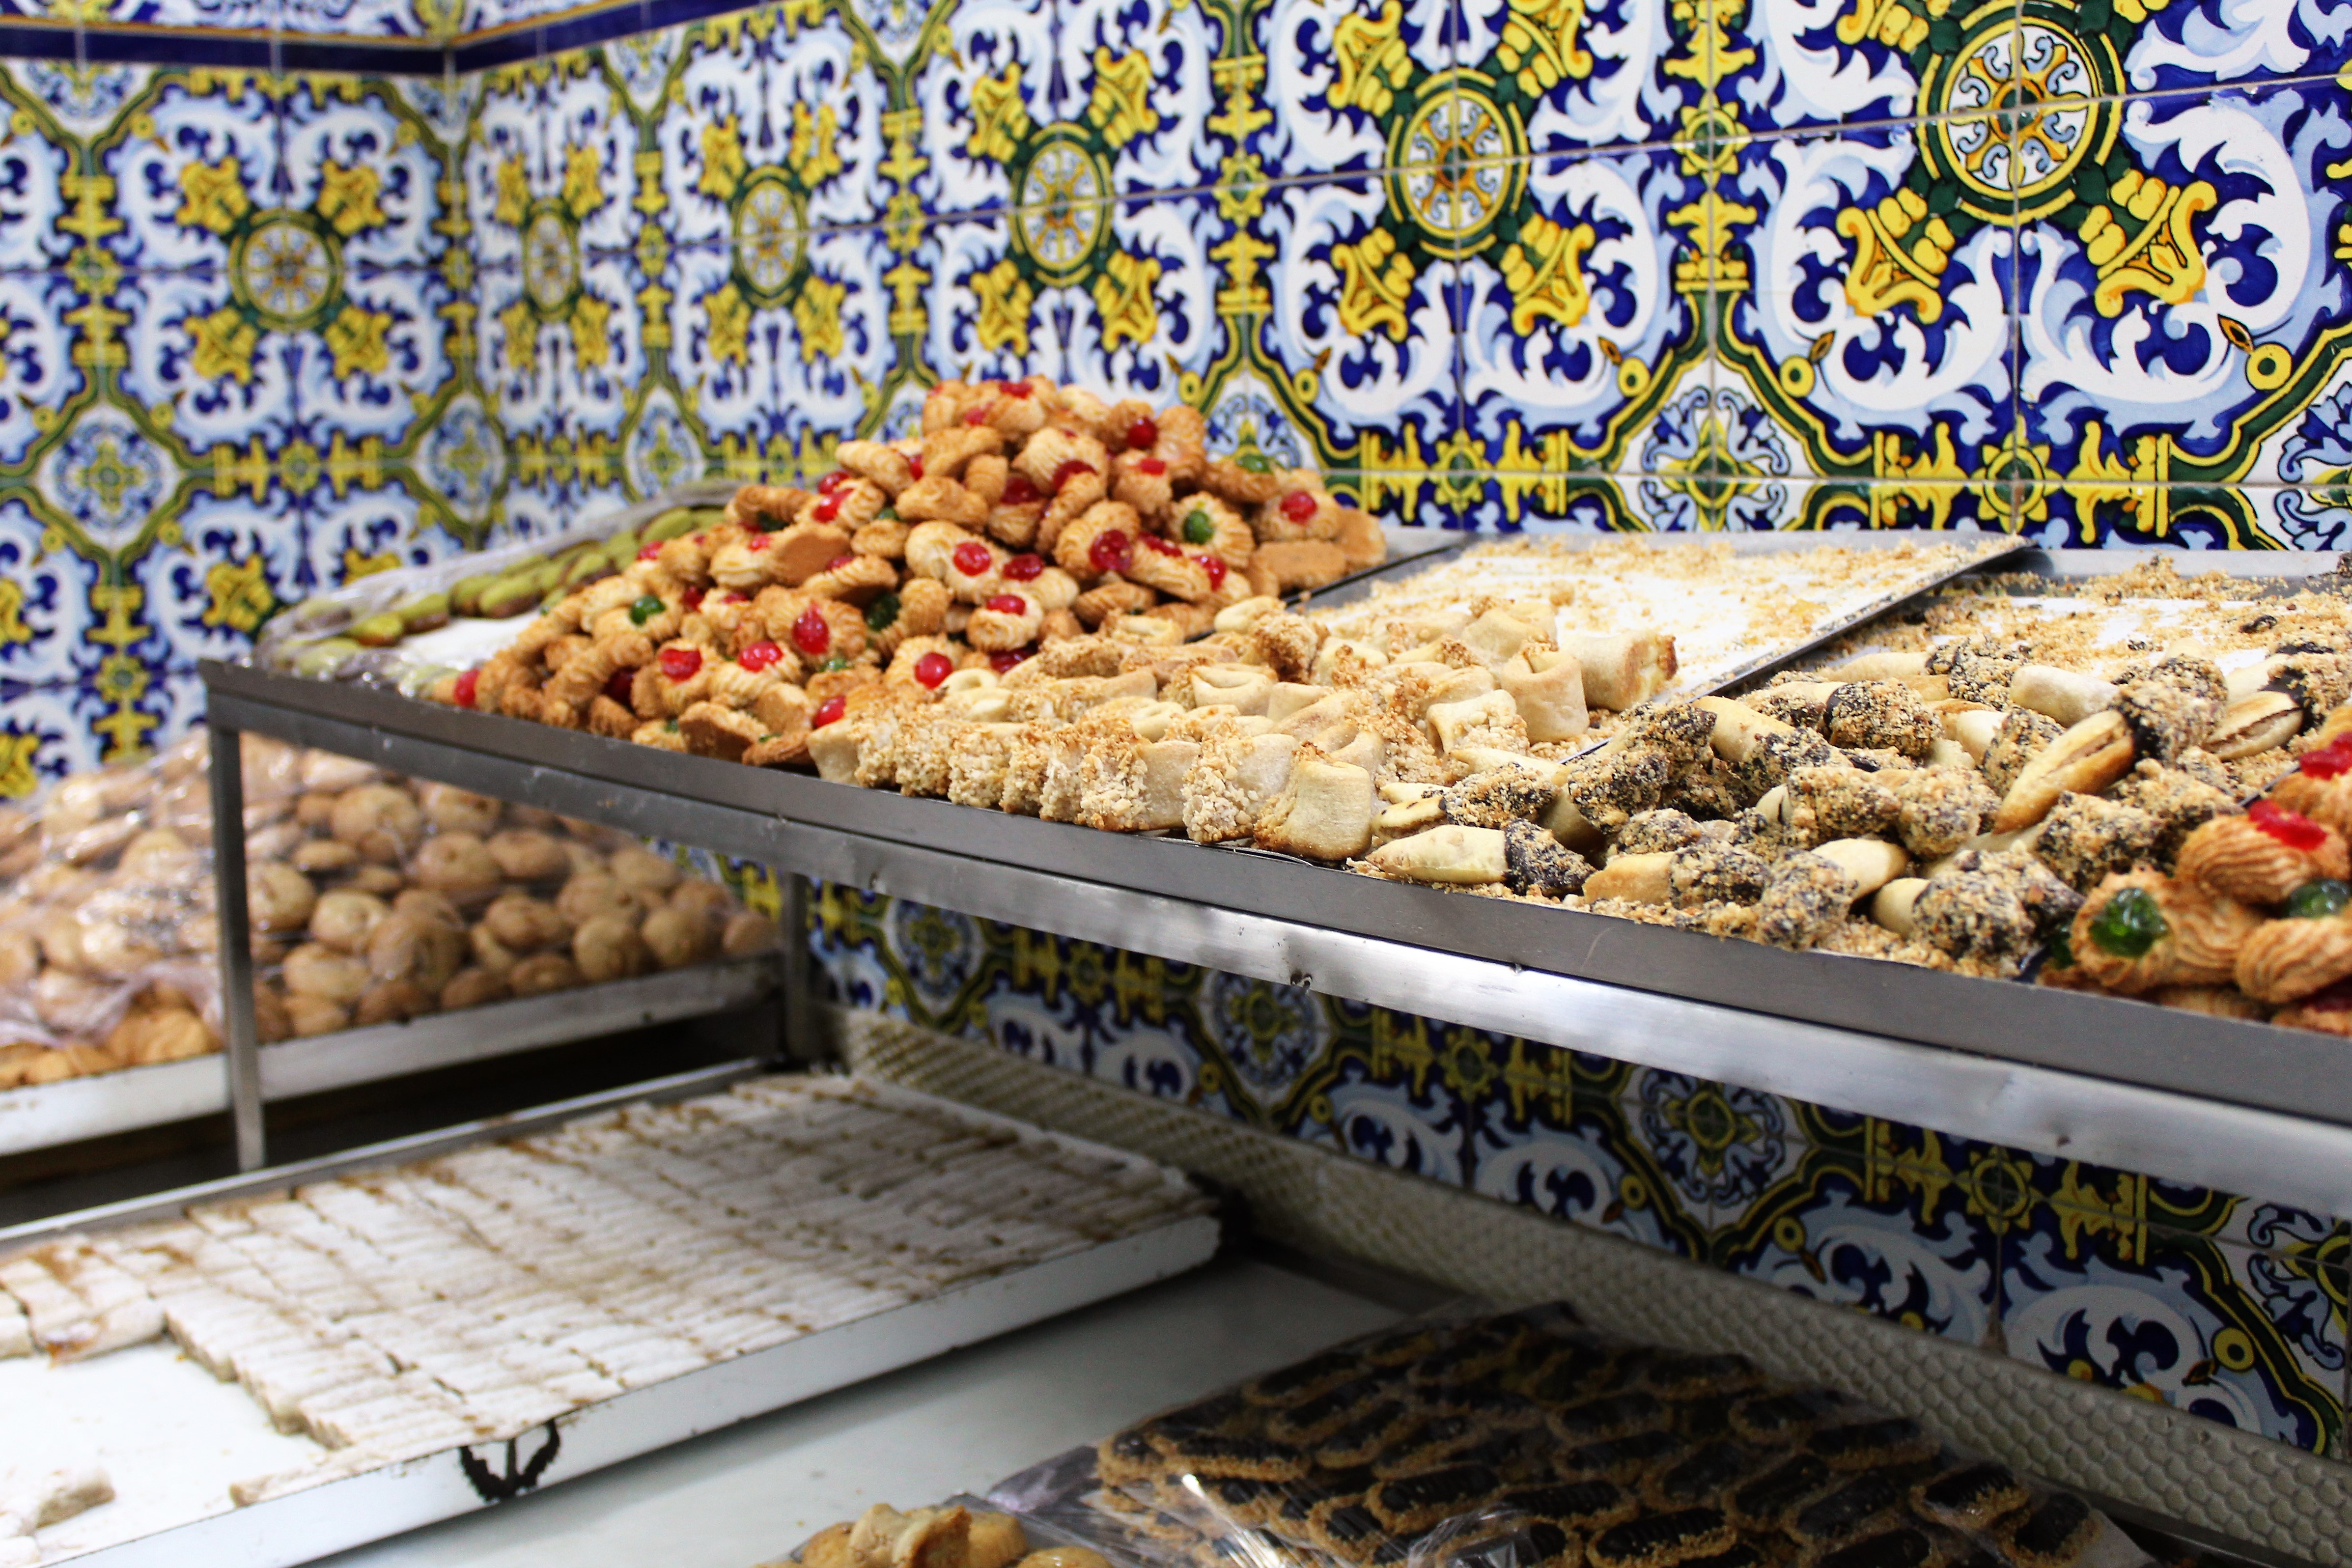
The literal translation of the Arabic term kaab el ghazal is ‘gazelle ankles’, but these traditional Moroccan pastries are more commonly referred to as ‘gazelle horns’ in English (cornes de gazelle in French). These delicious crescent-shaped cookies are filled with almond paste flavoured with orange blossom water. They are expensive and are often served on special occasions such as weddings.
We bought some from the famous Patisserie Bennis Habous in Casablanca during our walking tour of the city. We ate them at a nearby café, washed down with refreshing mint tea. They were amazing!
Sweet Pastries
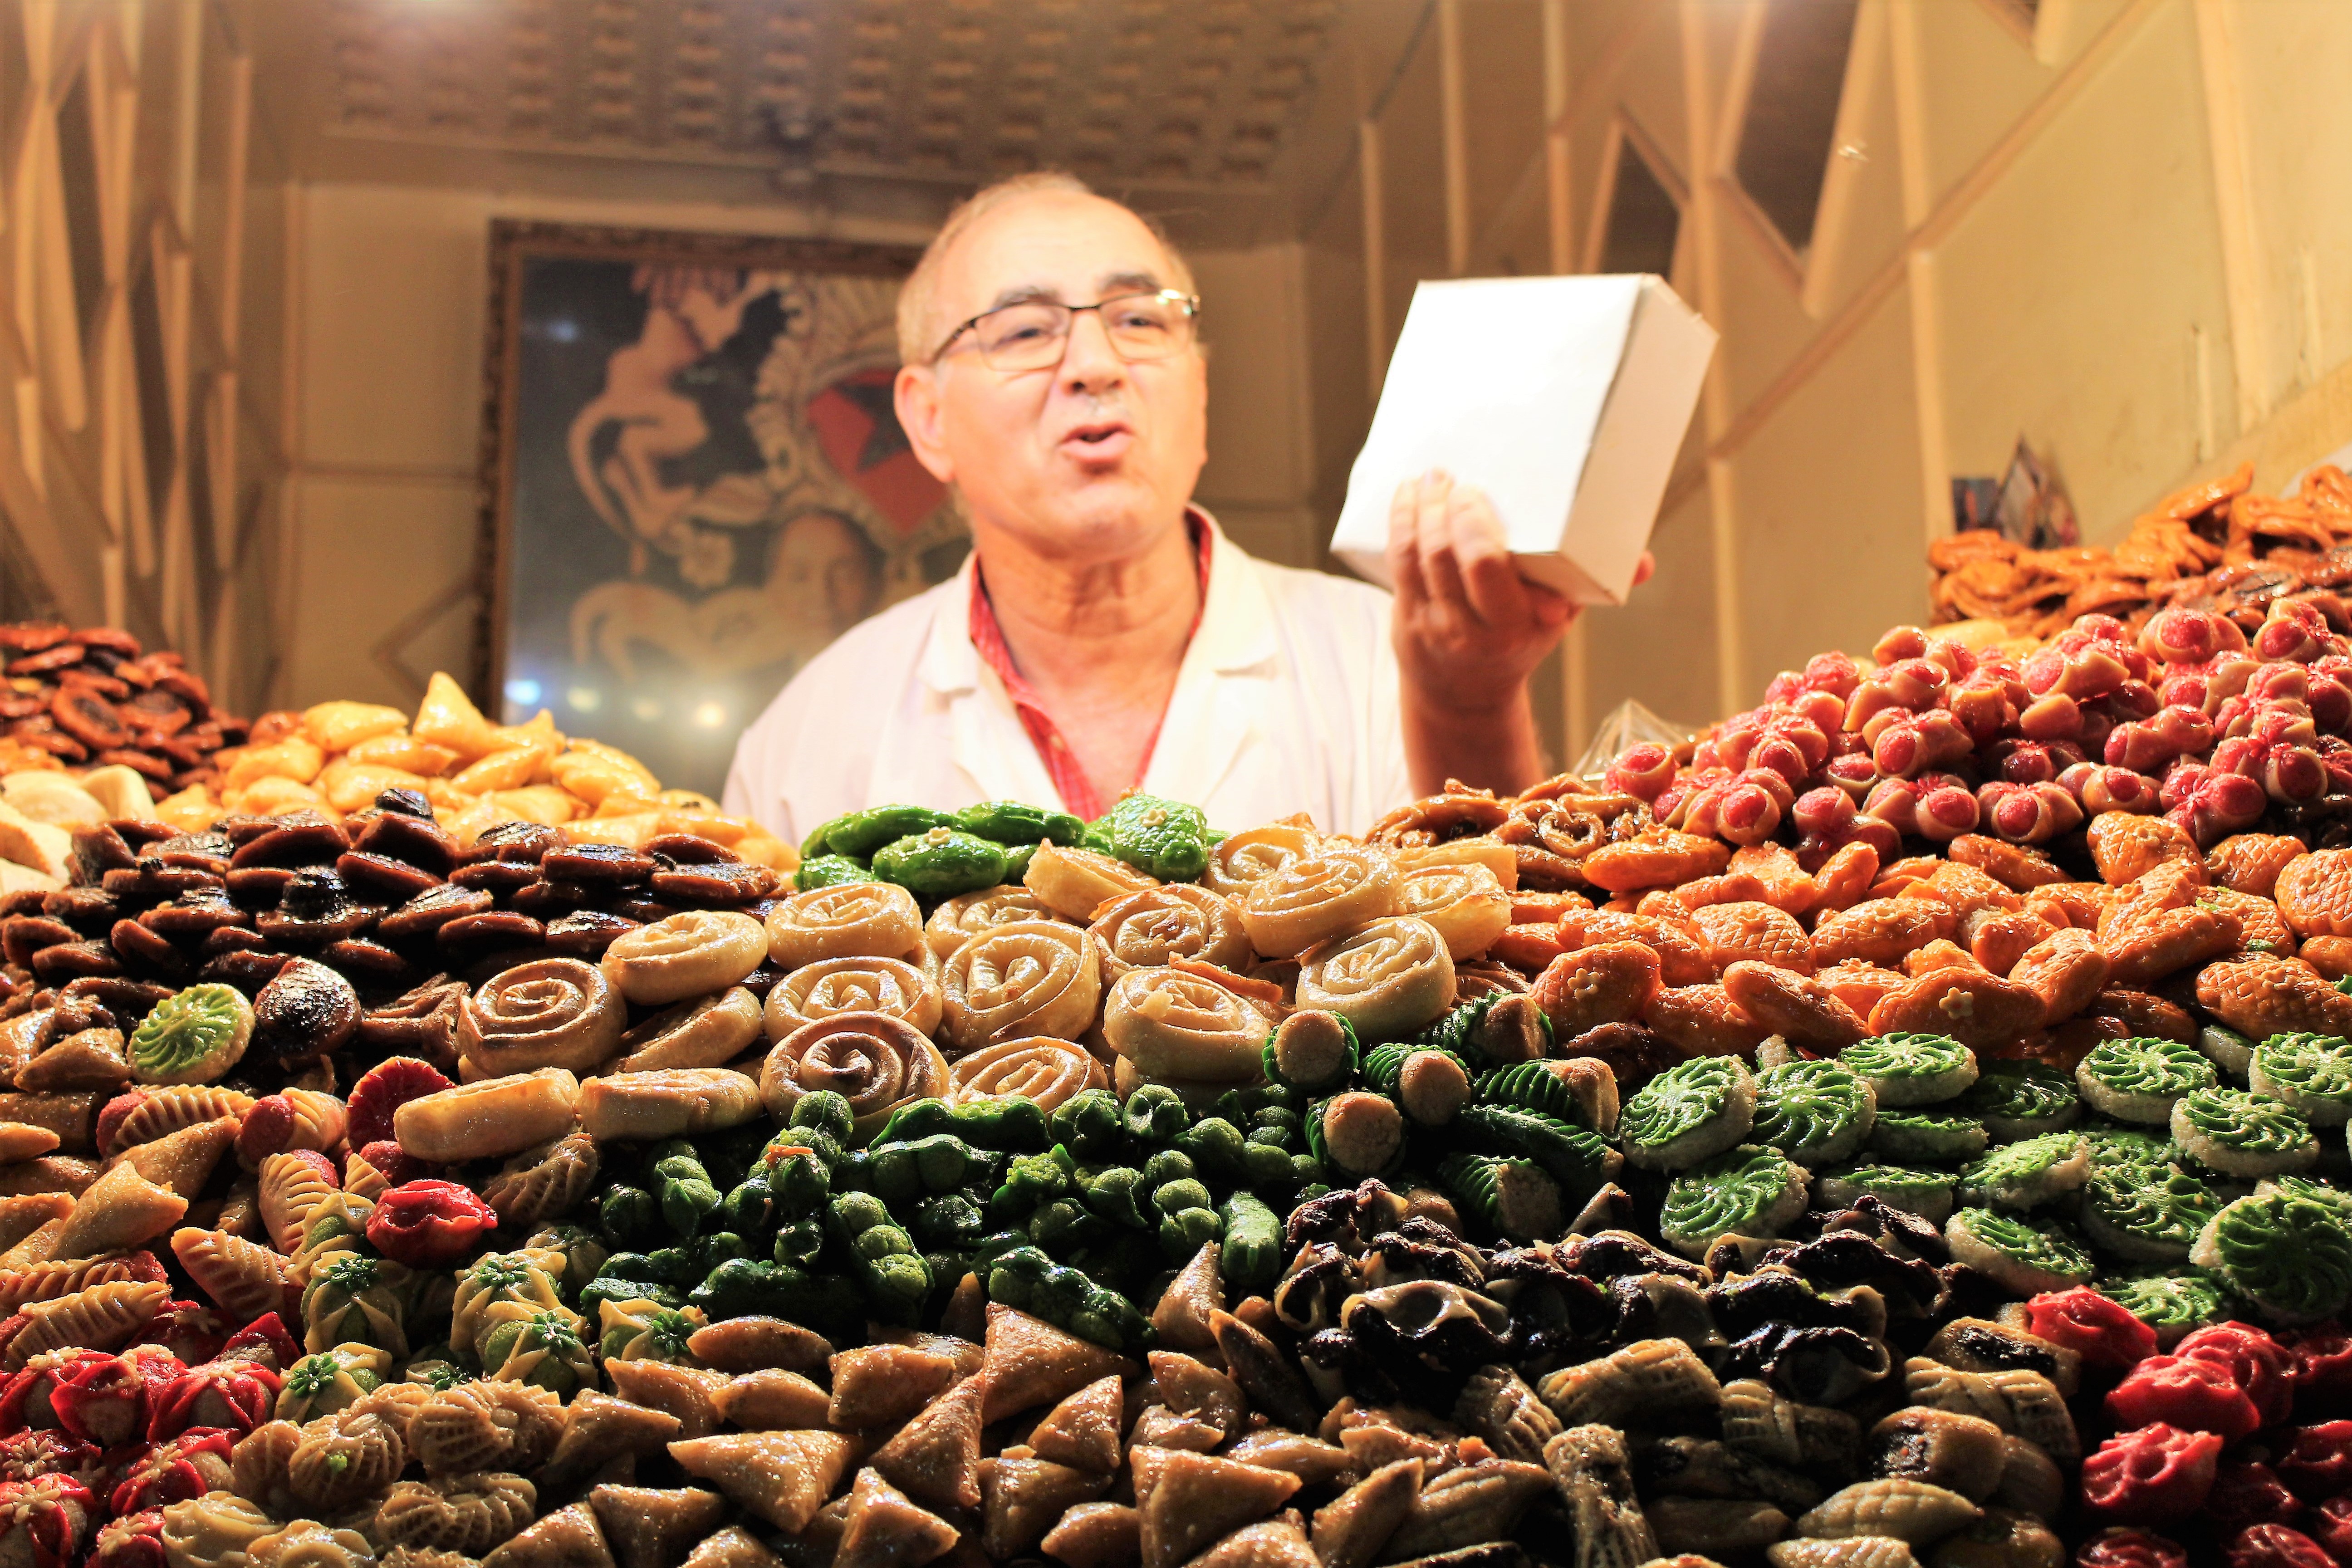
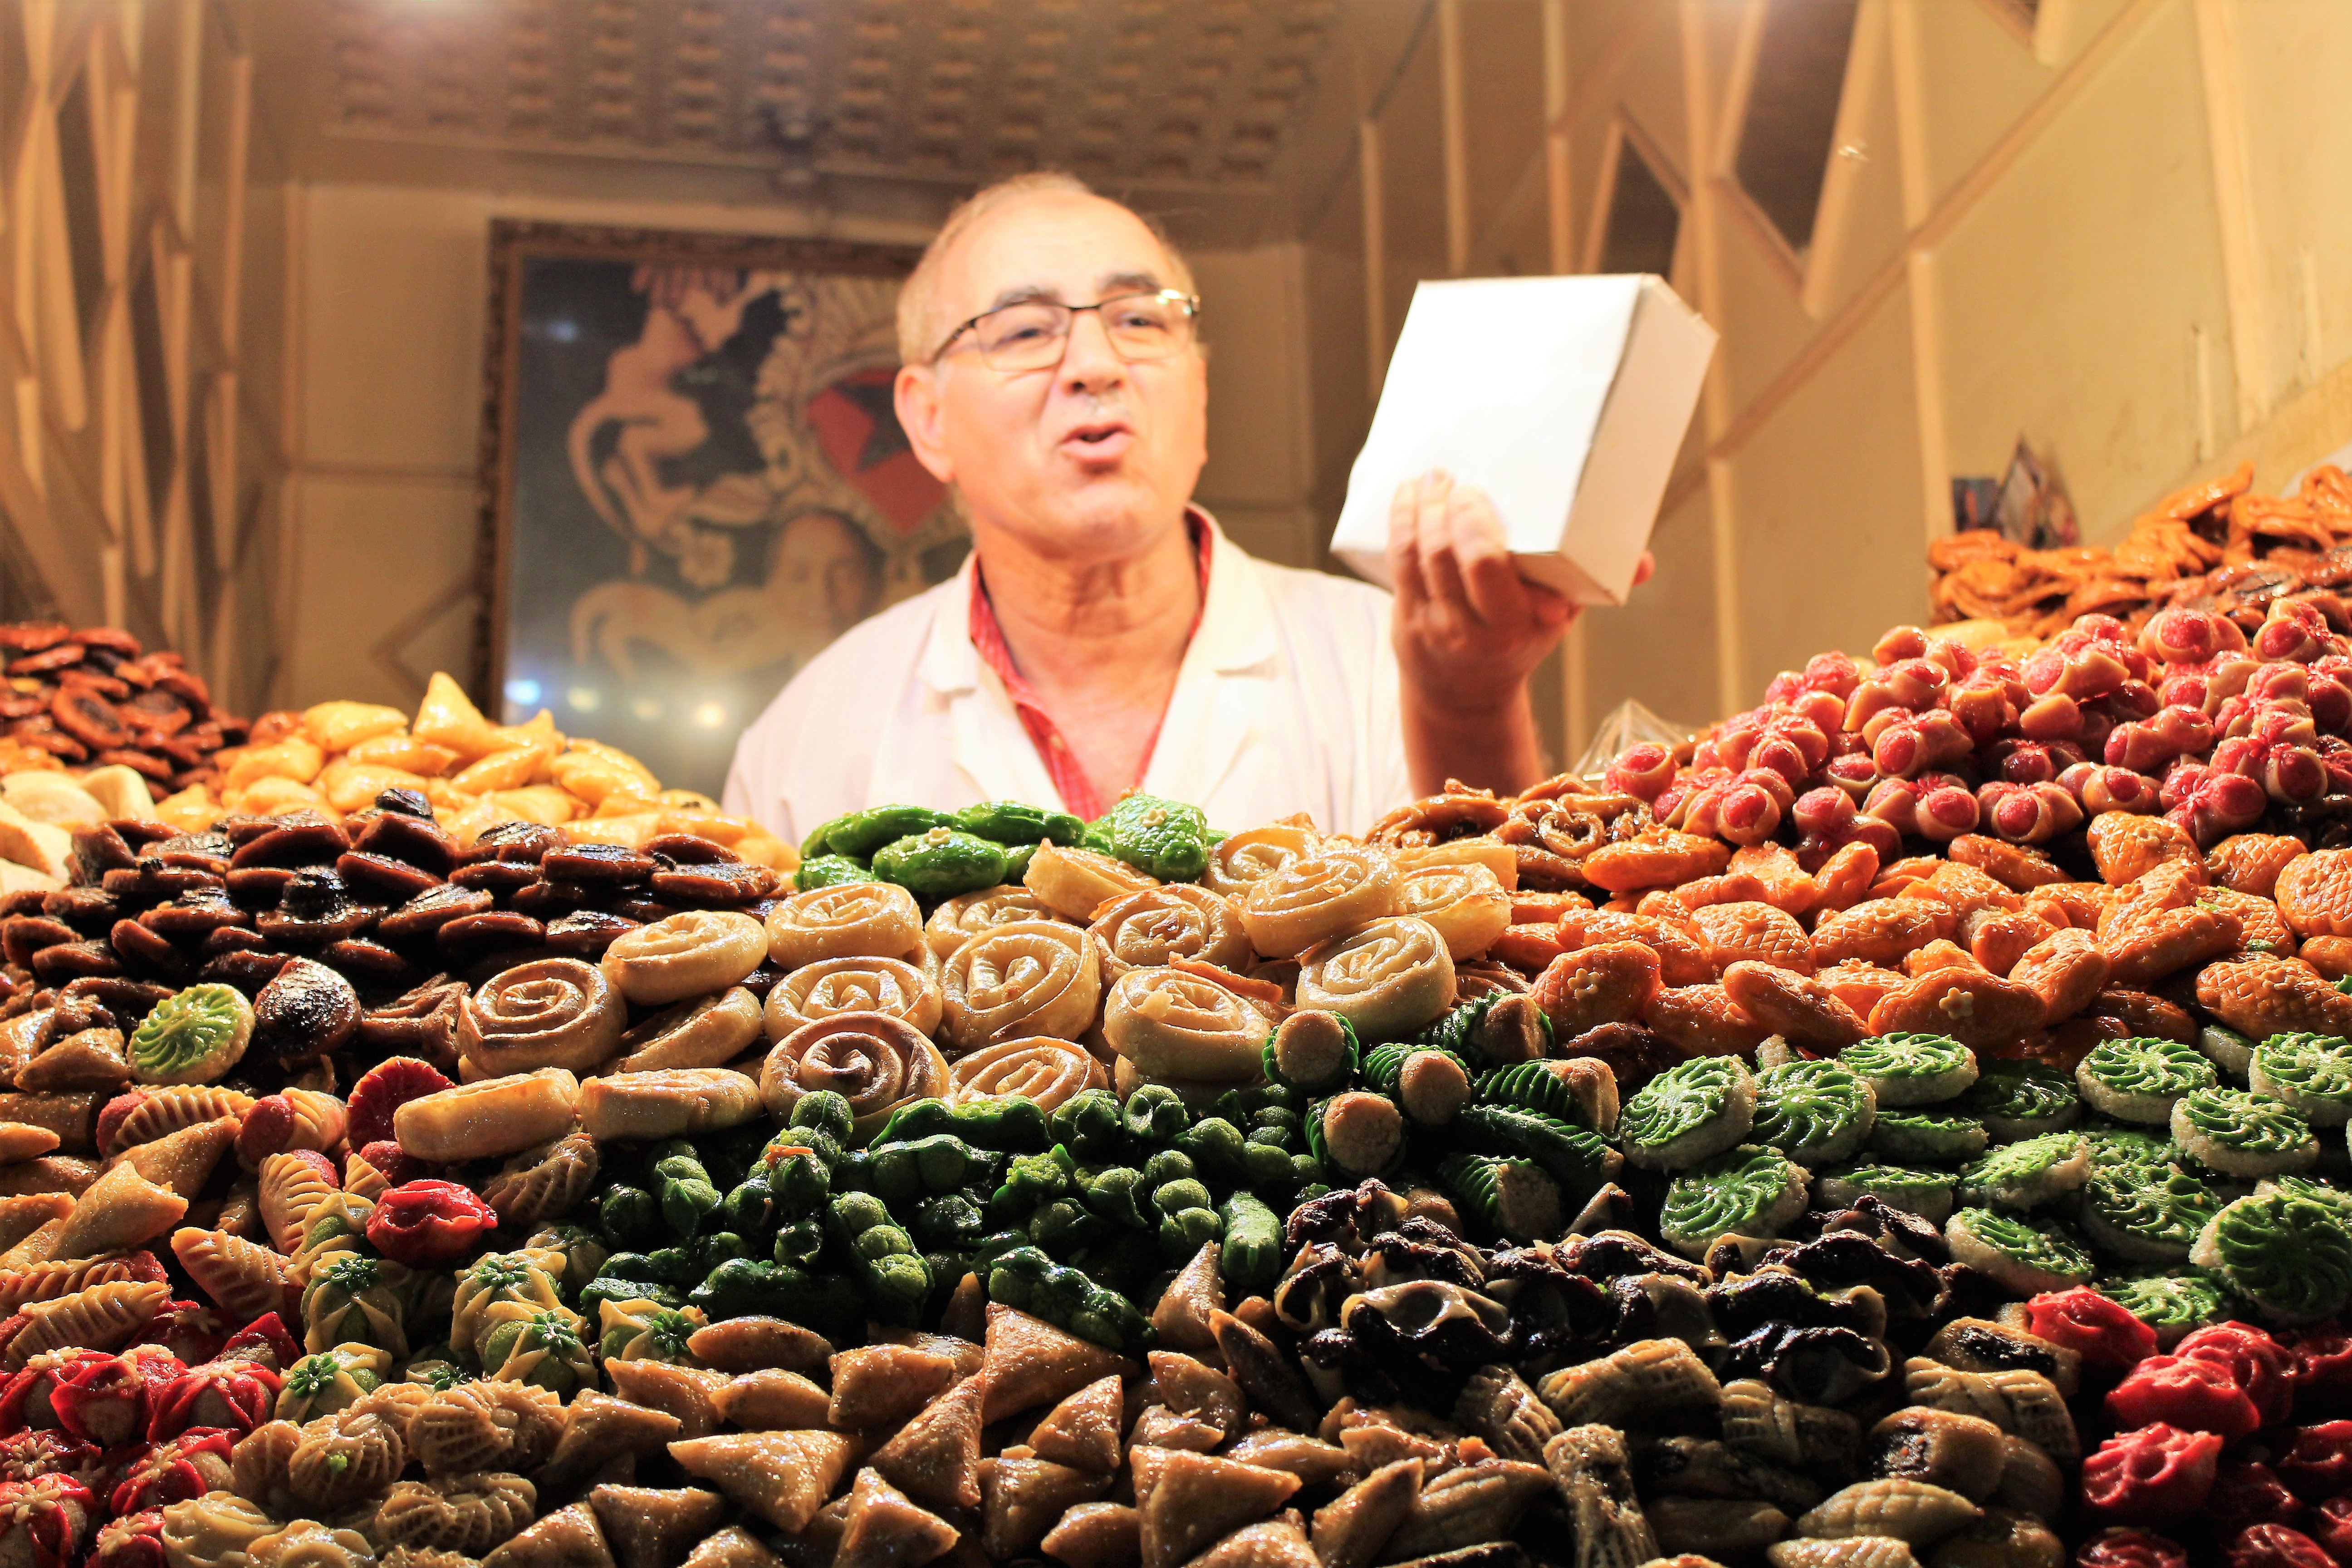
As I’ve alluded to before, Moroccan people generally have a very sweet tooth! Sticky, syrupy pastries are served everywhere for every meal, and at any time in between! They are presented as an accompaniment to hot spicy harira soup, on your saucer when you have a mint tea, with your coffee after dinner, or simply as a snack as you’re shopping in the souk.
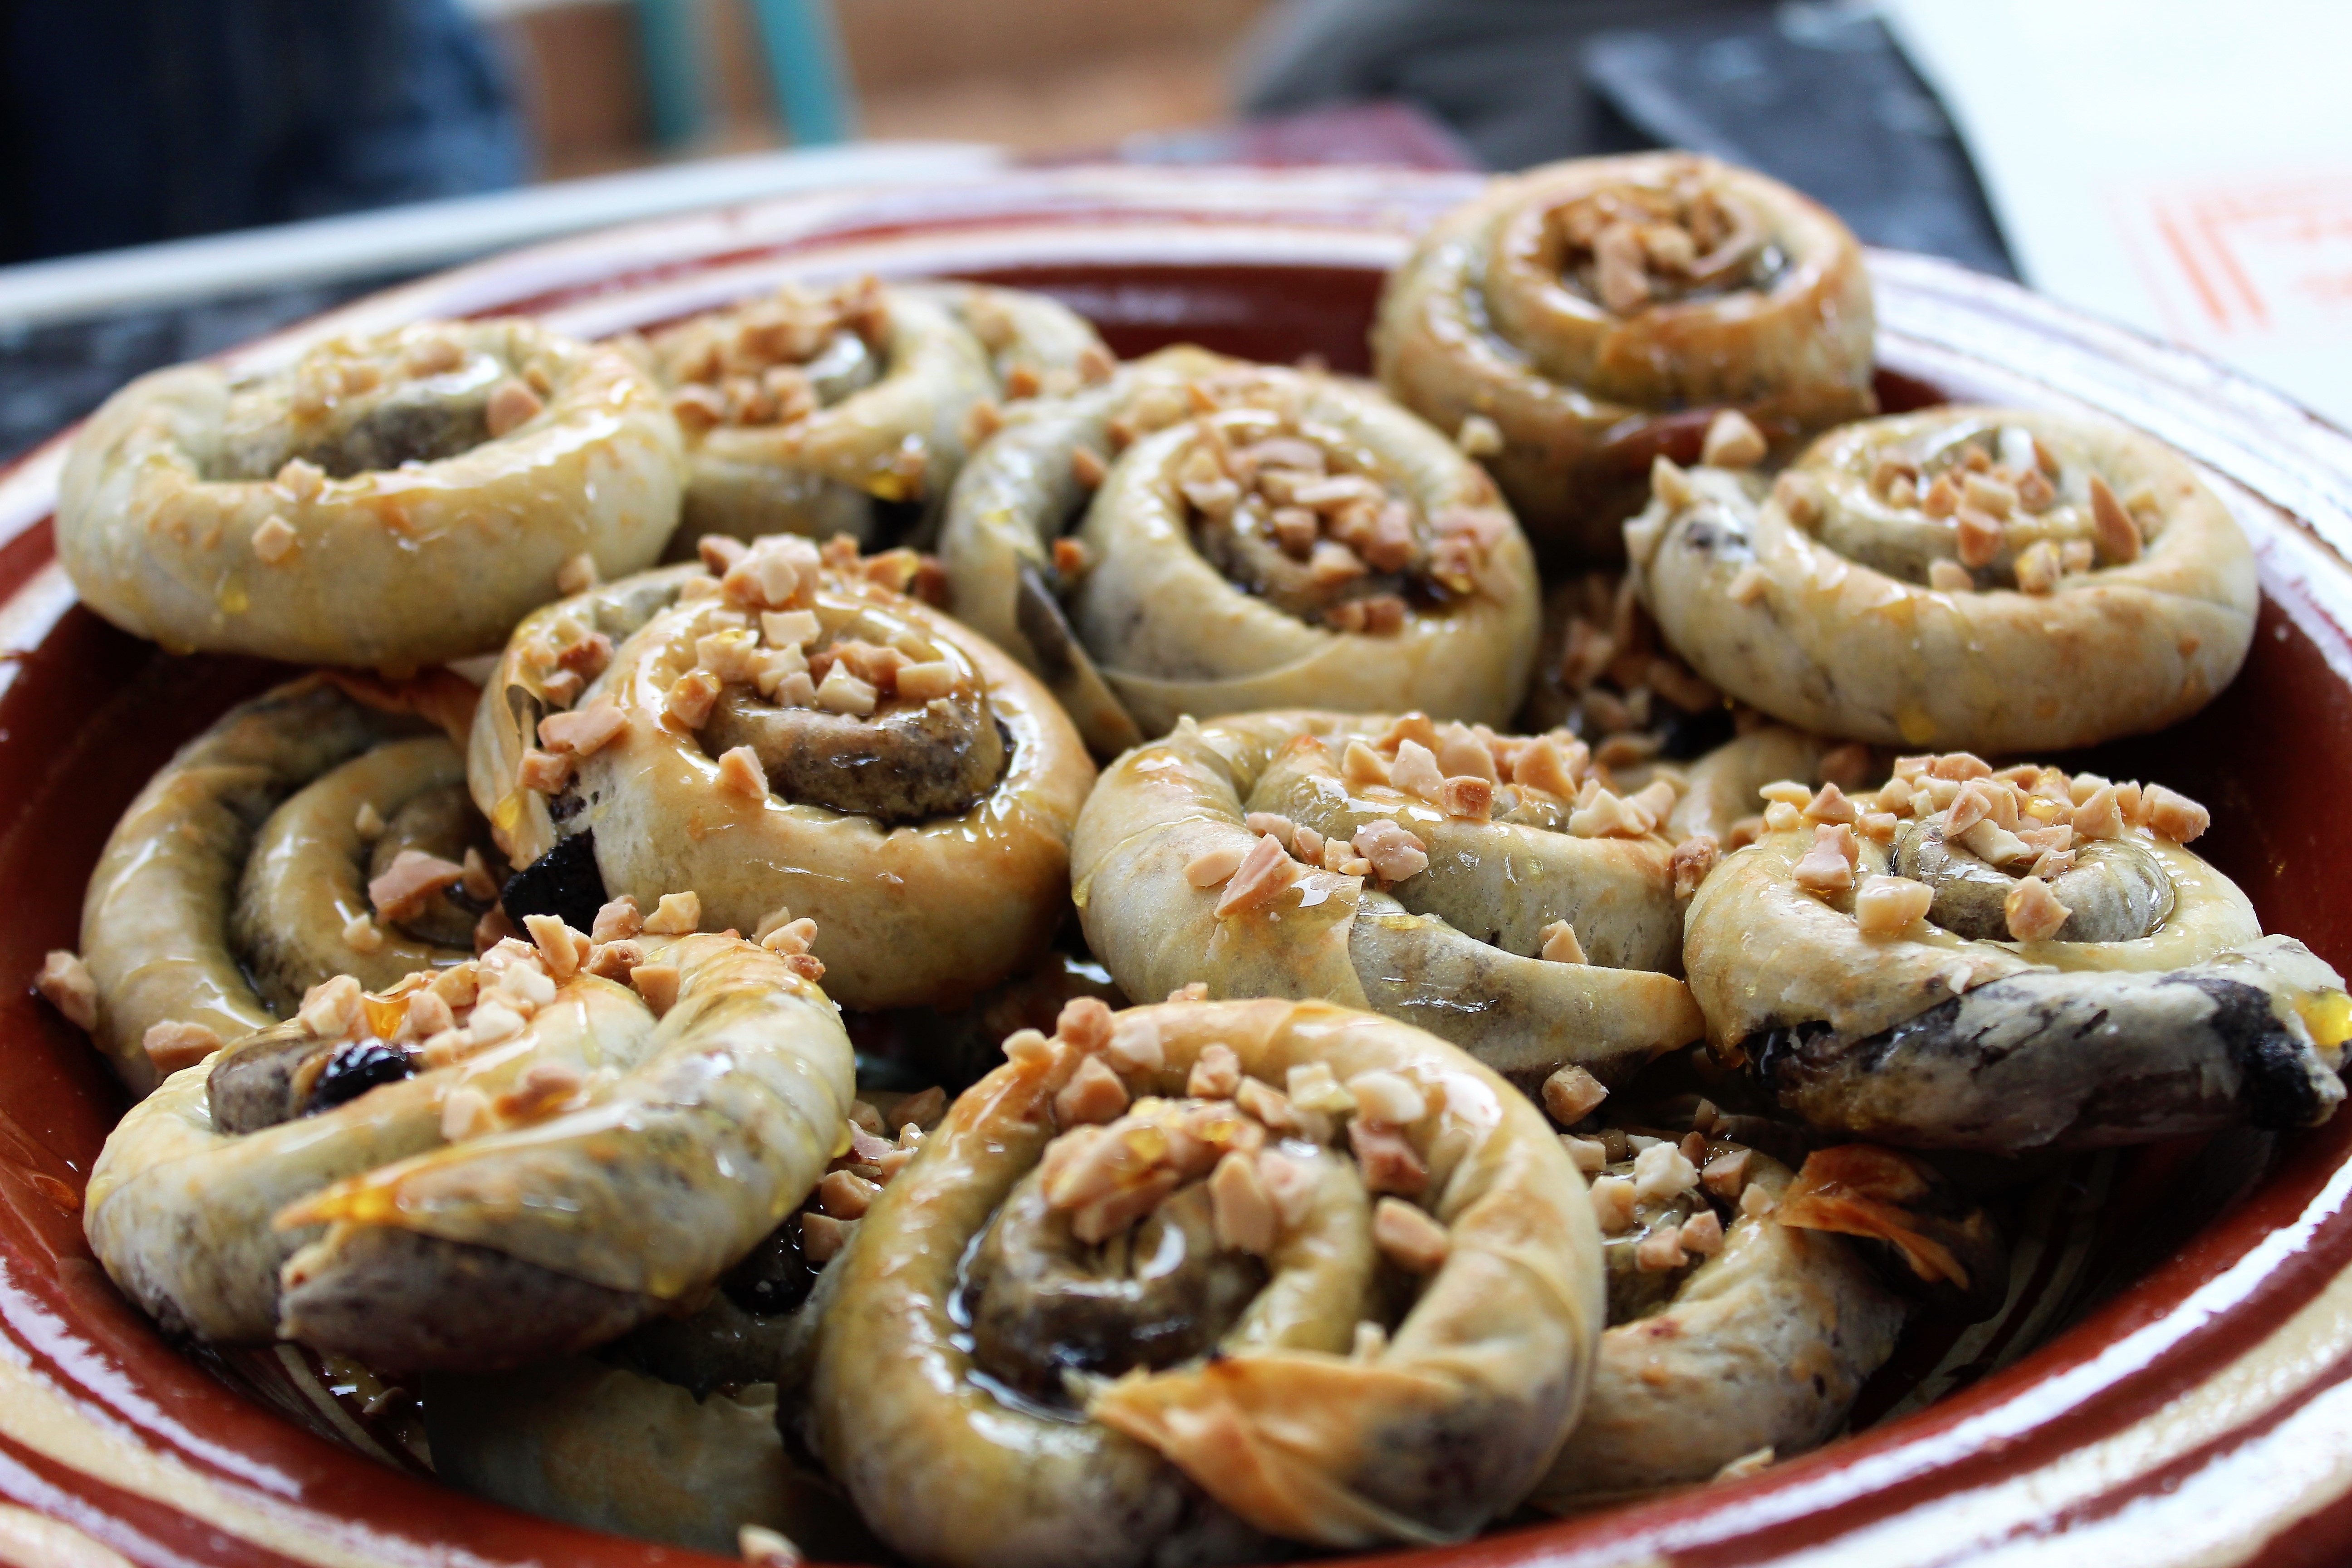
There are countless varieties of sweet pastry making up colourful displays in the markets of Marrakech and other towns and cities. Shapes include spirals, triangles, rounds, crescents, and stars. They are flavoured with ingredients such as almonds, orange, pistachios, honey, sesame, cinnamon, rosewater, and, my favourite – dates! Some are made with a cookie-like dough, but most use filo pastry to give a deliciously crispy texture.
We made these blighat b t’mer (date spirals) during our cookery class in Marrakech. Later, we shared them with our fellow travellers. They didn’t last long – they were incredibly moreish!
Final Thoughts: Discovering Moroccan Food
For me, one of the greatest pleasures of travelling is discovering a country through its food, and Morocco certainly didn't disappoint!
From learning how to steam couscous properly in Moulay Idriss to preparing tagines and sweet pastries in Marrakech, Mark and I had some wonderful culinary experiences during our travels. We enjoyed everything from simple street food to elaborate traditional dishes, and some of our favourite meals were those shared with local people.
What I particularly love about Moroccan cooking is the way it combines such different flavours. Sweet and savoury, spicy and fragrant, simple and elaborate — there's always something new to discover.
And, of course, you don't have to travel to Morocco to enjoy its food. I hope the recipes and videos in this guide have inspired you to try making a few dishes in your own kitchen.
Have you tried Moroccan food? What's your favourite dish? I'd love to hear your recommendations!
If you’re travelling soon, please use these links!
Are you travelling soon? Use these links when making your bookings. These are the companies we use. It won’t cost you any extra, but we will earn a few pennies to help keep Happy Days Travel Blog going. Thank you!!
Make sure you take out travel insurance. If you are a digital nomad or long-term traveller, try the specialist provider SafetyWing. (Never leave home without protecting yourself, your trip and your belongings!)
Book your flight with Skyscanner
Book your accommodation with Booking.com
Book a tour with TourRadar
Book city tours and activities with Viator or GetYourGuide
Check out my Resource Page for more companies I recommend.
Disclosure: This post contains affiliate links. If you click through for more information, or to make a purchase, it may result in a small commission coming my way. Please note that there is no extra cost to you associated with this. Thank you so much for supporting my site.
